Quickstart
Get started with agentgateway, an open source, highly available, and highly scalable data plane that brings AI connectivity for agents and tools. To learn more about agentgateway, see the About section.
About this guide
In this guide, you learn how to use the agentgateway to proxy requests to an open source MCP test server that exposes multiple MCP test tools.
You complete the following tasks:
- Install the agentgateway binary on your local machine.
- Create an agentgateway configuration that proxies requests to multiple tools that are exposed on an open source MCP test server,
server-everything. - Explore the agentgateway UI.
- Test access to the
everything_echoMCP tool.

Step 1: Install the binary
-
Download and install the agentgateway binary with the following command. Alternatively, you can manually download the binary from the agentgateway releases page.
curl https://raw.githubusercontent.com/agentgateway/agentgateway/refs/heads/main/common/scripts/get-agentgateway | bashExample output:
% Total % Received % Xferd Average Speed Time Time Time Current Dload Upload Total Spent Left Speed 100 8878 100 8878 0 0 68998 0 --:--:-- --:--:-- --:--:-- 69359 Downloading https://github.com/agentgateway/agentgateway/releases/download/v0.4.16/agentgateway-darwin-arm64 Verifying checksum... Done. Preparing to install agentgateway into /usr/local/bin Password: agentgateway installed into /usr/local/bin/agentgateway -
Verify that the
agentgatewaybinary is installed.agentgateway --versionExample output with the latest version, 0.11.1:
{
  "version": "0.11.1",
  "git_revision": "90f7b25855fb5f5fbefcc16855206040cba9b77d",
  "rust_version": "1.89.0",
  "build_profile": "release",
  "build_target": "x86_64-unknown-linux-musl"
}
Step 2: Create a basic configuration
In this example, you use a basic configuration file to configure the agentgateway, but you can also use the agentgateway UI to configure these components. For examples, see the Listeners and Backends guides.
-
Download a basic configuration file for your agentgateway.
curl -L https://raw.githubusercontent.com/agentgateway/agentgateway/refs/heads/main/examples/basic/config.yaml -o config.yaml -
Review the configuration file.
cat config.yamlReview the following table to understand this configuration.binds: - port: 3000 listeners: - routes: - policies: cors: allowOrigins: - "*" allowHeaders: - mcp-protocol-version - content-type - cache-control exposeHeaders: - "Mcp-Session-Id" backends: - mcp: targets: - name: everything stdio: cmd: npx args: ["@modelcontextprotocol/server-everything"]Field Description bindsBinds set up each port on which the agentgateway listens for incoming requests. This example configures one port. portThe port to listen on, such as 3000.listenersListeners configure how agentgateway accepts and processes incoming requests. They do this by grouping together resources such as routes and the backends that serve traffic. routesRoutes configure advanced routing features, such as traffic policies, that control how traffic is sent to the backends. In the example, the route matches all traffic. policiesPolicies configure traffic policies on routes that shape how traffic is sent to the backends. In the example, a basic CORS policy is configured to allow all origins and the mcp-protocol-versionheader. This way, the configuration works with the MCP inspector tool.backendsBackends configure the backing destination where the traffic is sent to. Backends can be MCP servers, A2A agents, or OpenAPI servers. In this example, the backend is an MCP server. targetsTargets configure the details of the backend, such as the MCP server. In this example, the target is the sample, open source MCP test server, server-everything. The server runs a bunch of tools in a single process that are useful for testing.stdioTo run the server, you use the standard input/output ( stdio) capability of the agentgateway, which allows you to pass in the command and command arguments that you want to use. In this example, thenpxcommand is used. Thenpxcommand utility lets you run a Node.js package (@modelcontextprotocol/server-everything) without installing it. If you do not havenpxon your machine, follow the instructions to install Node.js. -
Run the agentgateway.
agentgateway -f config.yamlExample output:
2025-08-18T16:11:44.055681Z     info    state_manager   loaded config from File("examples/basic/config.yaml")
2025-08-18T16:11:44.056093Z     info    app     serving UI at http://localhost:15000/ui
2025-08-18T16:11:44.061277Z     info    proxy::gateway  started bind    bind="bind/3000"
Step 3: Explore the UI
The agentgateway comes with a built-in UI that you can use to connect to your MCP target to view and access the tools that are exposed on the MCP server. You can also use the UI to review and update your listener and target configuration in-flight. Configuration updates are available immediately and do not require a restart of the agentgateway.
-
Open the built-in agentgateway UI on port 15000.

-
Go to the Listener overview and review your listener configuration. To learn how to create more or delete existing listeners with the UI, see the Listeners docs.

-
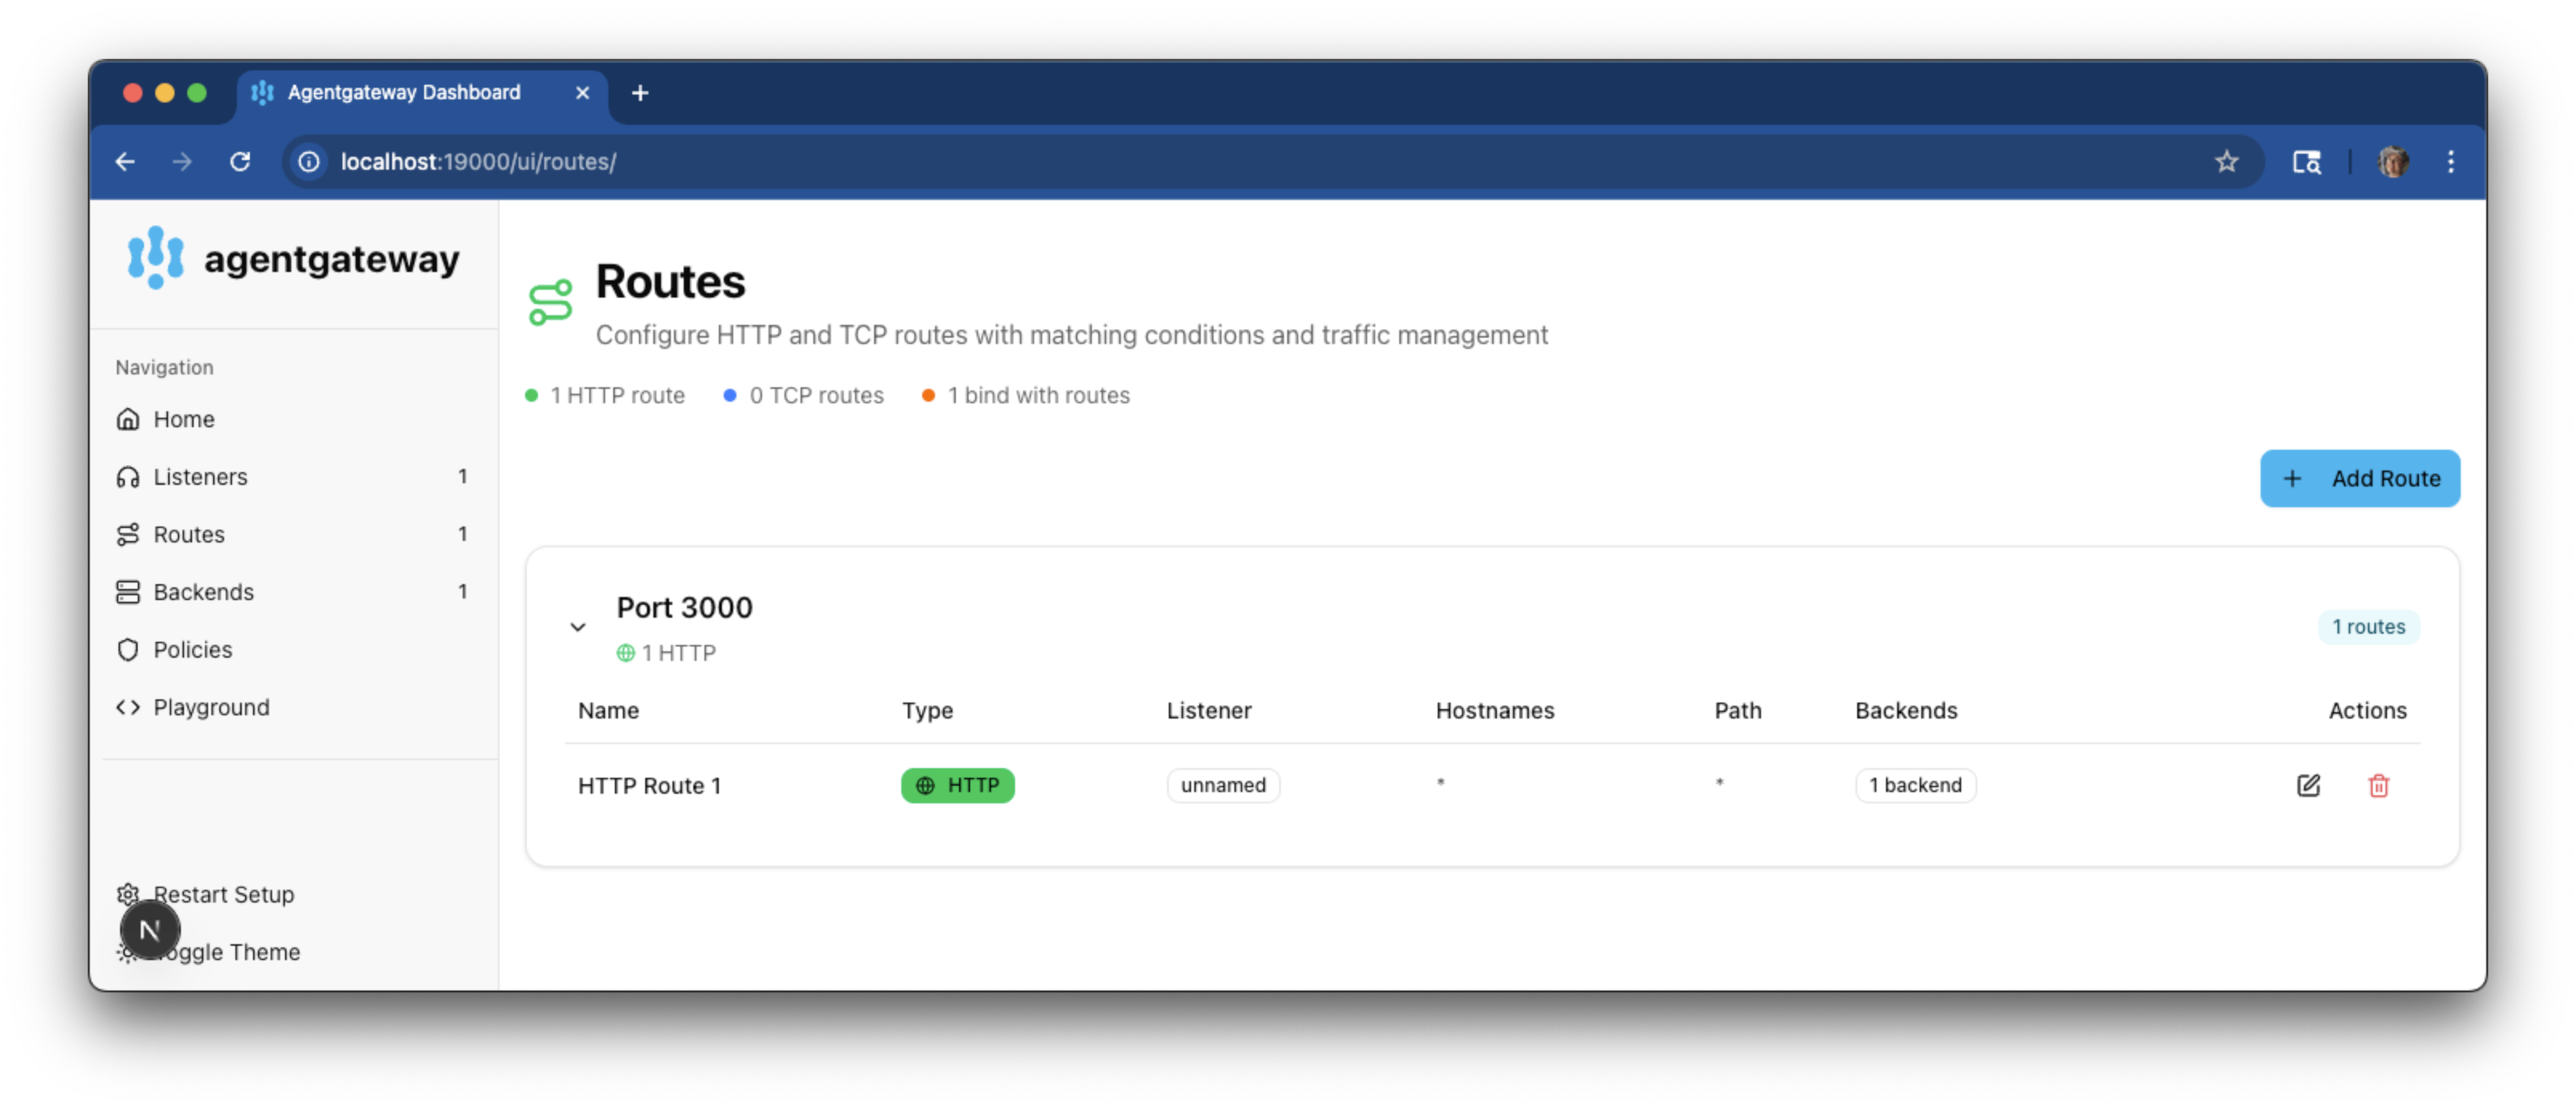
Go to the Routes overview and review your route and policy configuration. To learn how to create more or delete existing routes with the UI, see the Routes docs.
-
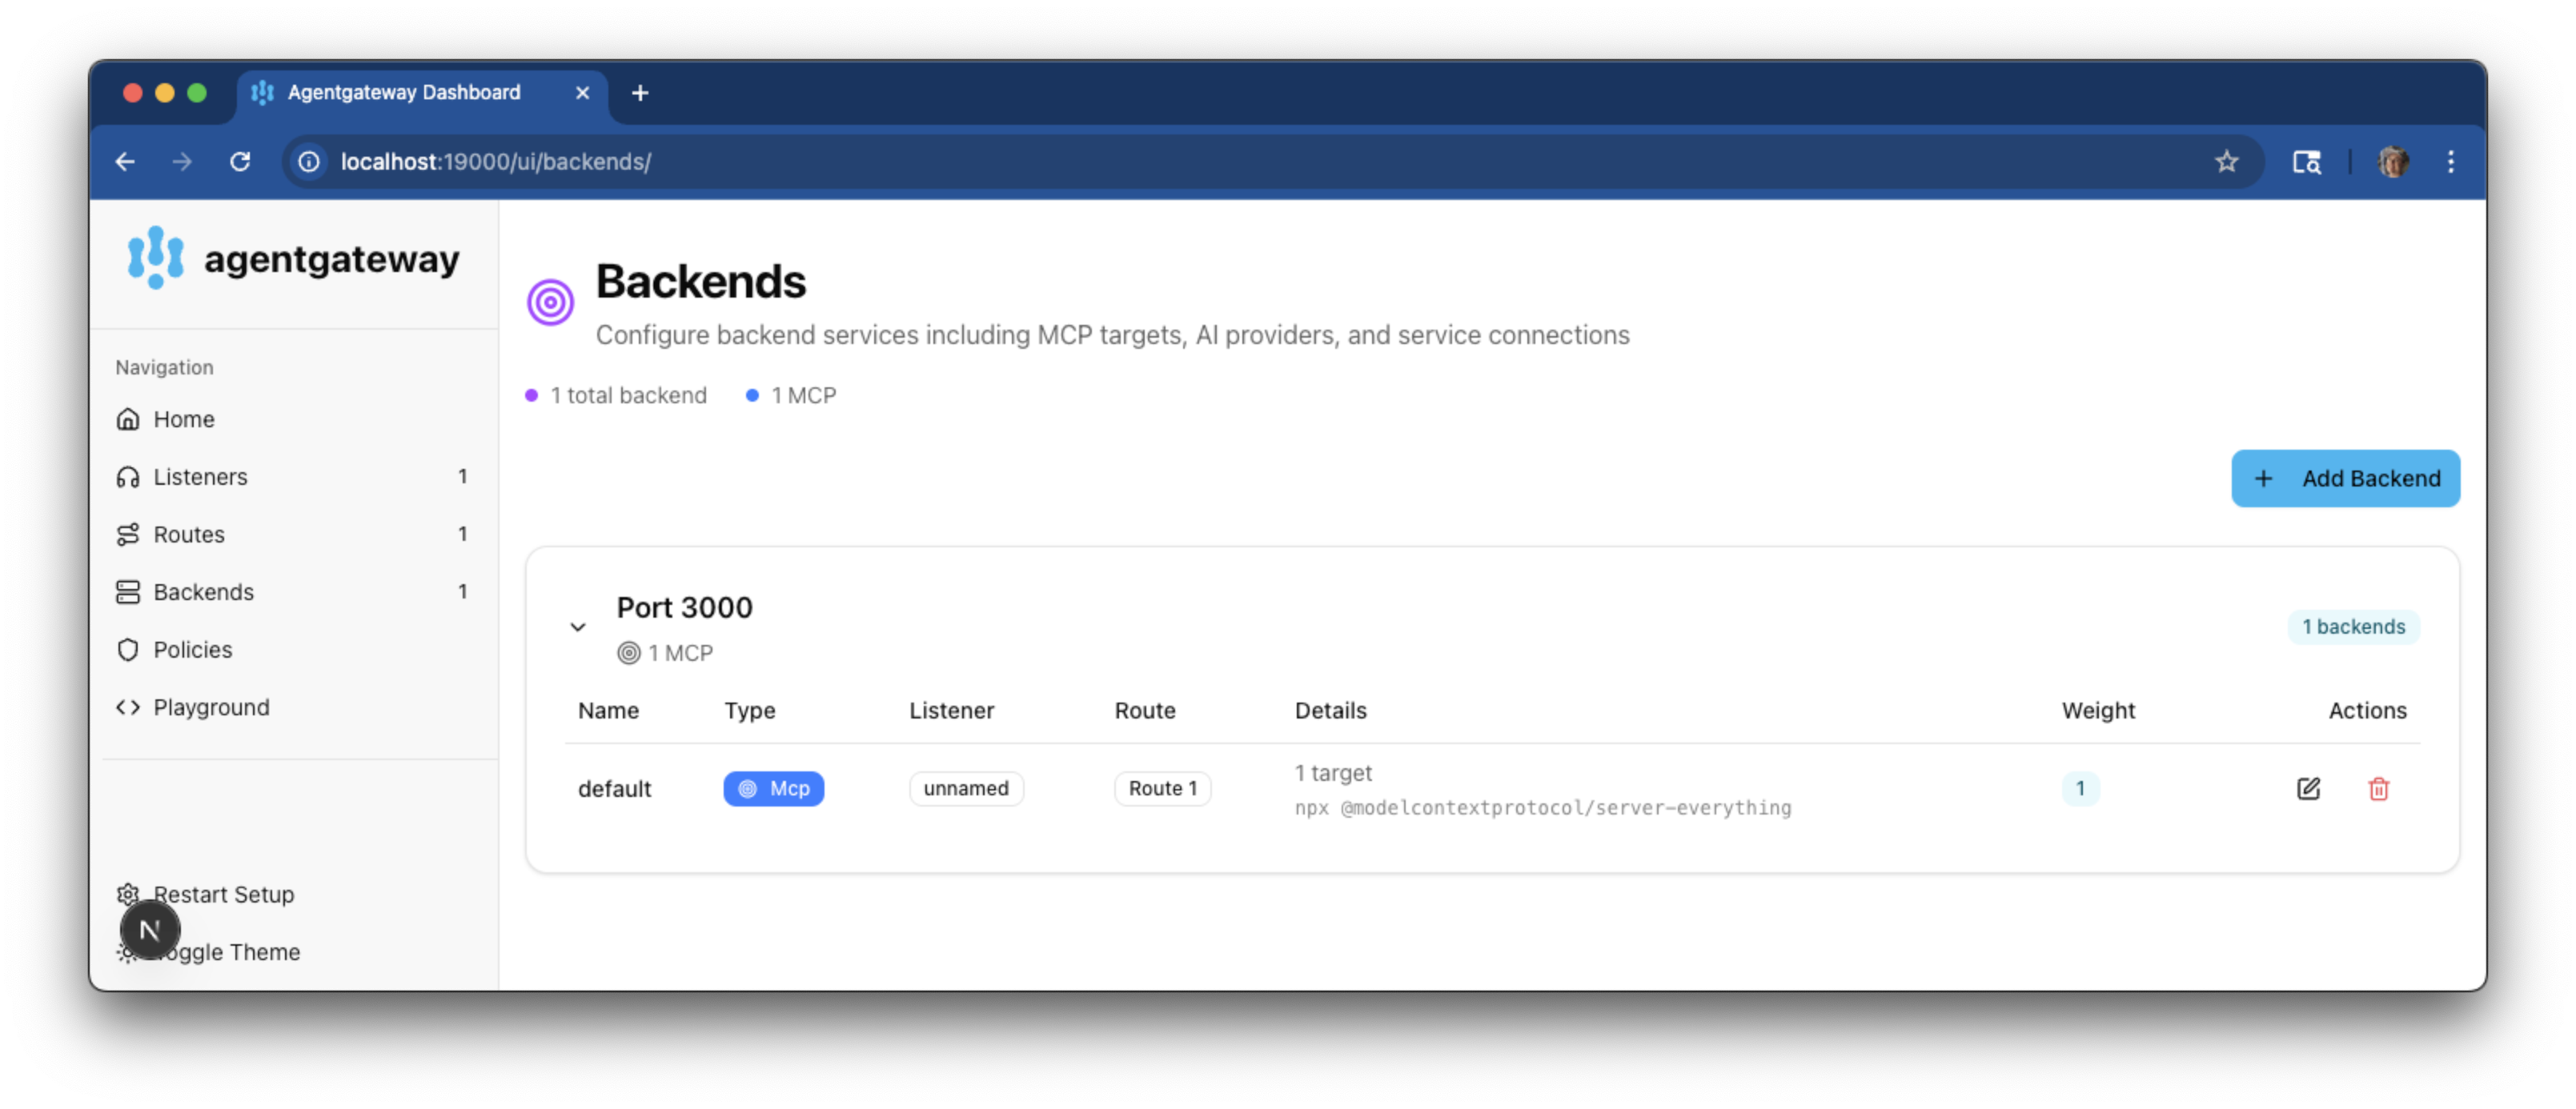
Go to the Backends overview and review your target configuration. To learn how to create more or delete existing targets with the UI, see the Backends docs.
-
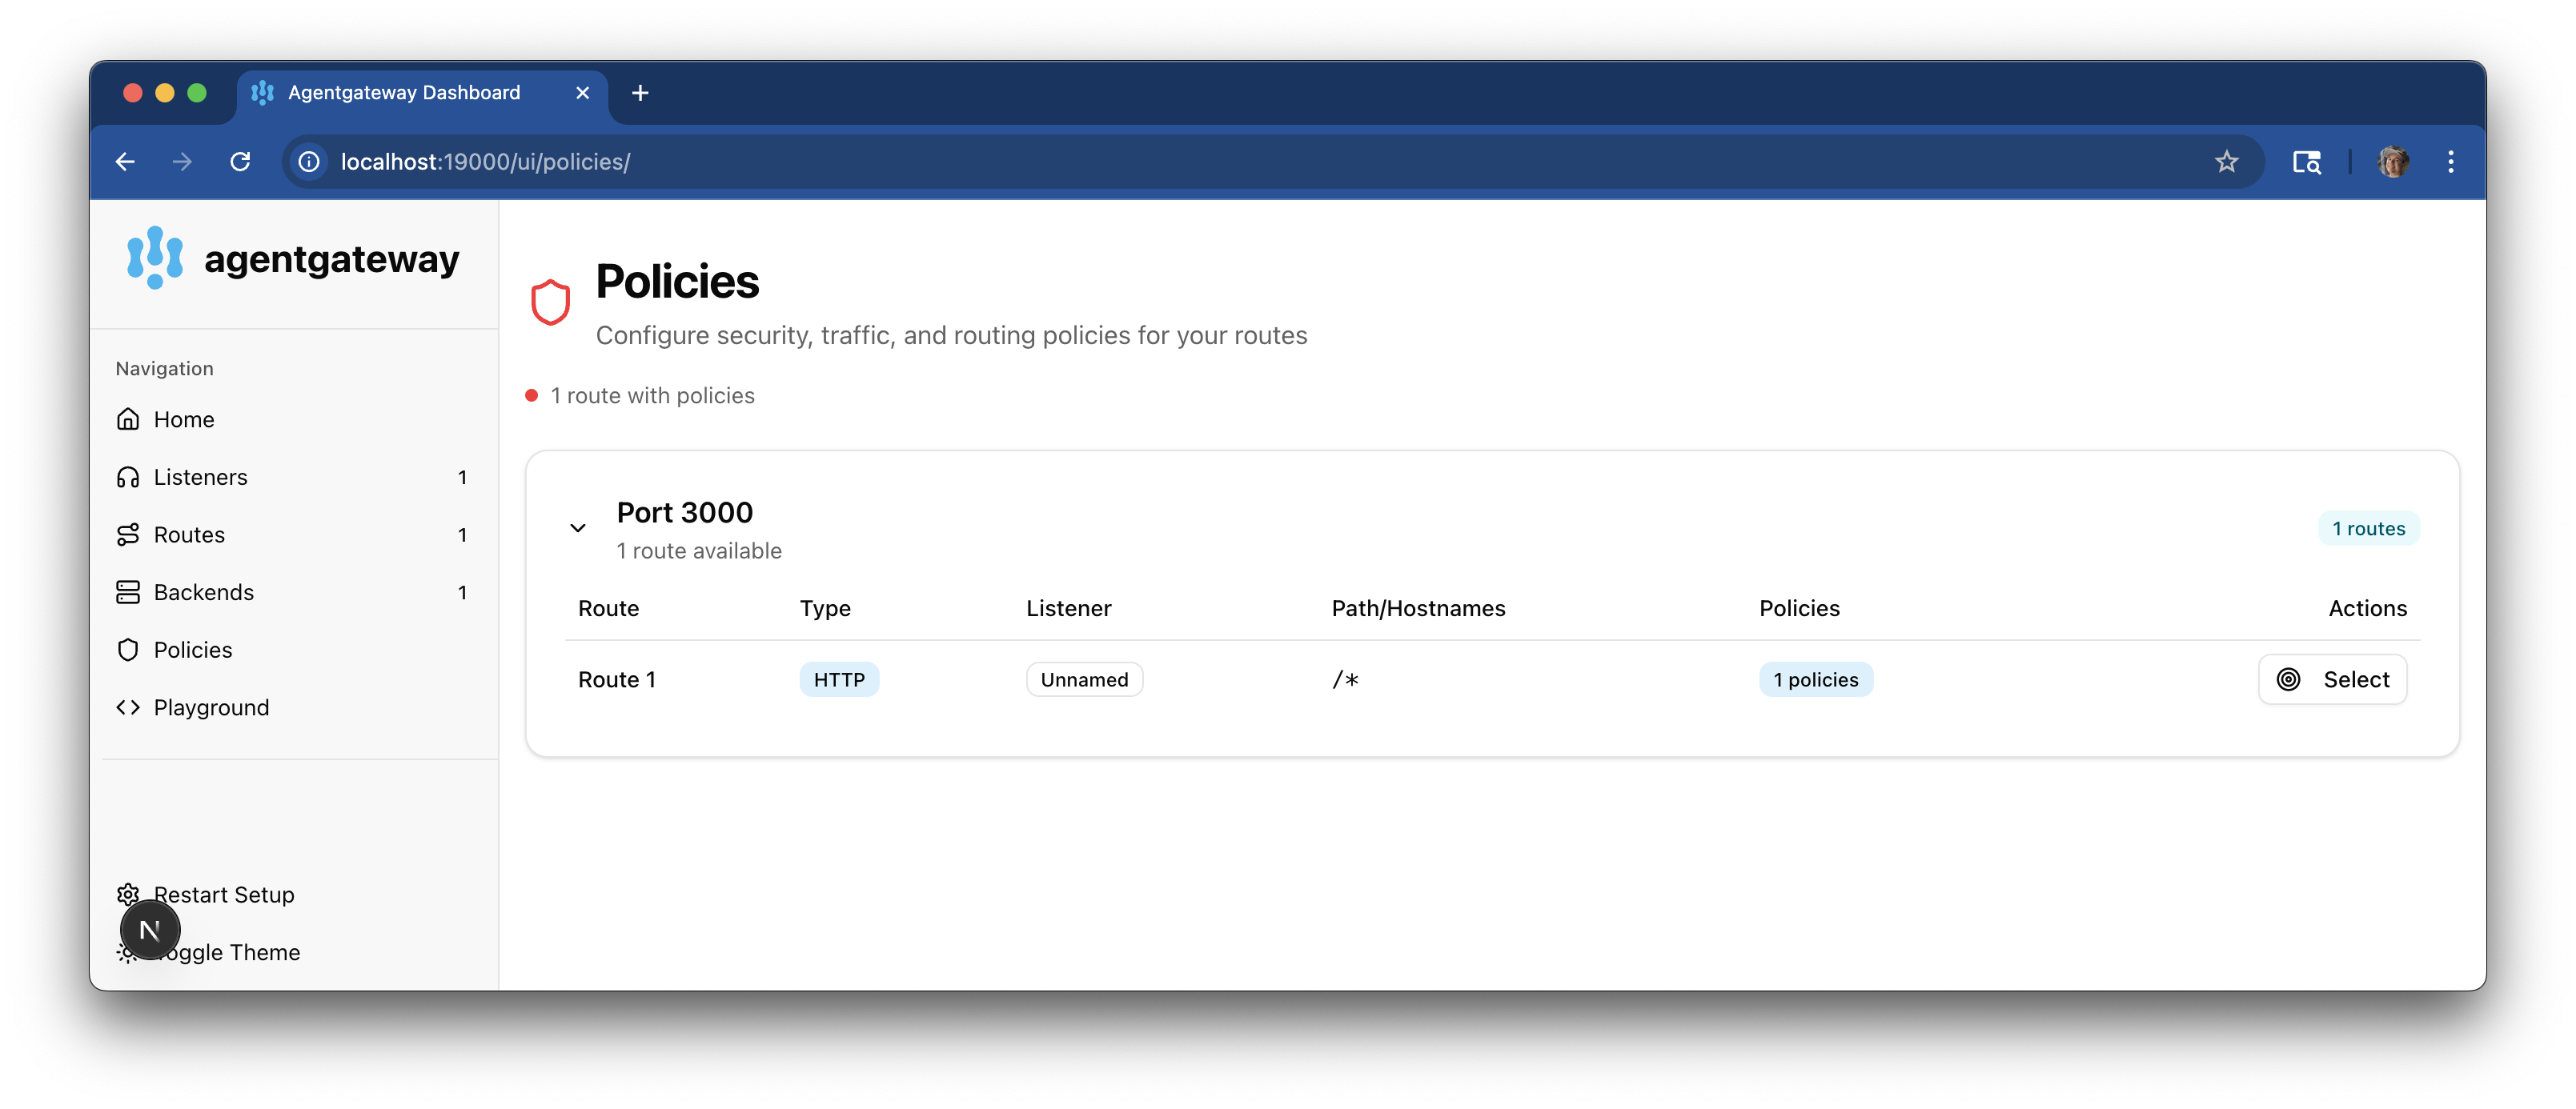
Go to the Policies overview and review your route and policy configuration. To learn more about policies, see the About policies docs.
-
Connect to the MCP test server with the agentgateway UI playground.
-
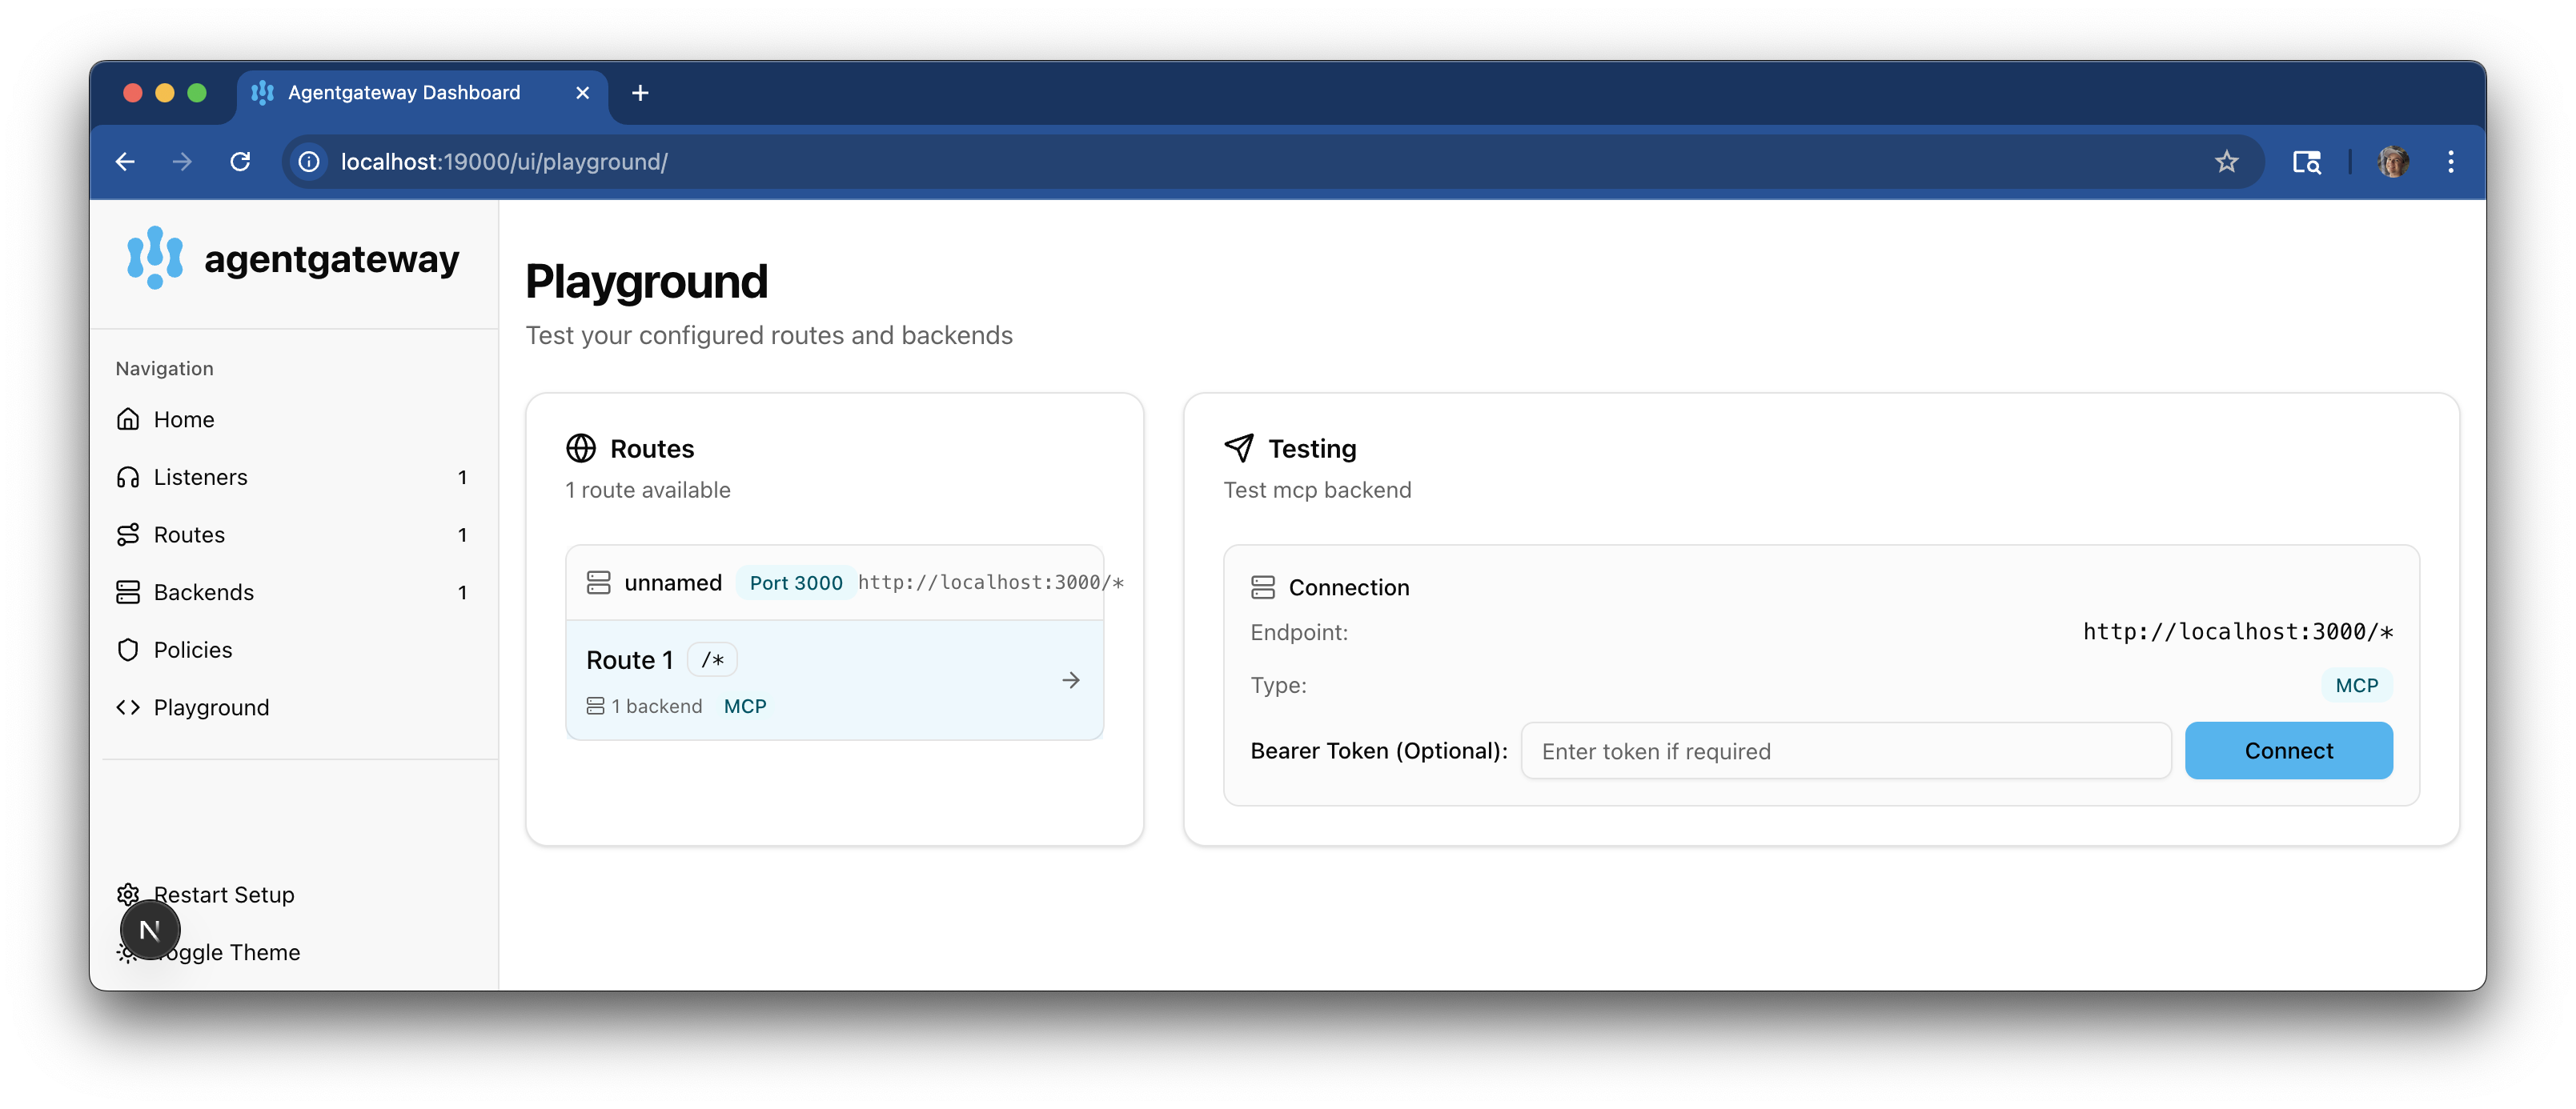
Go to the agentgateway UI Playground.
-
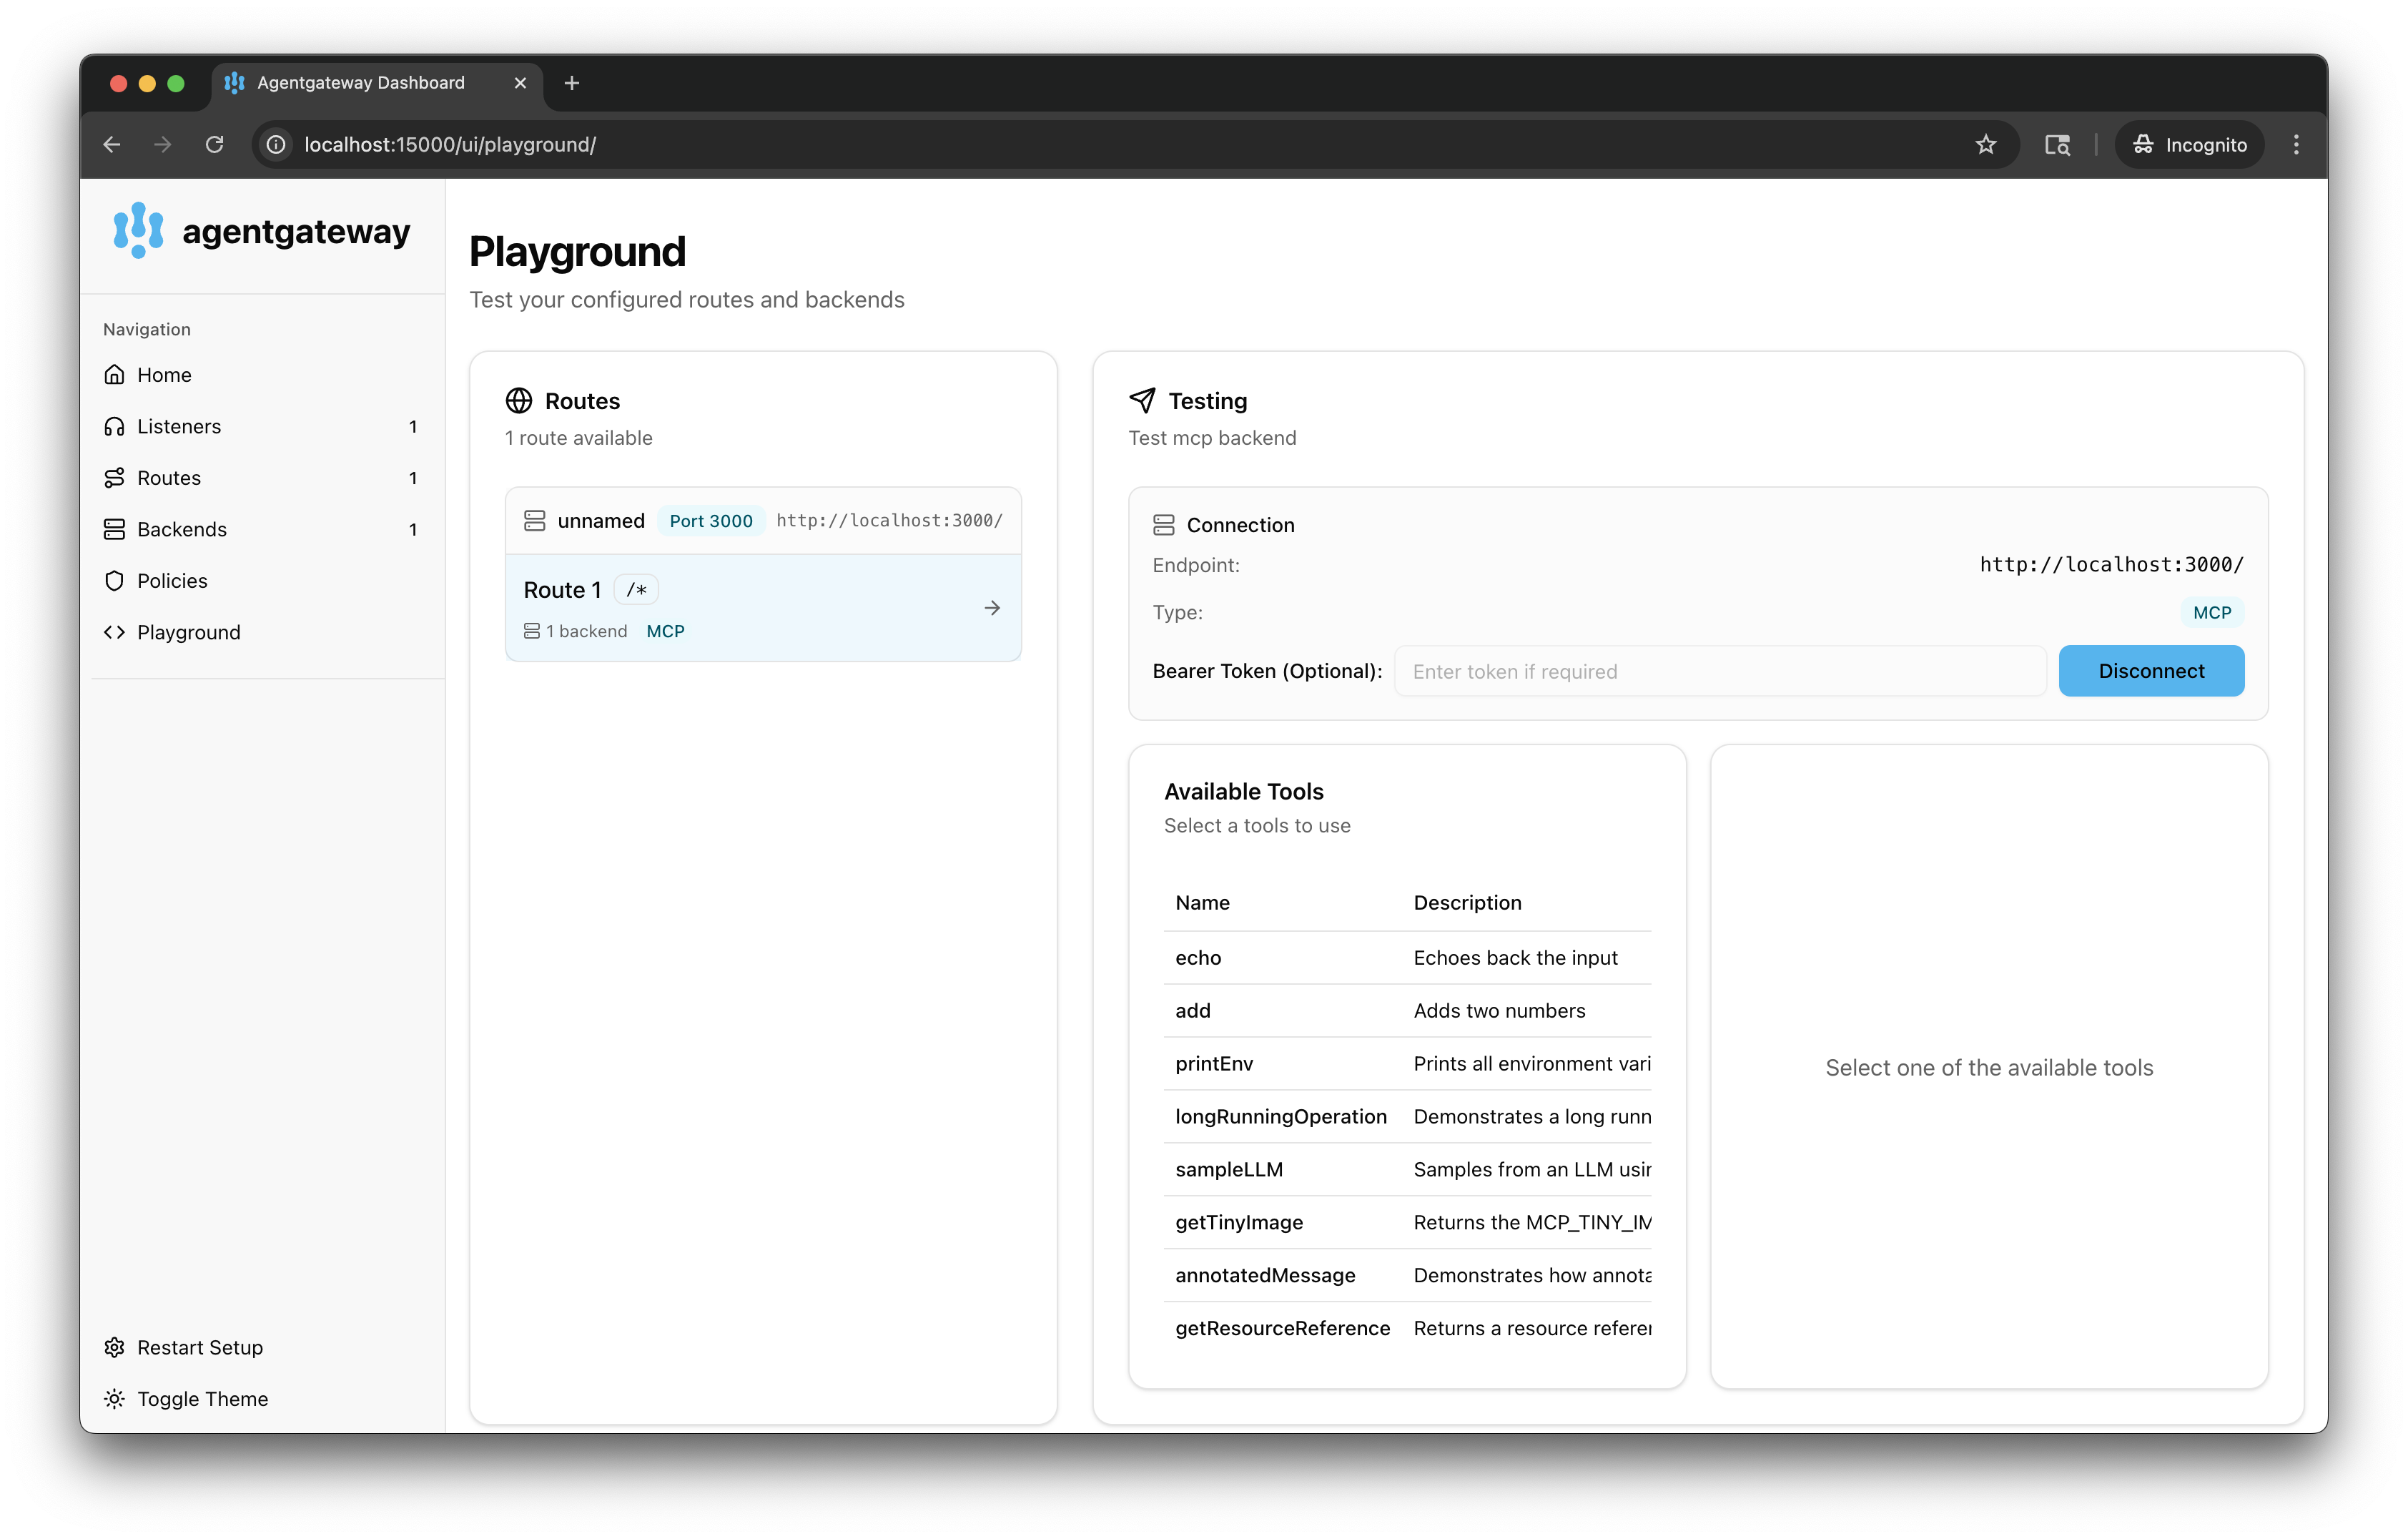
In the Testing card, review your Connection details and click Connect. The agentgateway UI connects to the target that you configured and retrieves the tools that are exposed on the target.
-
Verify that you see a list of Available Tools.
-
-
Verify access to a tool.
-
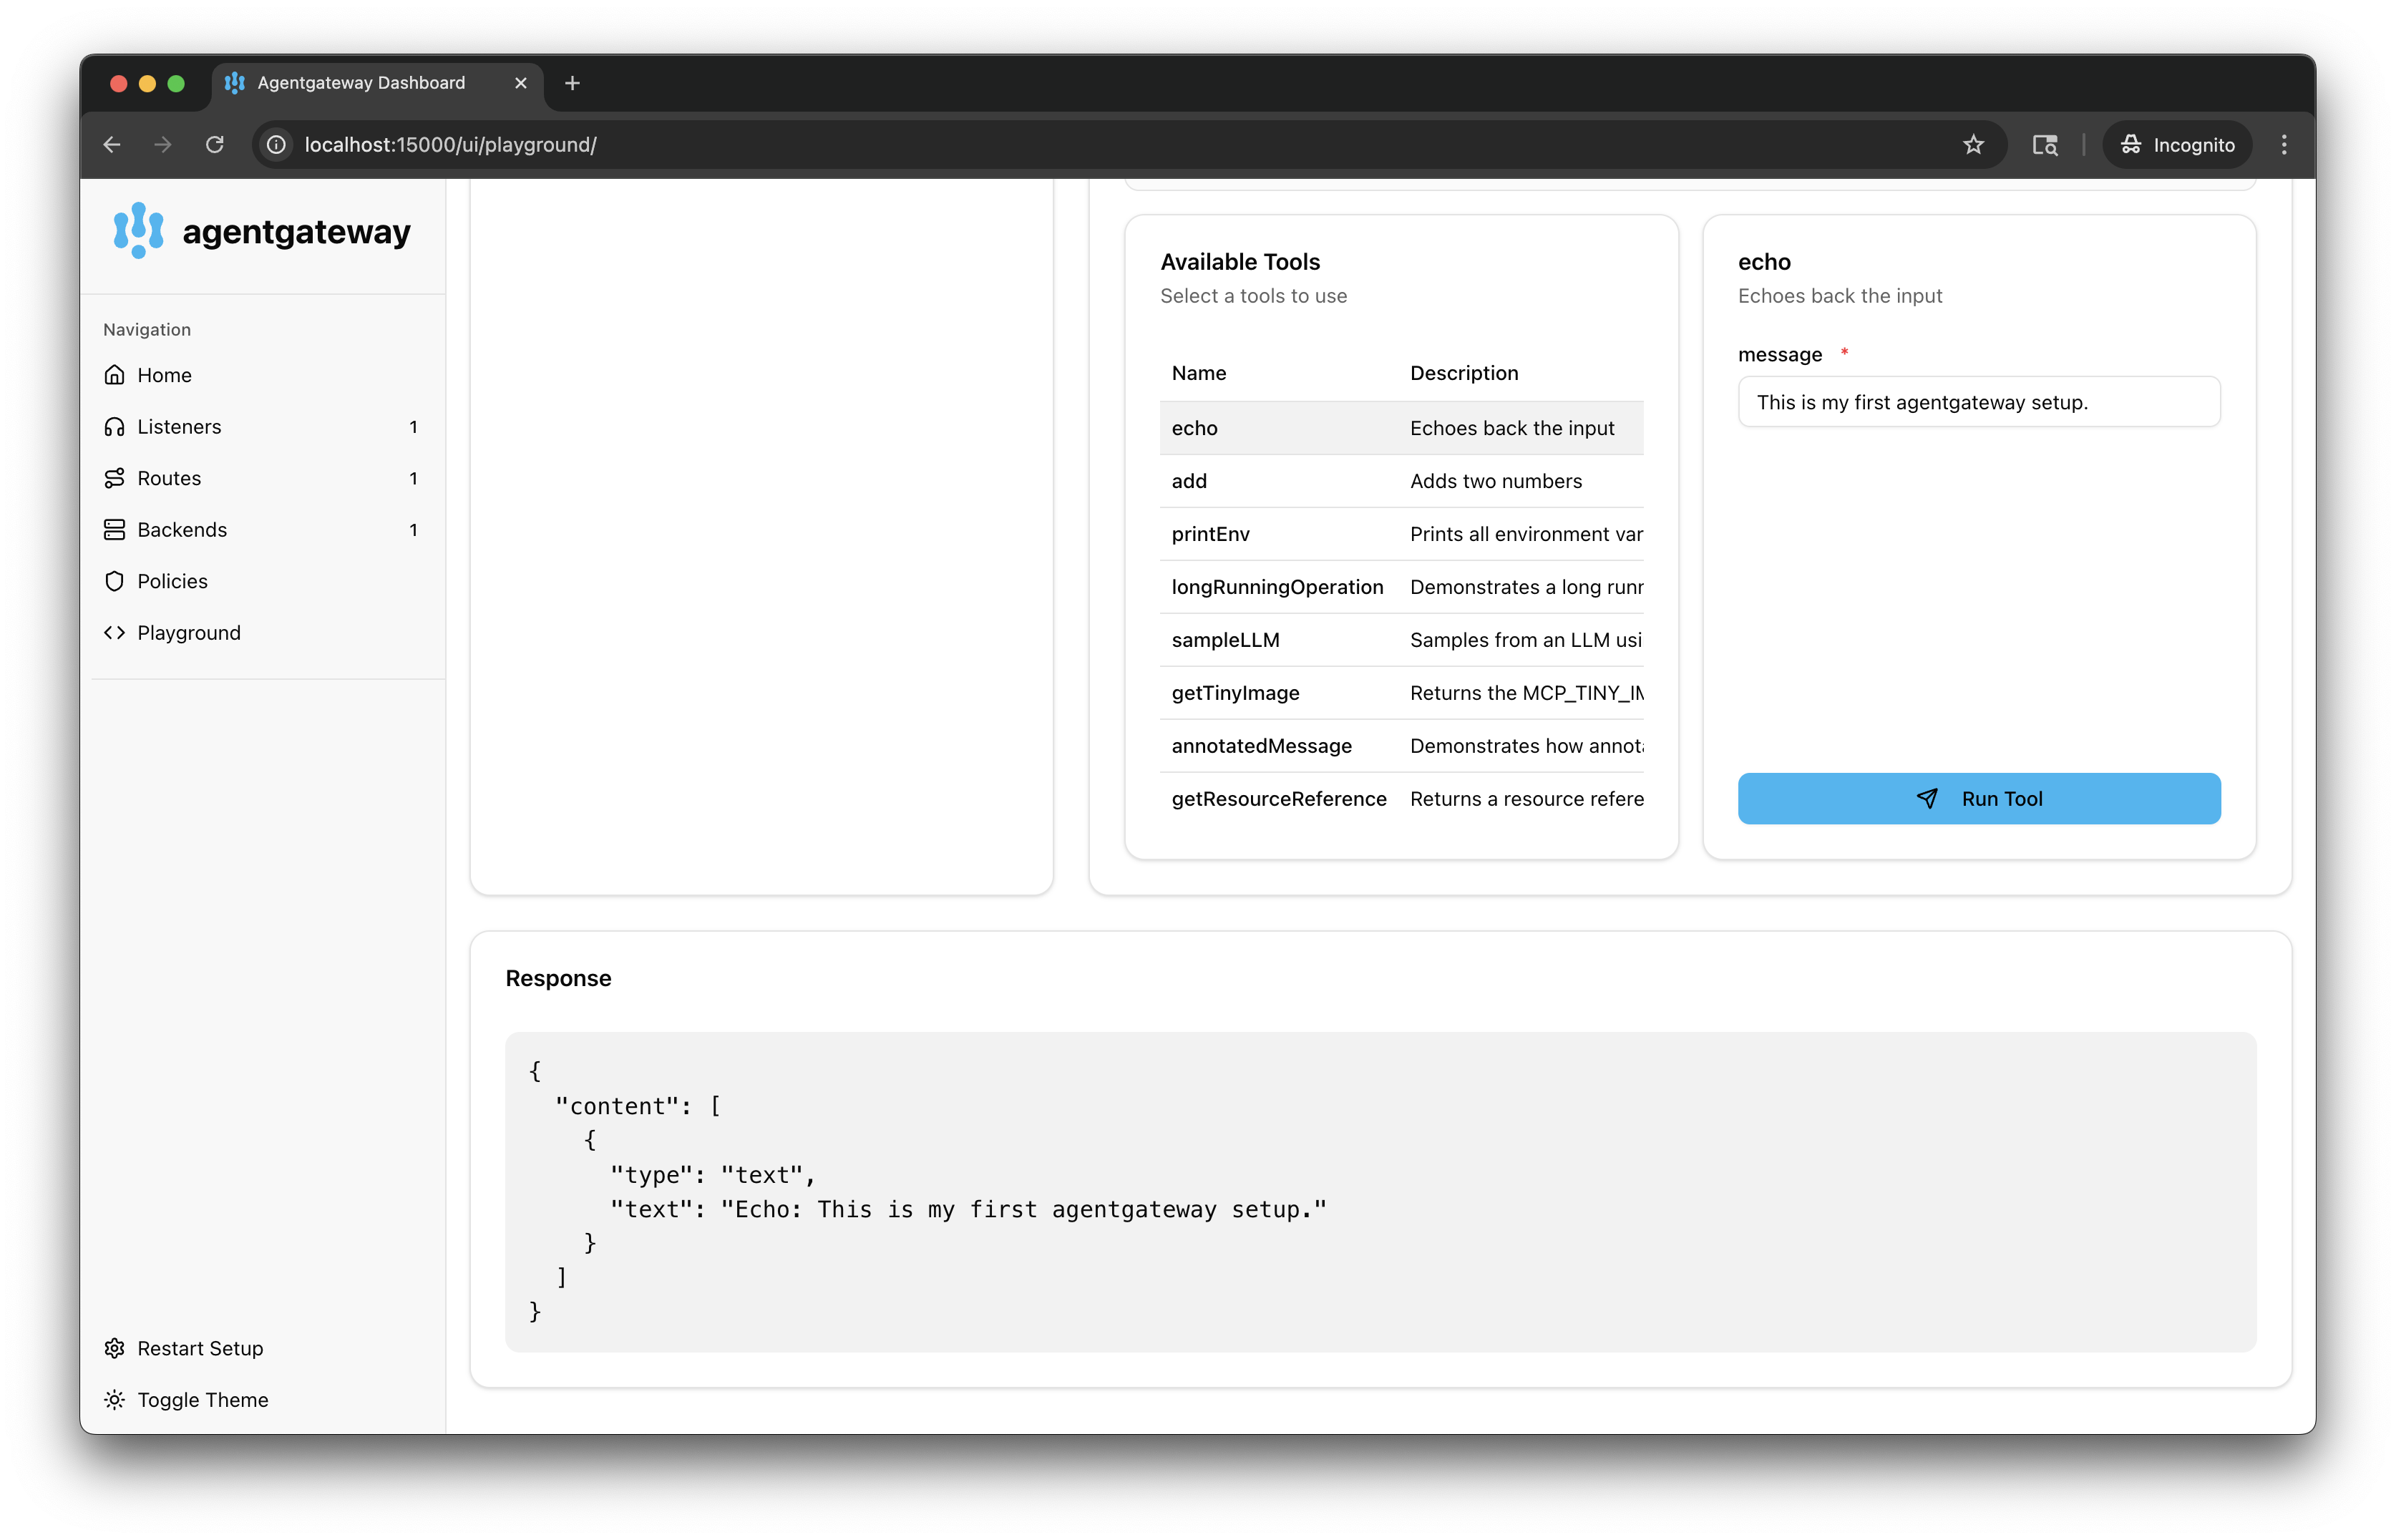
From the Available Tools list, select the
echotool. -
In the message field, enter any string, such as
This is my first agentgateway setup., and click Run Tool. -
Verify that you see your message echoed in the Response card.
-
Next
With your agentgateway up and running, you can now explore the following tasks:
- Configure other backends, such as multiple MCP servers, an A2A agent, or an OpenAPI server.
- Secure your agentgateway setup, such as by setting up a TLS listener, JWT authentication, and RBAC policies to control access to tools and agents.
- Explore metrics and traces that the agentgateway emits so that you can monitor the traffic that goes through your agentgateway.