OpenAPI
Expose an OpenAPI server on the agentgateway. Then, your OpenAPI endpoints become available as tools in the agentgateway UI playground.
Before you begin
- Install the
agentgatewaybinary. - Install the
uvPython package manager. - Make sure that you have
docker, such as by installing Docker Desktop. - For ARM64 machines: Install
mavento build the sample Petstore image from source.
Set up your OpenAPI server
Start by setting up your OpenAPI server. You need an OpenAPI spec, such as a JSON or YAML file, as well as a running server instance that hosts the API. These steps use the Swagger Petstore server as an example.
In your OpenAPI schema, make sure to set the URL of the server. If no URL is set, agentgateway defaults to /. Then, the paths in your OpenAPI schema get an extra slash concatenated, which can break requests. For example, /api/v1/ becomes //api/v1/.
To avoid this issue, explicitly set the URL value to / in the OpenAPI schema, such as the following example.
 "servers": [
    {
      "url": "/"
    }
  ]
Sample Petstore server
Run the sample Swagger Petstore server locally. The following steps show use Docker and Maven as an example to pull, build, and run the Petstore server. You can also use your own OpenAPI server and update the steps accordingly.
You can pull and run the sample Petstore server from Docker Hub.
-
Pull the Docker image for the Petstore server.
docker pull swaggerapi/petstore3:unstable -
Run the Petstore server on port 8080.
docker run --name swaggerapi-petstore3 -d -p 8080:8080 swaggerapi/petstore3:unstable
Build the Docker image from the source code. The example builds the image for an ARM64 machine.
-
Clone the Swagger Petstore repository.
git clone https://github.com/swagger-api/swagger-petstore.git cd swagger-petstore -
Package the project with Maven.
mvn package -
Build the Docker image for your platform.
docker buildx build --platform=linux/arm64 -t swaggerapi/petstore3:arm64 . -
Run the Petstore server on port 8080.
docker run -d -p 8080:8080 swaggerapi/petstore3:arm64
Configure the agentgateway
-
From the directory where you plan to run agentgateway, download and review the OpenAPI schema for the Petstore server.
curl http://localhost:8080/api/v3/openapi.json > openapi.json -
Download an OpenAPI configuration for your agentgateway.
curl -L https://raw.githubusercontent.com/agentgateway/agentgateway/refs/heads/main/examples/openapi/config.yaml -o config.yaml -
Update the agentgateway configuration file as follows:
- Listener: An HTTP listener is configured and exposed on port 3000.
- Backend: Use an MCP backend to set up an OpenAPI server based on the Petstore sample app.
- OpenAPI schema: In the
openapitarget of the configuration file, update thefilefield to point to the OpenAPI schema that you downloaded earlier. - CORS policy: To use the agentgateway UI playground later, add the following CORS policy to your
config.yamlfile. The config automatically reloads when you save the file.
open config.yamlbinds: - port: 3000 listeners: - routes: - policies: cors: allowOrigins: - "*" allowHeaders: - "*" backends: - mcp: targets: - name: openapi openapi: schema: file: openapi.json host: localhost port: 8080 -
Run the agentgateway.
agentgateway -f config.yaml
Verify access to the Petstore APIs
-
Open the agentgateway UI to view your listener and backend configuration.
-
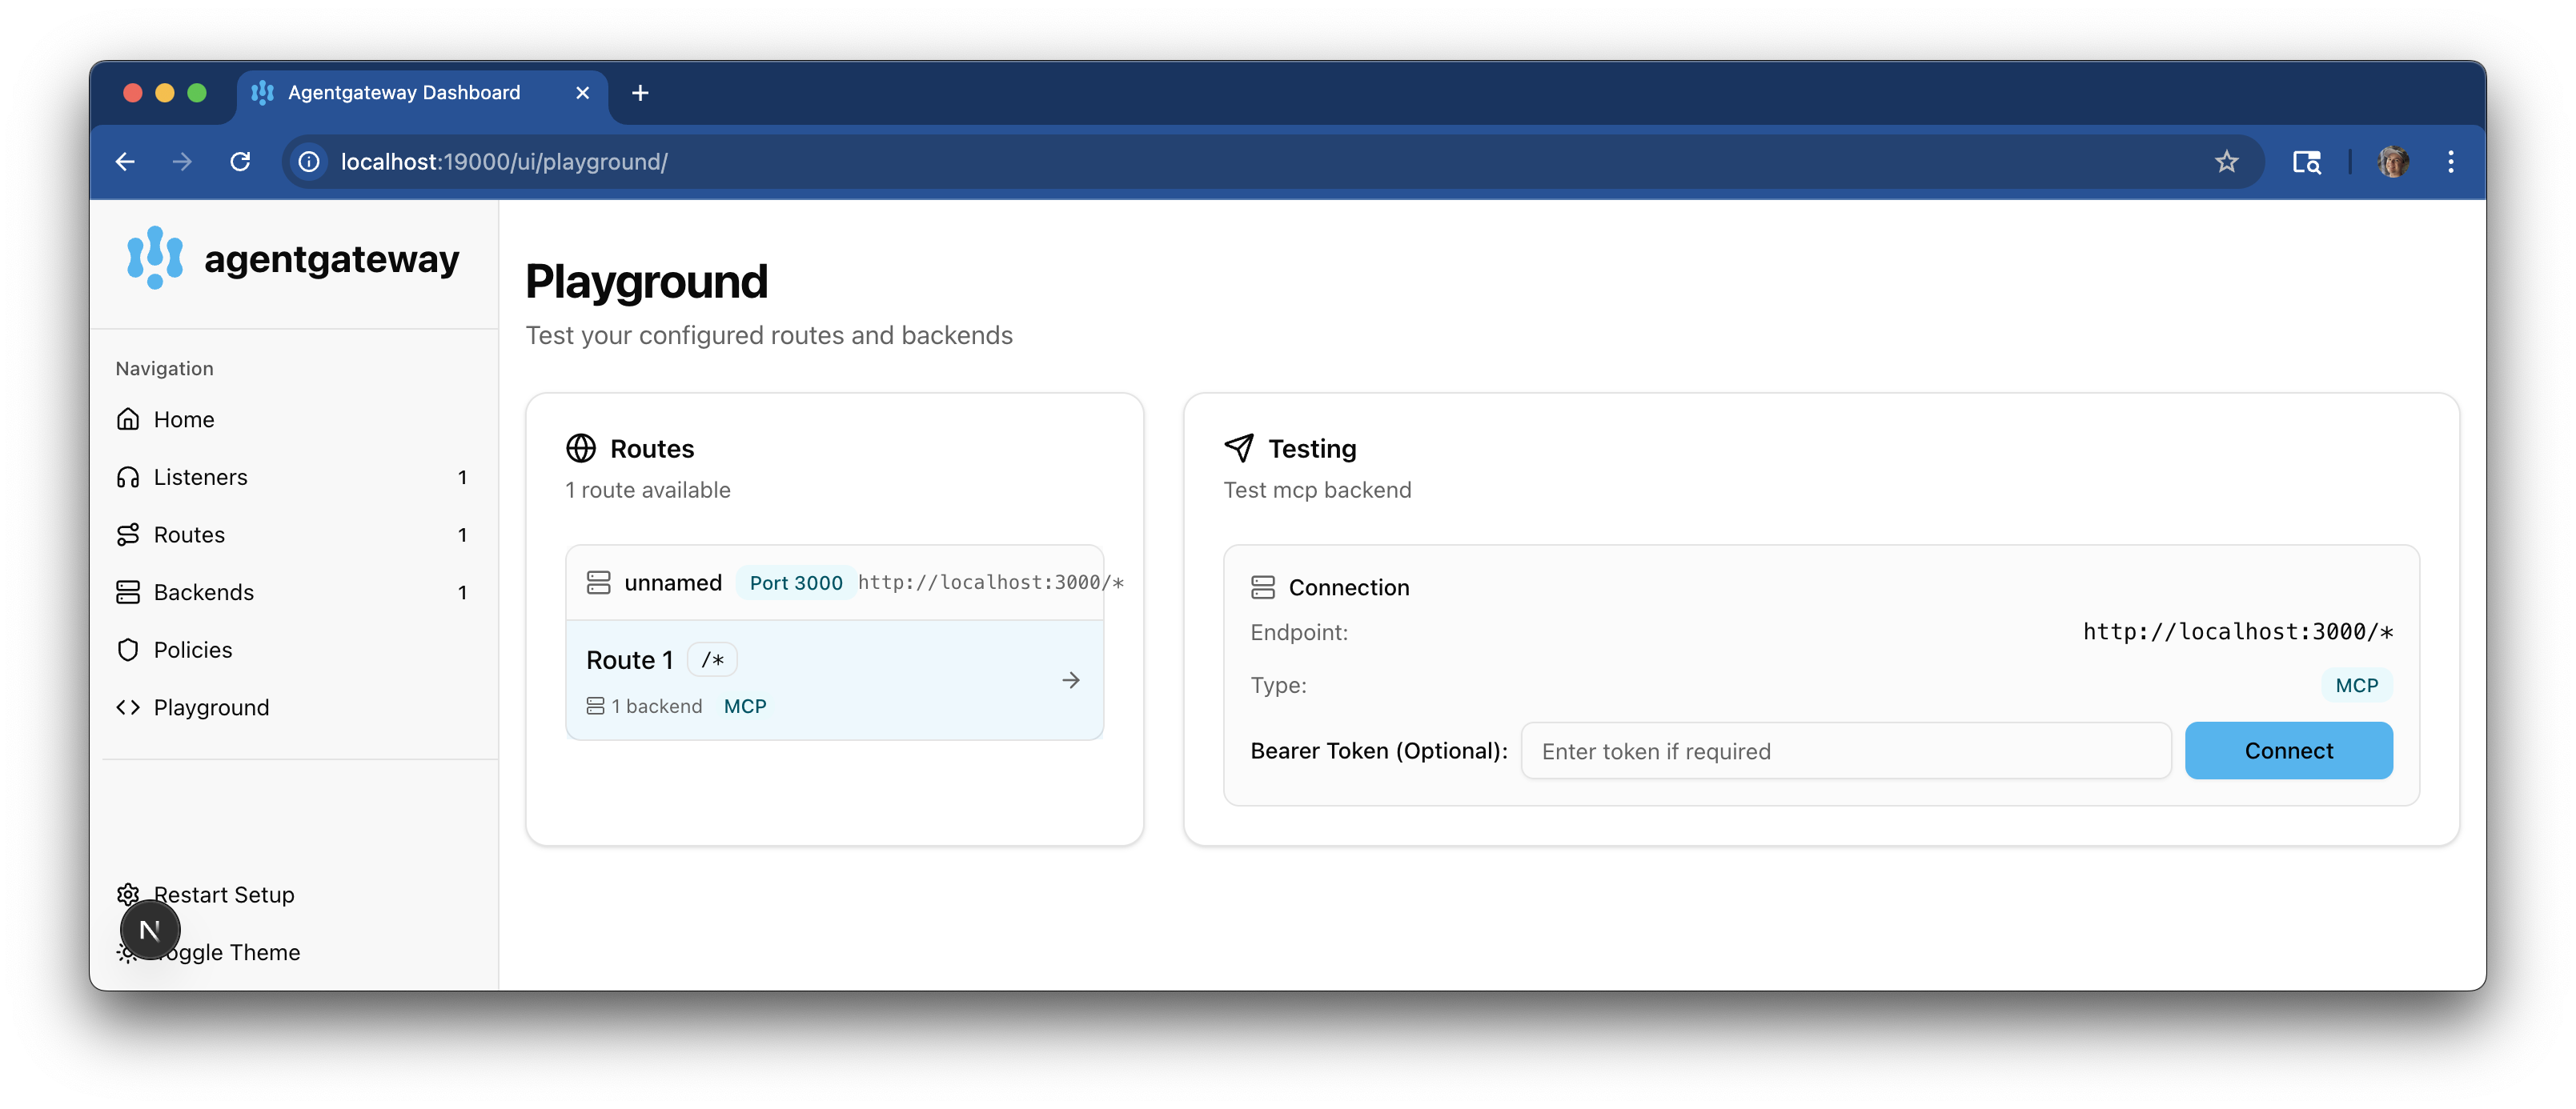
Connect to the OpenAPI server with the agentgateway UI playground.
-
From the navigation menu, click Playground.

-
In the Testing card, review your Connection details and click Connect. The agentgateway UI connects to the target that you configured and retrieves the APIs that are exposed on the target.
-
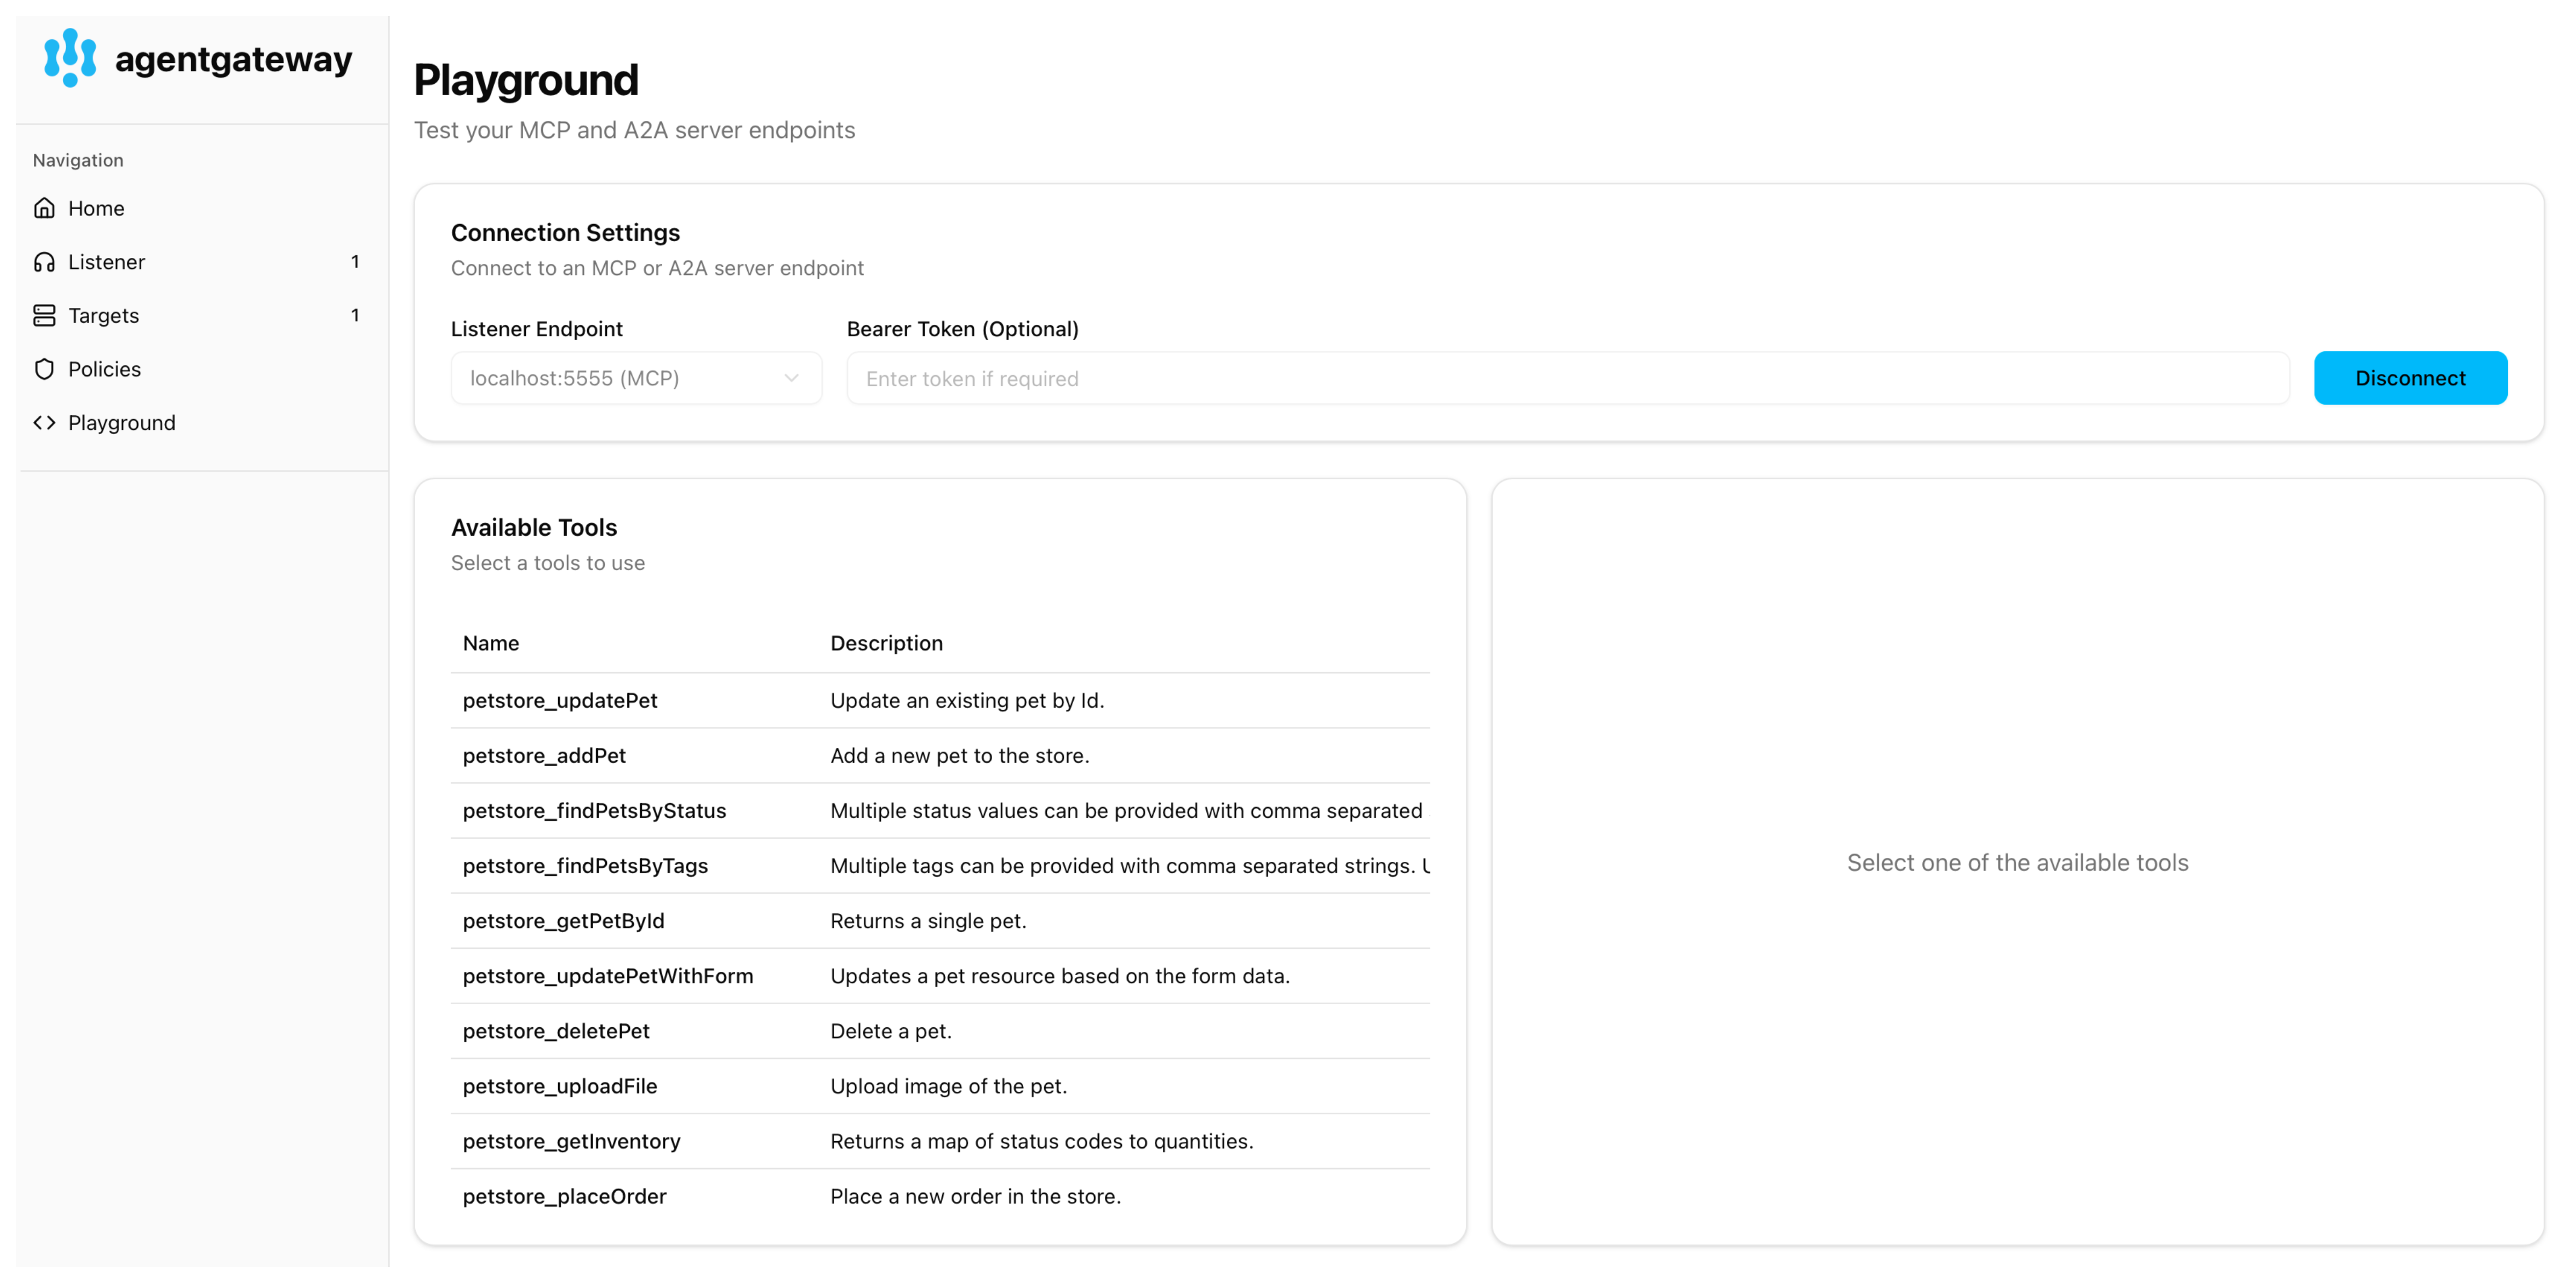
Verify that you see the Petstore APIs from the OpenAPI spec as a list of Available Tools

-
-
Verify access to the Petstore APIs.
-
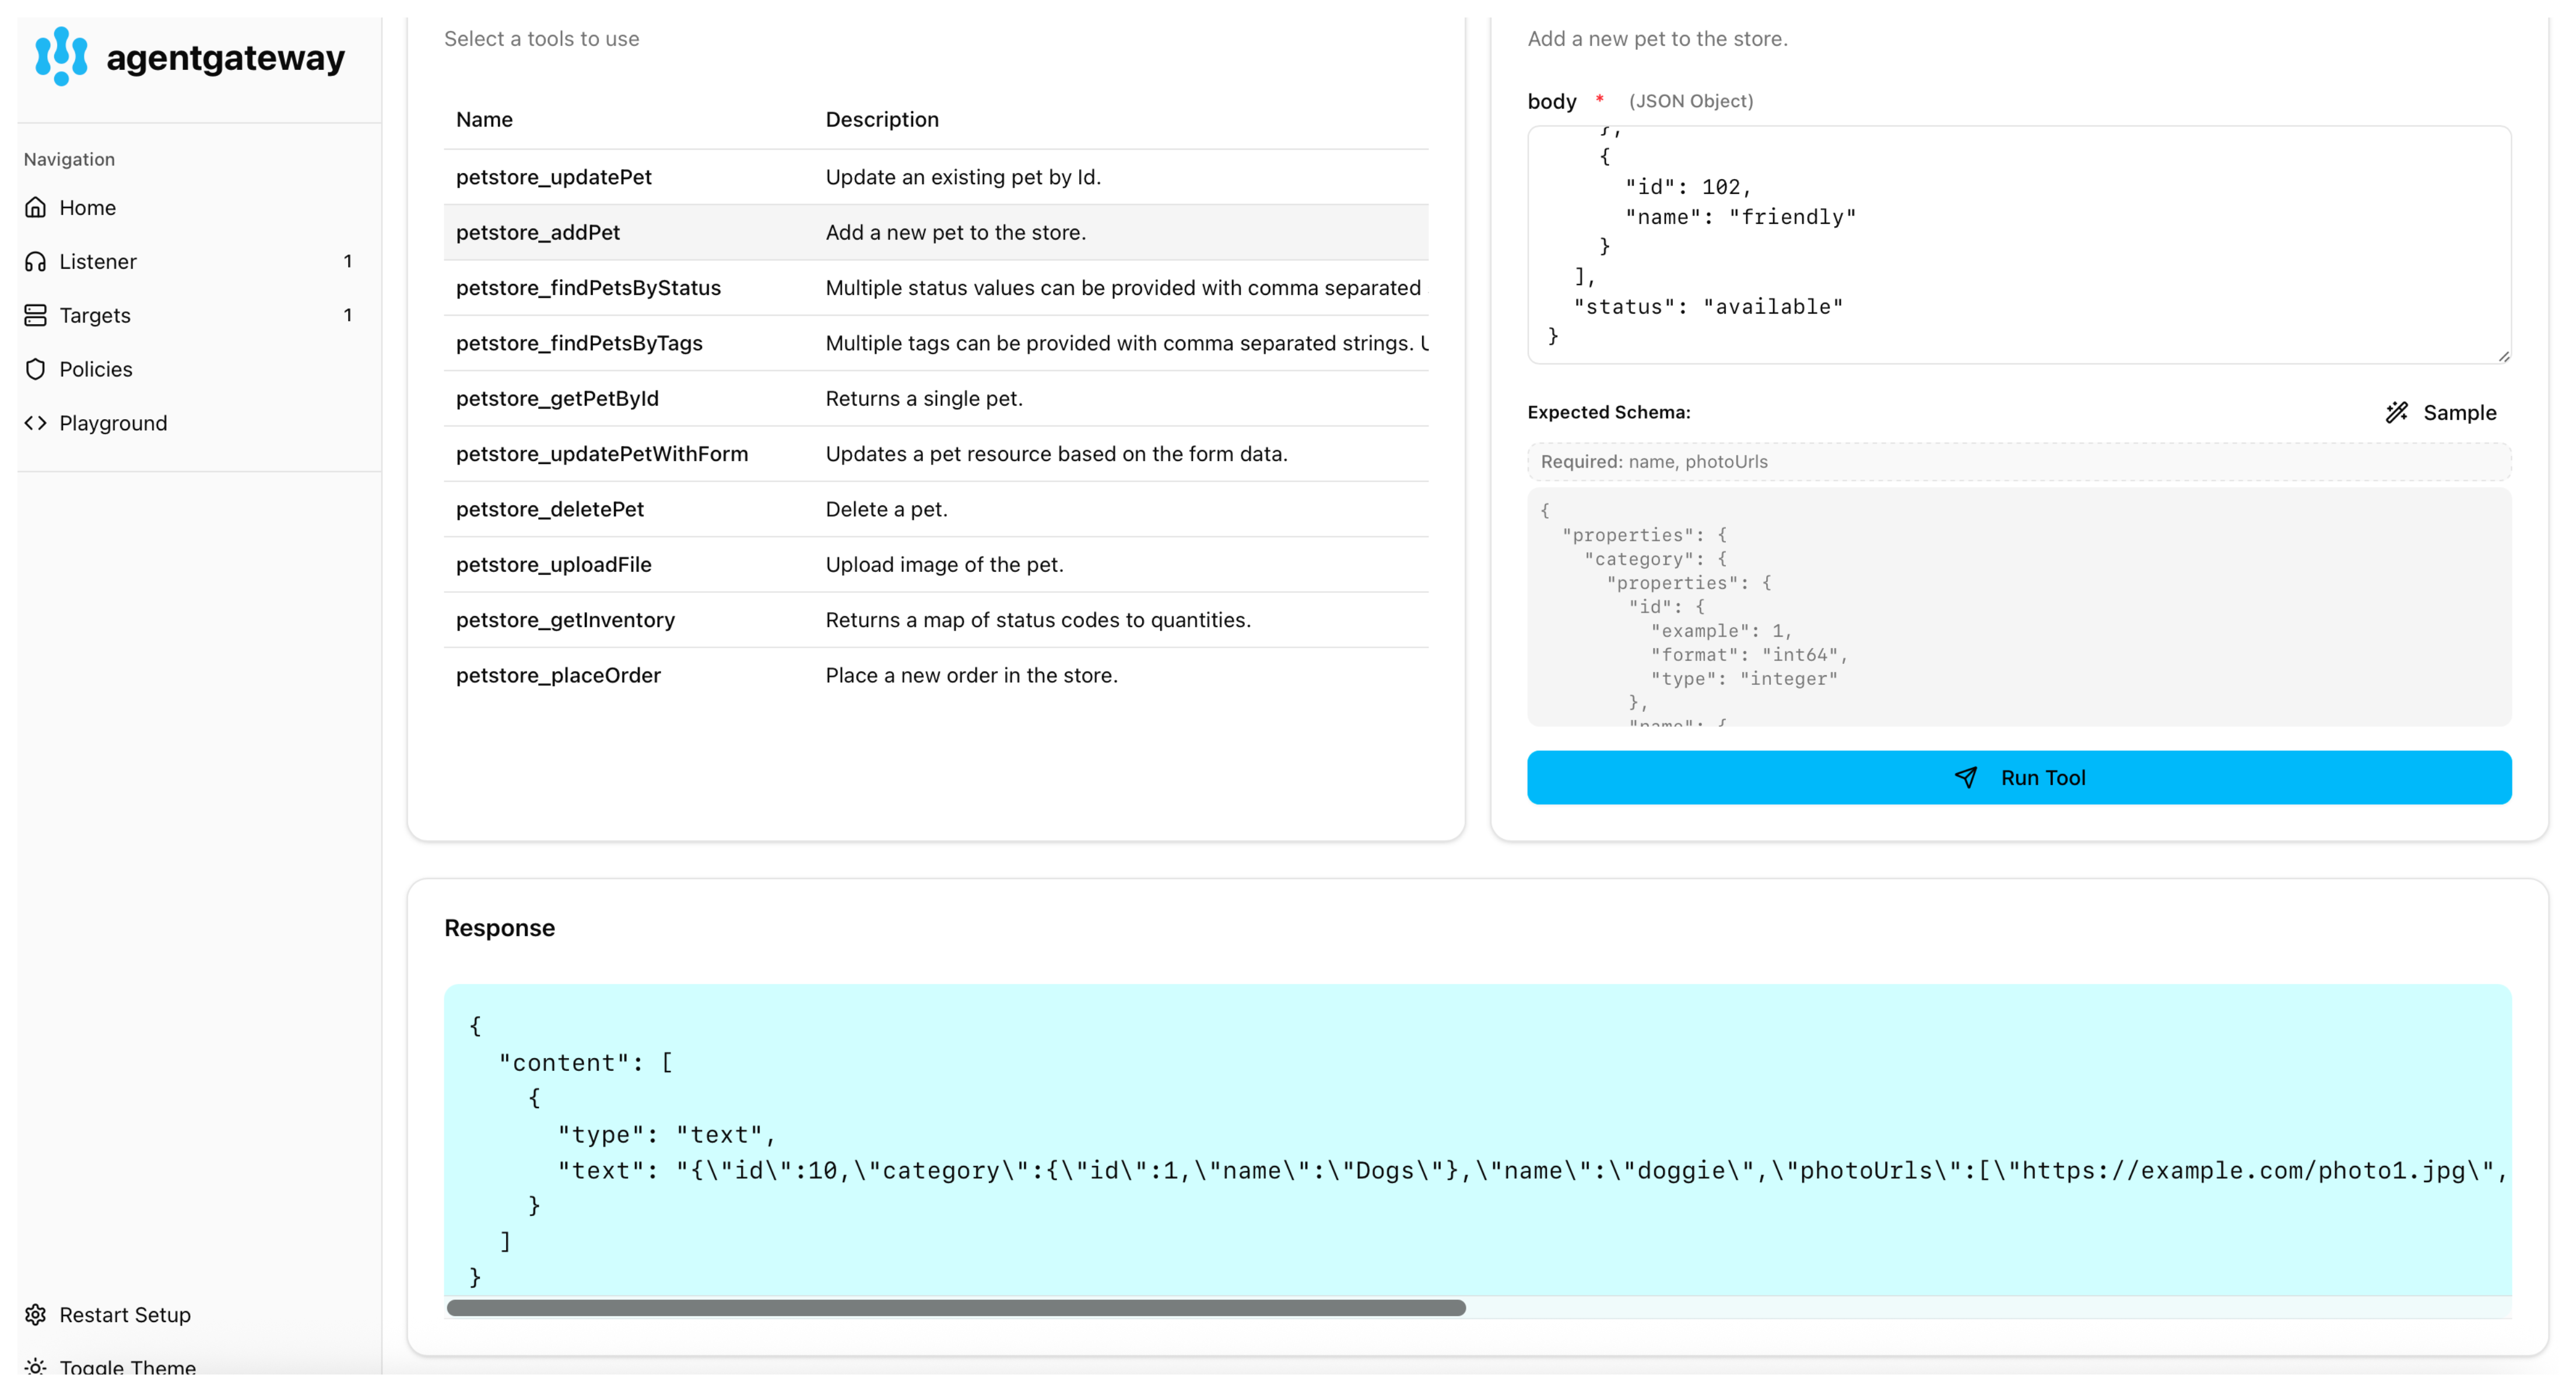
Select the addPet API.
-
In the body field, enter the details for your pet, such as the ID and name for the pet category and your pet, a URL to a photo of your pet, the pet’s status in the store, and optionally any tags. You can use the following example JSON file.
{ "id": 10, "category": { "id": 1, "name": "Dogs" }, "name": "doggie", "photoUrls": [ "https://example.com/photo1.jpg", "https://example.com/photo2.jpg" ], "tags": [ { "id": 101, "name": "fluffy" }, { "id": 102, "name": "friendly" } ], "status": "available" } -
Click Run Tool. Verify that the pet is added to the petstore.

-