A2A
Proxy requests to an agent that communicates via the agent-to-agent protocol (A2A).
About A2A
Agent-to-agent, or A2A, is an open protocol that enables communication and interoperability between opaque agentic applications. Developed by Google, A2A defines a common language that enables agents to show their capabilities and help them negotiate how they interact with the user, such as via text, forms, or bidirectional audio or video, irrespective of the framework or vendor they are built on.
Before you begin
Set up the agentgateway
Create an agentgateway that proxies requests to the ADK agent that you create later.
-
Create a listener and target configuration for your agentgateway. In this example, the agentgateway is configured as follows:
- Listener: An HTTP listener is configured for the A2A protocol and exposed on port 3000.
- Backend: The agentgateway targets a backend on your localhost port 9999, which you create in a subsequent step.
cat <<EOF > config.yaml # yaml-language-server: $schema=../../schema/local.json binds: - port: 3000 listeners: - routes: - policies: # Mark this route as a2a traffic a2a: {} backends: - host: localhost:9999 EOF -
Create the agentgateway.
agentgateway -f config.yaml
Set up an ADK agent
The following steps use the A2A sample repository.
-
Clone the A2A sample repository.
git clone https://github.com/a2aproject/a2a-samples.git -
Run the Hello World agent.
uv run --directory a2a-samples/samples/python/agents/helloworld .
Verify the A2A connection
-
In another terminal, run the client and send several test messages to the Hello World agent.
uv run --directory a2a-samples/samples/python/hosts/cli . --agent http://localhost:3000Example output:
======= Agent Card ========
{"capabilities":{"streaming":true},"defaultInputModes":["text"],"defaultOutputModes":["text"],"description":"Just a hello world agent","name":"Hello World Agent","protocolVersion":"0.2.5","skills":[{"description":"just returns hello world","examples":["hi","hello world"],"id":"hello_world","name":"Returns hello world","tags":["hello world"]}],"supportsAuthenticatedExtendedCard":true,"url":"http://localhost:3000","version":"1.0.0"}
=========  starting a new task ========

What do you want to send to the agent? (:q or quit to exit):
Type a sample message, such as
hi, press enter to skip select file, and then send the message by pressing enter again.The agent responded with
Hello Worldby taking a look at the end of the respond{"kind":"text","text":"Hello World"}],"role":"agent"} -
In another terminal tab, manually send a request to the agent card endpoint through agentgateway.
curl localhost:3000/.well-known/agent.json | jqExample output: Notice that the
urlfield is rewritten to point to the agentgateway.{ "capabilities": { "streaming": true }, "defaultInputModes": [ "text" ], "defaultOutputModes": [ "text" ], "description": "Just a hello world agent", "name": "Hello World Agent", "protocolVersion": "0.2.5", "skills": [ { "description": "just returns hello world", "examples": [ "hi", "hello world" ], "id": "hello_world", "name": "Returns hello world", "tags": [ "hello world" ] } ], "supportsAuthenticatedExtendedCard": true, "url": "http://localhost:3000", "version": "1.0.0" } -
In the tab where the agentgateway is running, verify that you see request logs from your client query to the Hello World agent, such as the following example.
2025-07-10T18:10:46.547567Z info request gateway=bind/3000 listener=listener0 route=route0 endpoint=localhost:9999 src.addr=[::1]:59257 http.method=POST http.host=localhost http.path=/ http.version=HTTP/1.1 http.status=200 a2a.method=message/stream duration=3ms
Try out the playground
Use the agentgateway playground to send a request to the ADK agent that you set up earlier.
-
Open the agentgateway UI.
-
Connect to the MCP server with the agentgateway UI playground.
-
In your
config.yamlfile, add the following CORS policy to allow requests from the agentgateway UI playground. The config automatically reloads when you save the file.binds: - post: 3000 listeners: - routes: - policies: cors: allowOrigins: - "*" allowHeaders: - "*" ... -
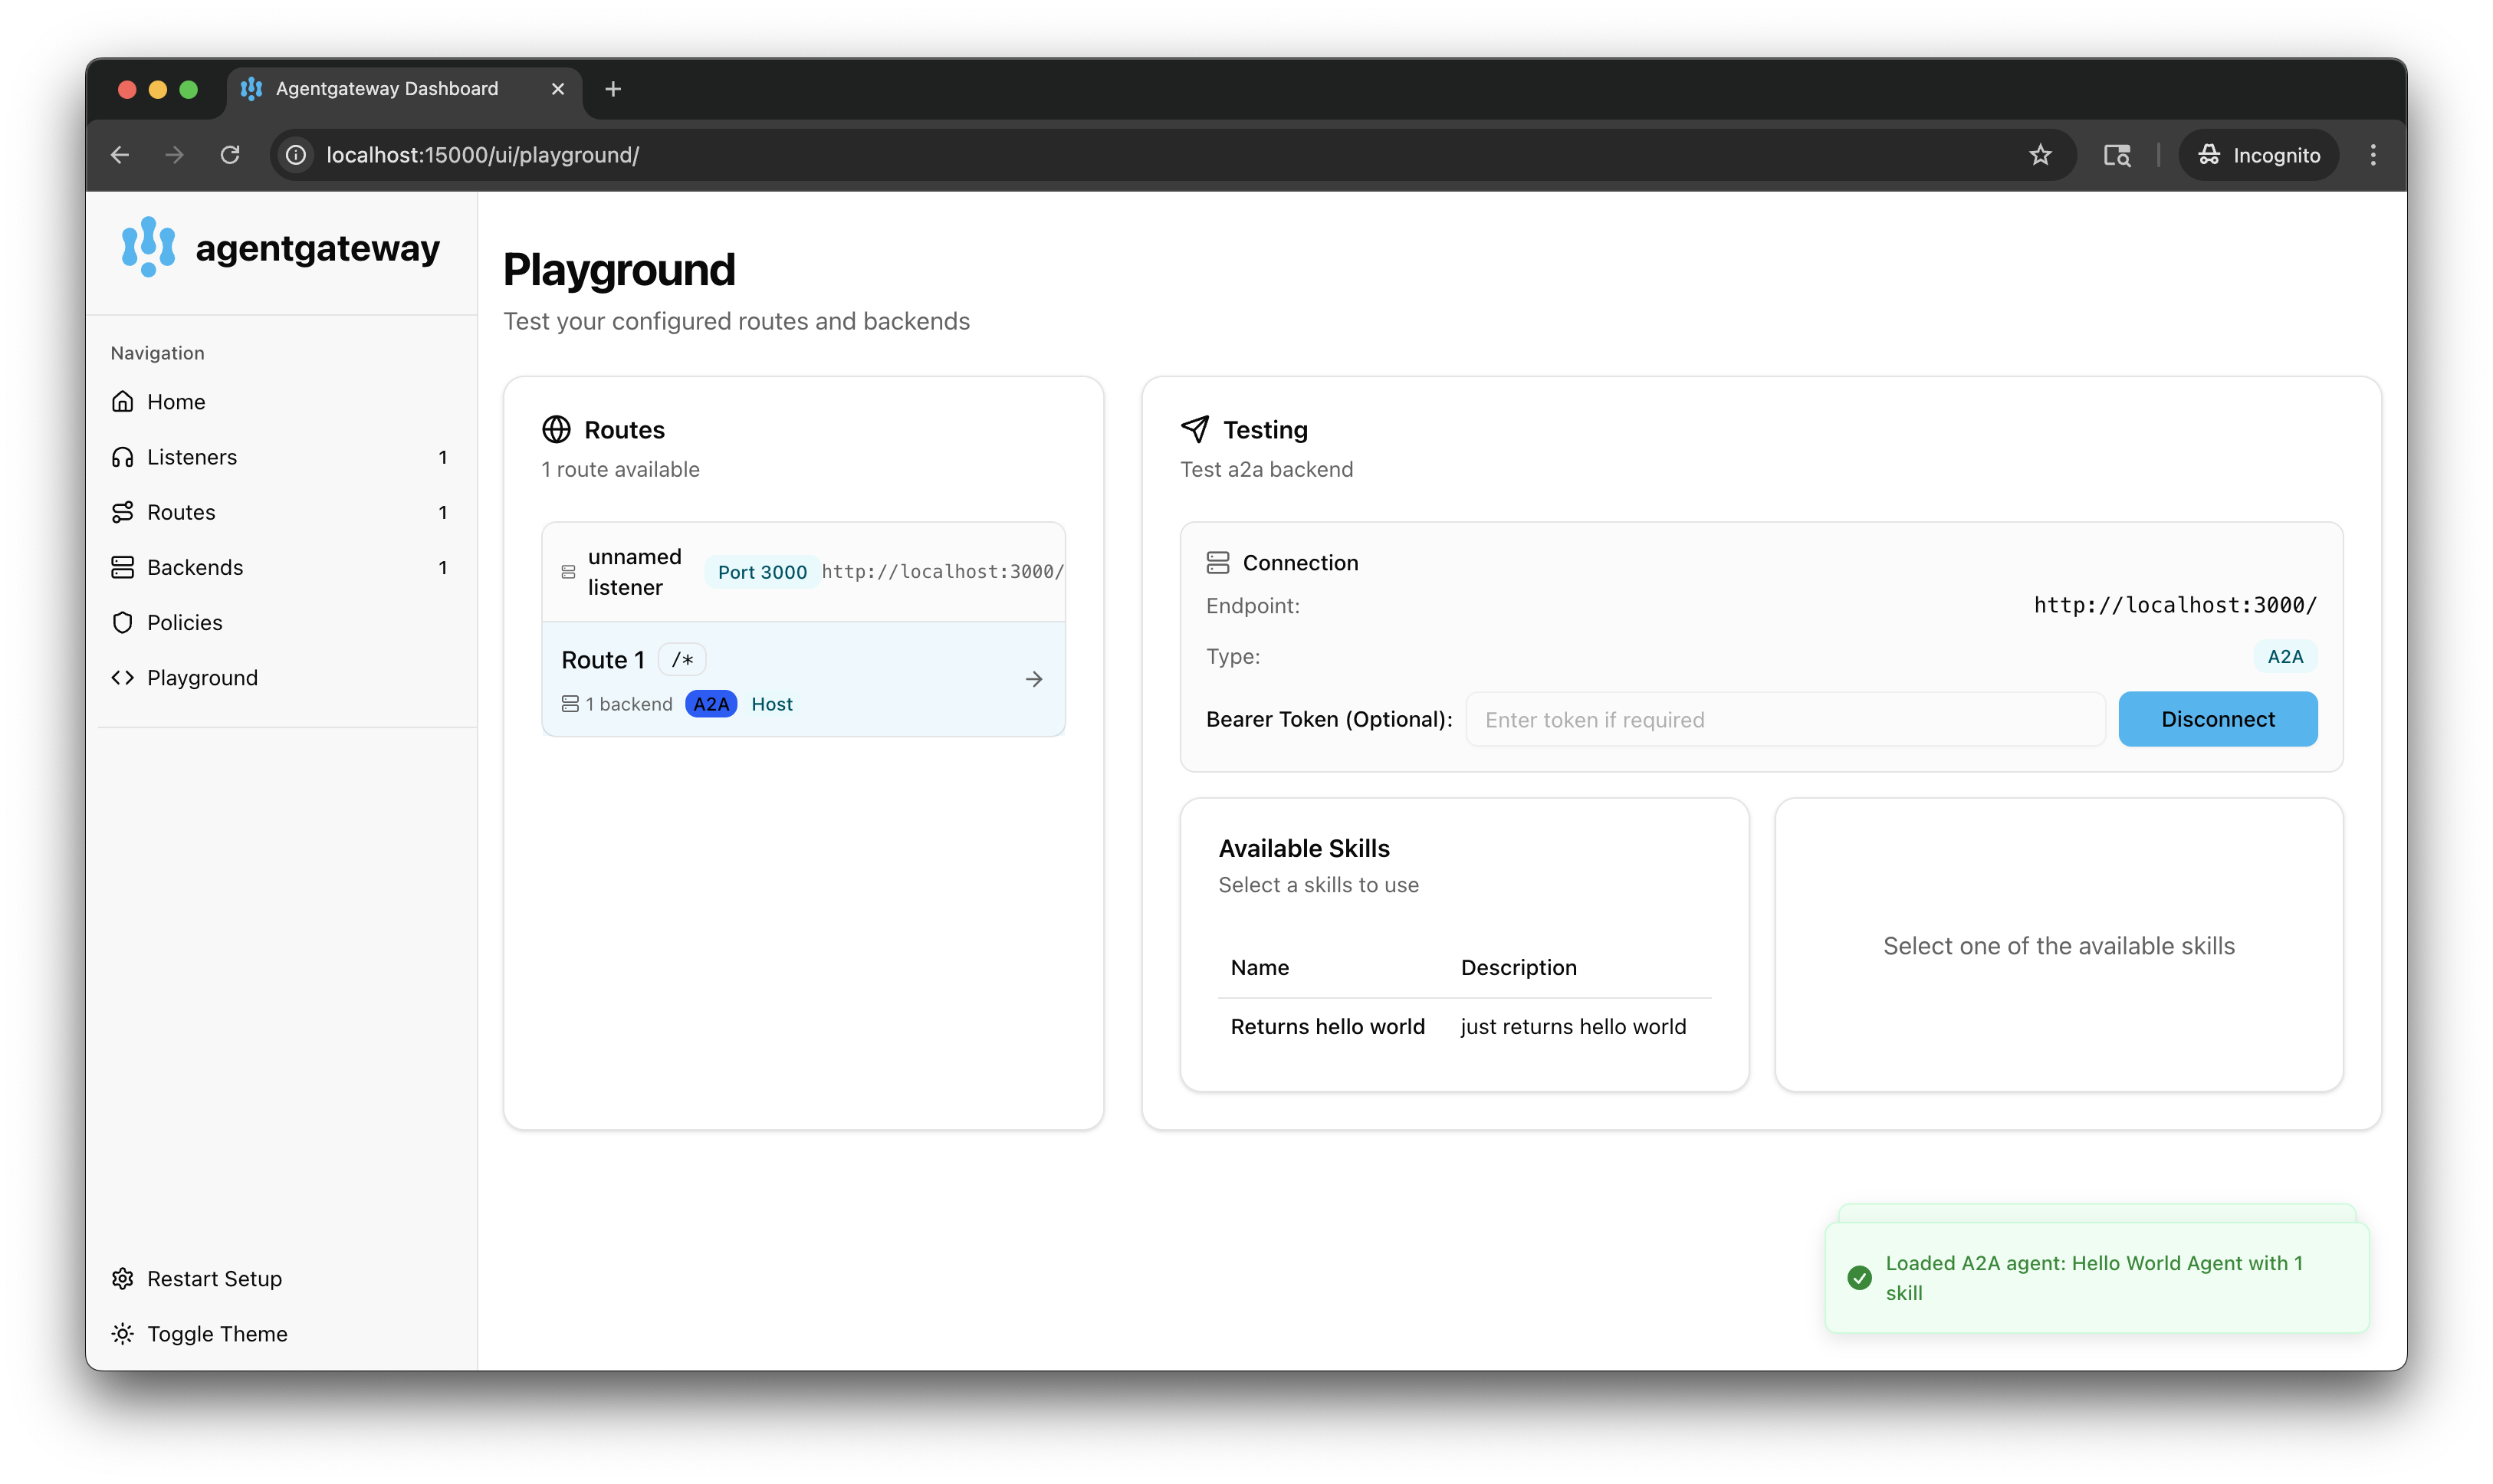
Go to the agentgateway UI Playground.
-
In the Connection Settings card, select your listener and the A2A target, and click Connect. The agentgateway UI connects to the A2A target and retrieves all the skills that the target provides.
-
Verify that you see a list of Available Skills.

-
-
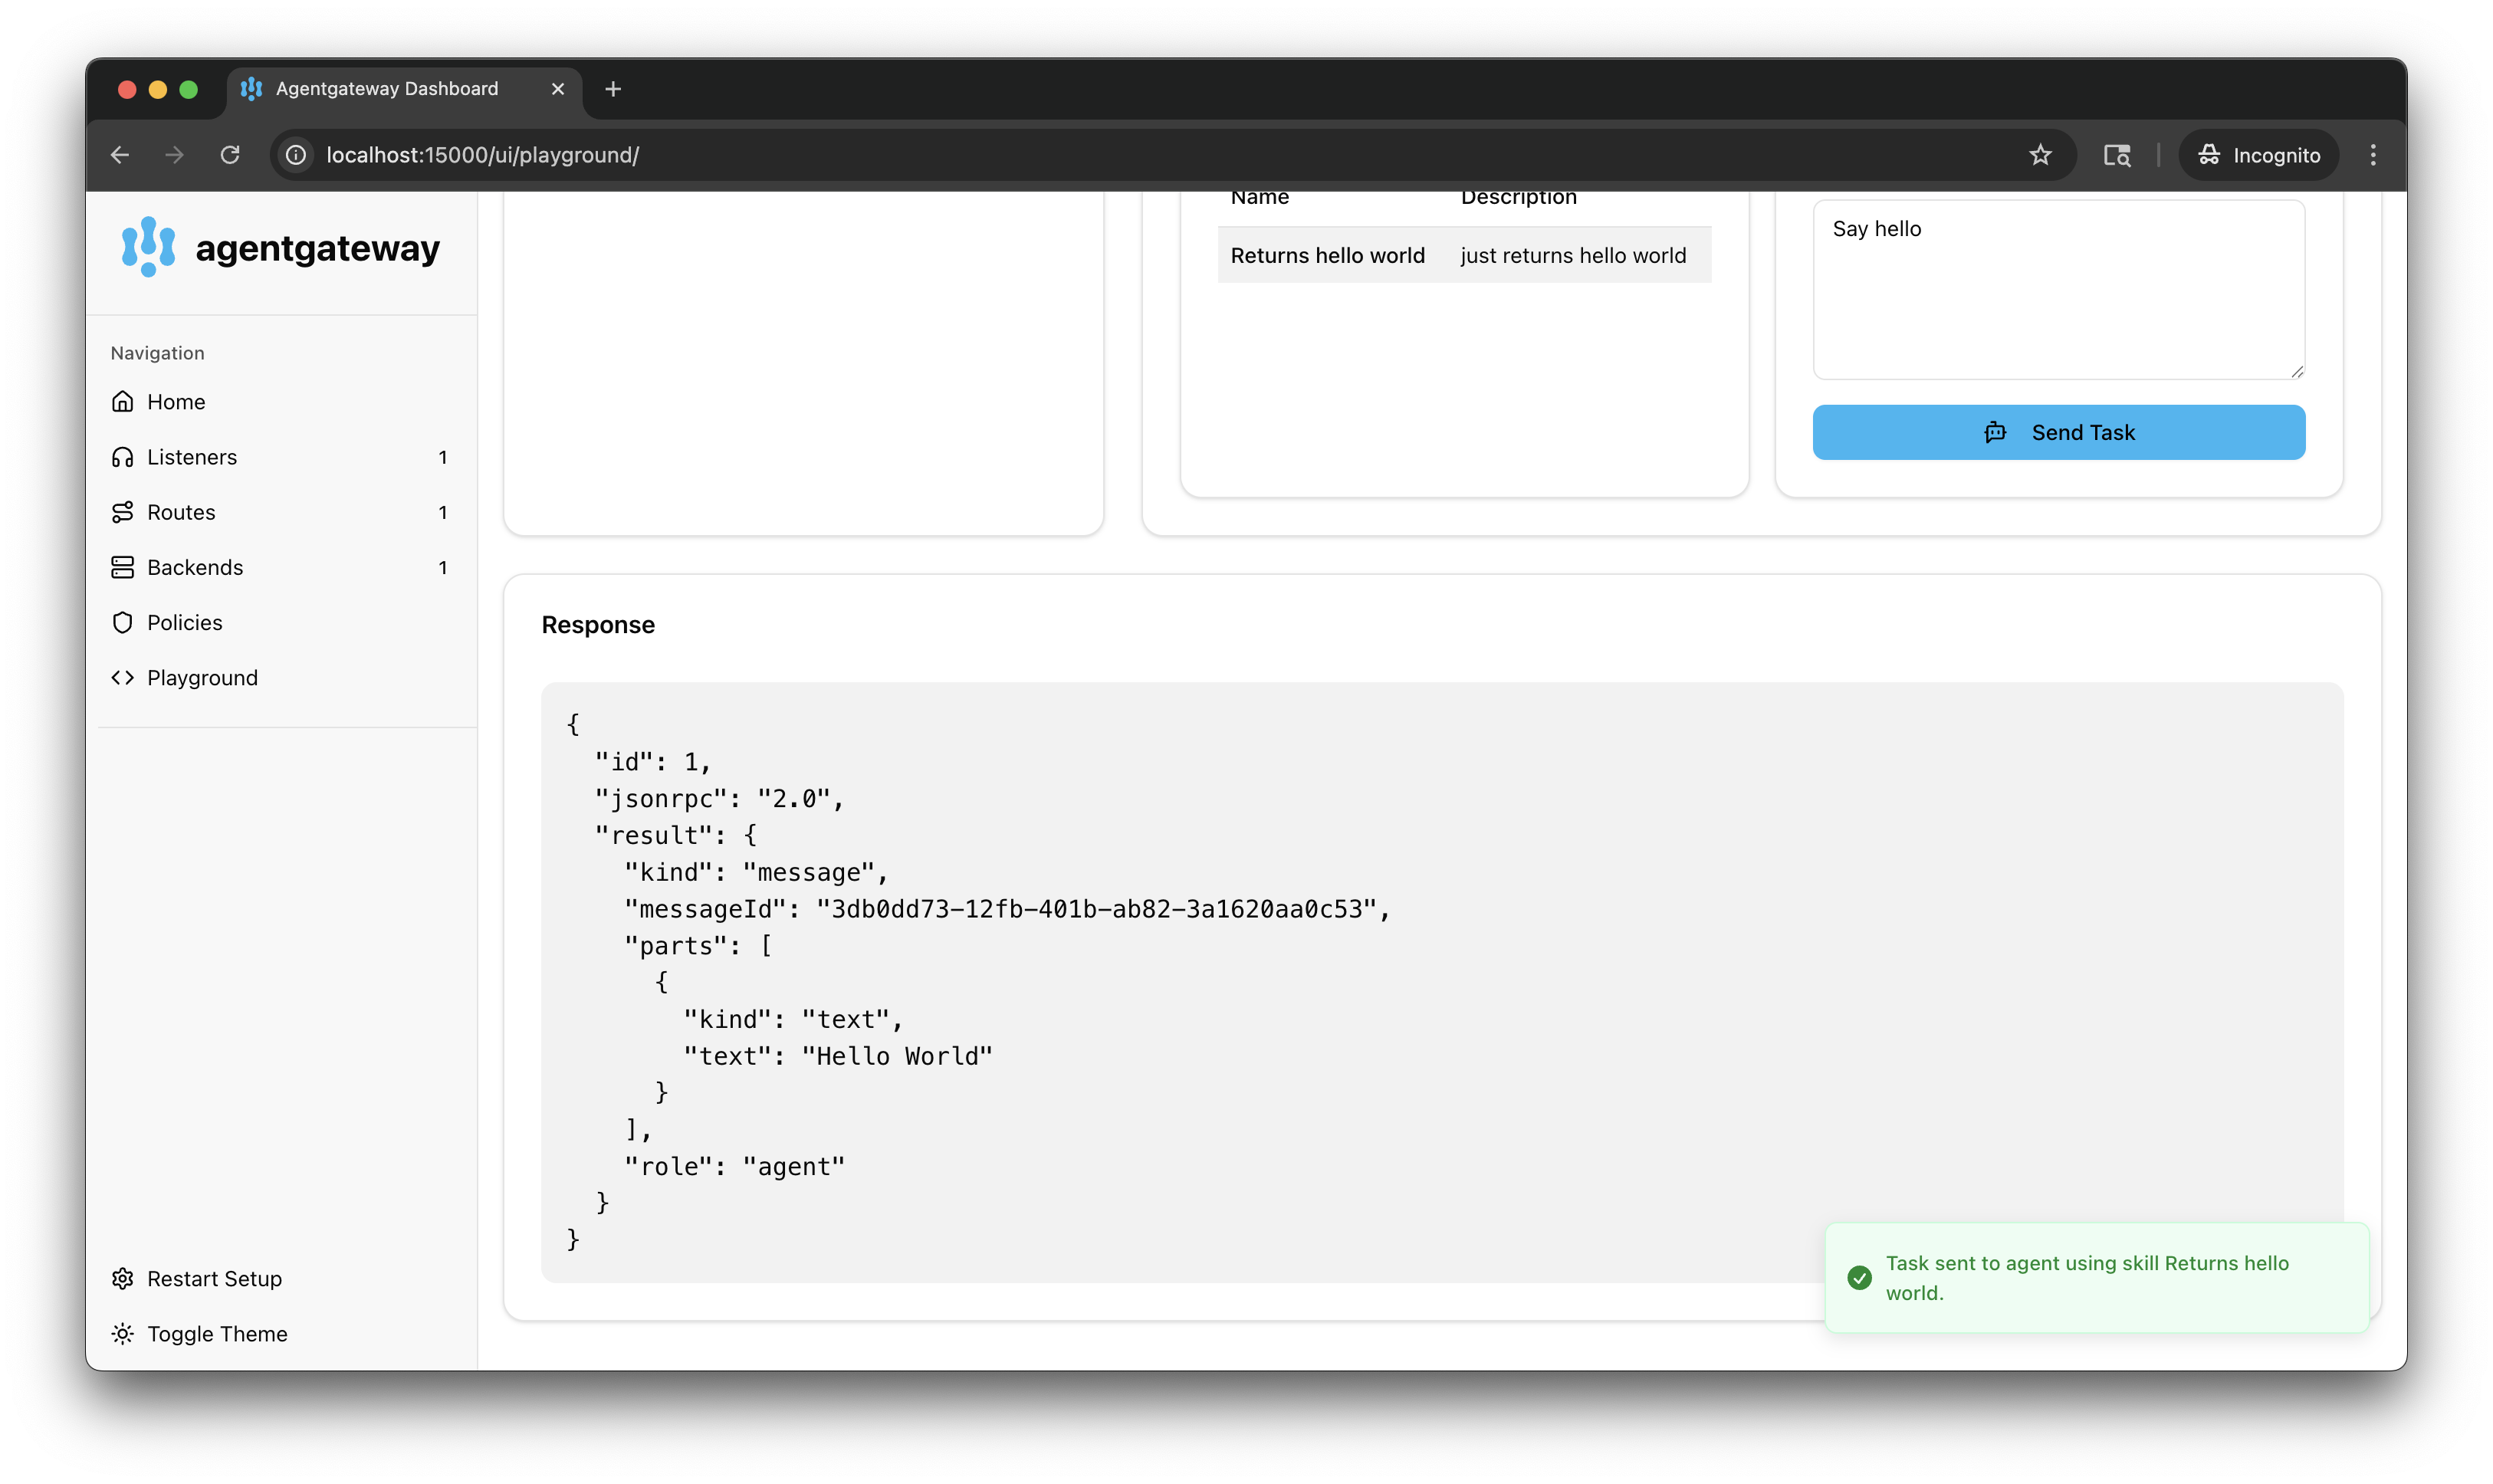
Select the Returns hello world skill. In the Message field, enter a prompt, such as
Say hello, and click Send Task. -
Verify that you get back a message from the ADK agent stating that your request was processed successfully.
