For the complete documentation index, see llms.txt. Markdown versions of all docs pages are available by appending .md to any docs URL.
Launch the UI
Find the address that agentgateway serves the UI on, open it, and generate LLM client settings from it.
Verified Code examples on this page have been automatically tested and verified.About
Agentgateway serves the UI on the port of any gateway that you list in the ui section of your configuration file. A generated configuration lists the default gateway, so the UI is served on the gateway port from the first start. Agentgateway logs the address that it serves the UI on when it starts, so the log is the quickest way to find the UI.
A copy of the UI is also served on the admin interface, which is localhost:15000 by default. That copy is a local convenience, and the admin address is loopback-only, so a gateway is what you use to reach the UI from anywhere else. For more information, see UI.
Before you begin
Install standalone agentgateway as a binary, a Docker container, or a Kubernetes Deployment with Helm.
Open the UI
Start agentgateway with a configuration file.
agentgateway -f config.yamlAgentgateway logs where it serves the UI.
INFO app serving UI at http://localhost:15000/uiOpen http://localhost:15000/ui/ in your browser.
The UI opens on the Gateway Overview, which lists the available capabilities (LLM, MCP, and Traffic) and lets you enable the ones you want to operate.
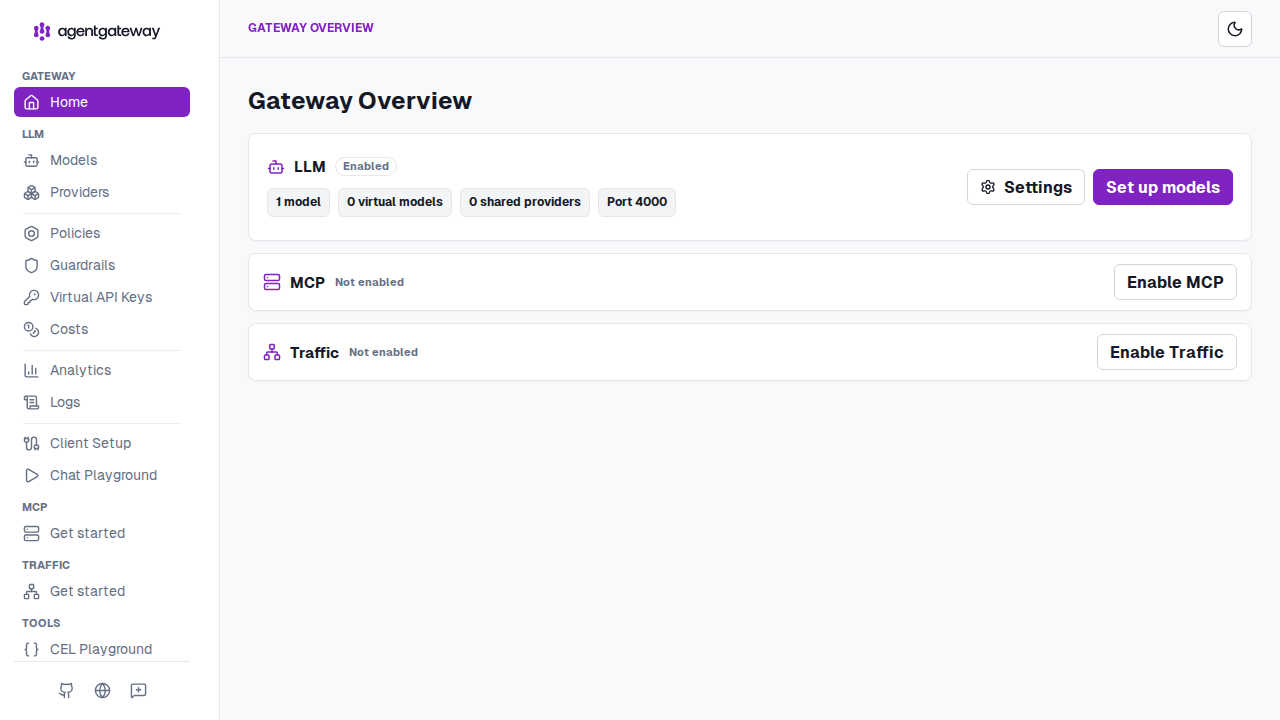
If you started agentgateway with no arguments instead, the generated configuration attaches the UI to the default gateway, so the UI is also served at http://localhost:4000/ui/.
Try out the UI
Use the UI to review what agentgateway loaded and to manage the resources that you can edit from the UI. The following guides configure agentgateway from a file first, and then you can open the same configuration in the UI to see how the UI presents it.
- MCP quickstart to connect an MCP server and try tools in the built-in playground.
- LLM quickstart to route requests to an LLM provider and see the model in the UI.
Whether the UI can save the changes that you make depends on your storage mode. In the binary and Docker installations, the UI writes to your configuration file by default. In the Helm installation, the ConfigMap is read-only and a save fails unless you switch the chart to database mode. For more information, see Configuration storage.
Generate LLM client settings
For an example of using the UI to set something up, use the LLM > Client Setup page. It generates connection settings and snippets for curl, Claude Code, Claude Desktop, Codex CLI, OpenCode, Cursor, GitHub Copilot, Windsurf, and the OpenAI JavaScript and Python SDKs.
- Configure at least one LLM model and, if the gateway requires client authentication, a virtual API key.
- Open the LLM > Client Setup page in the UI, such as http://localhost:15000/ui/llm/client-setup.
- Review the Gateway base URL, and select a model and virtual API key.
- Select the client from the Integration dropdown, and copy the generated settings or snippet.
Client Setup does not create a route, model, authentication policy, or provider credential. It generates client-side values from the configuration that already exists. For client-specific prerequisites, see LLM clients.
The selected model appears only in recipes that accept a model setting. For example, the Claude Desktop recipe outputs a gateway URL and API key, but does not configure a model name in Claude Desktop.
Next steps
- Serve the UI on its own gateway so that UI traffic and proxy traffic do not share a port.
- Secure the UI with an OIDC login.
- Expose the UI on your own HTTPS hostname.
- Choose where configuration is stored so that the UI can save your changes.