For the complete documentation index, see llms.txt. Markdown versions of all docs pages are available by appending .md to any docs URL.
Expose the UI
Serve the UI over HTTPS on your own hostname for external-facing traffic, then log in.
About
Now that the UI requires a login, serve it over HTTPS on a hostname of your own so that people outside the machine or cluster can reach it. Agentgateway terminates TLS on the gateway that serves the UI, and it reads the certificate and key from the file system.
How the address becomes reachable depends on your installation method.
Kubernetes gives the UI an external address through a LoadBalancer Service. Because the UI usually needs different exposure than proxy traffic, give it a Service of its own instead of adding the port to the main Service.
A binary or a container has no equivalent, so you provide the network path yourself. Gateway listeners bind to all network interfaces, unlike the admin interface, so a UI gateway is already reachable from other hosts that can route to the machine. To publish it more widely, do the following:
- Run agentgateway on a host that has the address you want to serve the UI on, such as a VM with a public IP address.
- Allow the gateway port through the host’s firewall. In Docker, publish the port with
-p. - Create a DNS record that points your UI hostname at that host. The hostname must match your TLS certificate and the
redirectURIvalue in theoidcpolicy.
You can also put your own reverse proxy or cloud load balancer in front of the host. In that case, terminate TLS on the proxy instead of on the gateway, and forward traffic to the gateway port.
Before you begin
- Serve the UI on its own gateway. The examples on this page expose the
ui-gatewayon port4001that you created in that guide. - Secure the UI with an authentication policy. Add the policy before you expose the UI, because a gateway listener is as reachable as your other proxy traffic.
- Get a TLS certificate and key for the hostname that you plan to serve the UI on, such as from your DNS provider or your organization’s certificate authority.
- Create a DNS record that points that hostname at the address you expose in the steps on this page. The hostname must match both the certificate and the
redirectURIvalue in youroidcpolicy.
Binary and Docker
Add a
tlssection to the gateway that the UI is attached to. Agentgateway reads the certificate and key from the file system, and settingtlsalso switches the gateway protocol to HTTPS. Use the certificate for the hostname that you created a DNS record for.# yaml-language-server: $schema=https://agentgateway.dev/schema/config gateways: default: port: 4000 ui-gateway: port: 4001 tls: cert: /etc/agentgateway/tls/tls.crt key: /etc/agentgateway/tls/tls.keyStart agentgateway with the updated configuration.
The
certandkeypaths are paths on the host that agentgateway runs on, so put the files at those paths, or change the paths in the configuration to where your files already are. No mount is involved.agentgateway -f config.yamlConfirm that the gateway serves your certificate.
echo | openssl s_client -connect agentgateway.example.com:4001 \
  -servername agentgateway.example.com 2>/dev/null | openssl x509 -noout -subject -dates
Example output:
subject=CN=agentgateway.example.com
notBefore=Aug 24 17:20:56 2026 GMT
notAfter=Sep 23 17:20:56 2026 GMT
For more certificate options, see Gateways.
Helm
Create a TLS Secret from the certificate and key for your UI hostname. The certificate must be valid for the hostname that you created a DNS record for.
kubectl create secret tls agentgateway-ui-tls \
  -n agentgateway-system \
  --cert=ui-cert.pem --key=ui-key.pem
Mount the TLS Secret as a volume and configure the
ui-gatewayto terminate TLS traffic on the gateway by using the certs from that Secret. You also expose the UI with a separate Service so that the UI and proxy traffic do not share the same service address. The chart names the extra Service<release name>-<name>, such asagentgateway-standalone-ui.cat <<EOF > values.yaml gateway: service: ports: - name: http port: 80 targetPort: 4000 protocol: TCP extraServices: - name: ui type: LoadBalancer ports: - name: https port: 443 targetPort: 4001 protocol: TCP config: gateways: default: port: 4000 ui-gateway: port: 4001 tls: cert: /etc/agentgateway/tls/tls.crt key: /etc/agentgateway/tls/tls.key ui: gateways: [ui-gateway] policies: oidc: issuer: ${ISSUER_URL} clientId: ${UI_CLIENT_ID} clientSecret: \$UI_CLIENT_SECRET redirectURI: ${REDIRECT_URI} scopes: - profile - email routes: - matches: - path: pathPrefix: / backends: - host: httpbin.httpbin.svc.cluster.local:8000 oidc: cookieSecretName: agentgateway-ui-secrets extraEnv: - name: UI_CLIENT_SECRET valueFrom: secretKeyRef: name: agentgateway-ui-secrets key: UI_CLIENT_SECRET extraVolumes: - name: ui-tls secret: secretName: agentgateway-ui-tls extraVolumeMounts: - name: ui-tls mountPath: /etc/agentgateway/tls readOnly: true EOFNote
A
kubernetes.io/tlsSecret stores the certificate astls.crtand the key astls.key, which is why thecertandkeypaths end with those file names. Settingtlson a gateway also switches the gateway protocol to HTTPS. For more certificate options, see Gateways.Upgrade the release with your values file.
helm upgrade -i agentgateway-standalone \
  oci://cr.agentgateway.dev/charts/agentgateway-standalone \
  --namespace agentgateway-system \
  --version v1.5.0 \
  --reuse-values \
  -f values.yaml
Confirm that the pod is running.
kubectl get pods -n agentgateway-system \
  -l app.kubernetes.io/name=agentgateway-standalone
Get the external address of the UI Service, such as
34.xx.xxx.xxin the following example.Tip
Kind cluster? Kind does not support
LoadBalancerservices by default. To use this option with a Kind cluster, install and runcloud-provider-kind.kubectl get svc agentgateway-standalone-ui \ -n agentgateway-systemExample output:
NAME                         TYPE           CLUSTER-IP     EXTERNAL-IP    PORT(S)         AGE
agentgateway-standalone-ui   LoadBalancer   10.xx.xxx.xx   34.xx.xxx.xx   443:31820/TCP   30s
In your DNS provider, point your UI hostname, such as
agentgateway.example.com, at the external address.Confirm that the gateway serves your certificate.
echo | openssl s_client -connect agentgateway.example.com:443 \
  -servername agentgateway.example.com 2>/dev/null | openssl x509 -noout -subject -dates
Example output:
subject=CN=agentgateway.example.com
notBefore=Aug 20 14:34:40 2026 GMT
notAfter=Sep 19 14:34:40 2026 GMT
Confirm that HTTPS requests are redirected to your IdP.
curl -s -o /dev/null -D- https://agentgateway.example.com/ui | grep -i locationExample output:
location: https://keycloak.example.com/realms/agentgateway/protocol/openid-connect/auth?response_type=code&client_id=agentgateway-ui&...
Log in to the UI
The login flow is the same in every installation method, because the oidc policy is on the gateway and not on the installation. Use your UI hostname if you exposed the UI on one, or the local gateway address if you are still testing on your own machine.
In your browser, open the UI on your hostname, such as
https://agentgateway.example.com/ui. In a local binary or Docker setup, use the gateway address instead, such ashttp://localhost:4001/ui.Verify that agentgateway redirects you to your IdP to log in.
Log in with a user from your IdP.
Verify that your IdP returns you to the UI, and that the UI opens on the Gateway Overview. The overview lists the available capabilities for LLM, MCP, and Traffic.
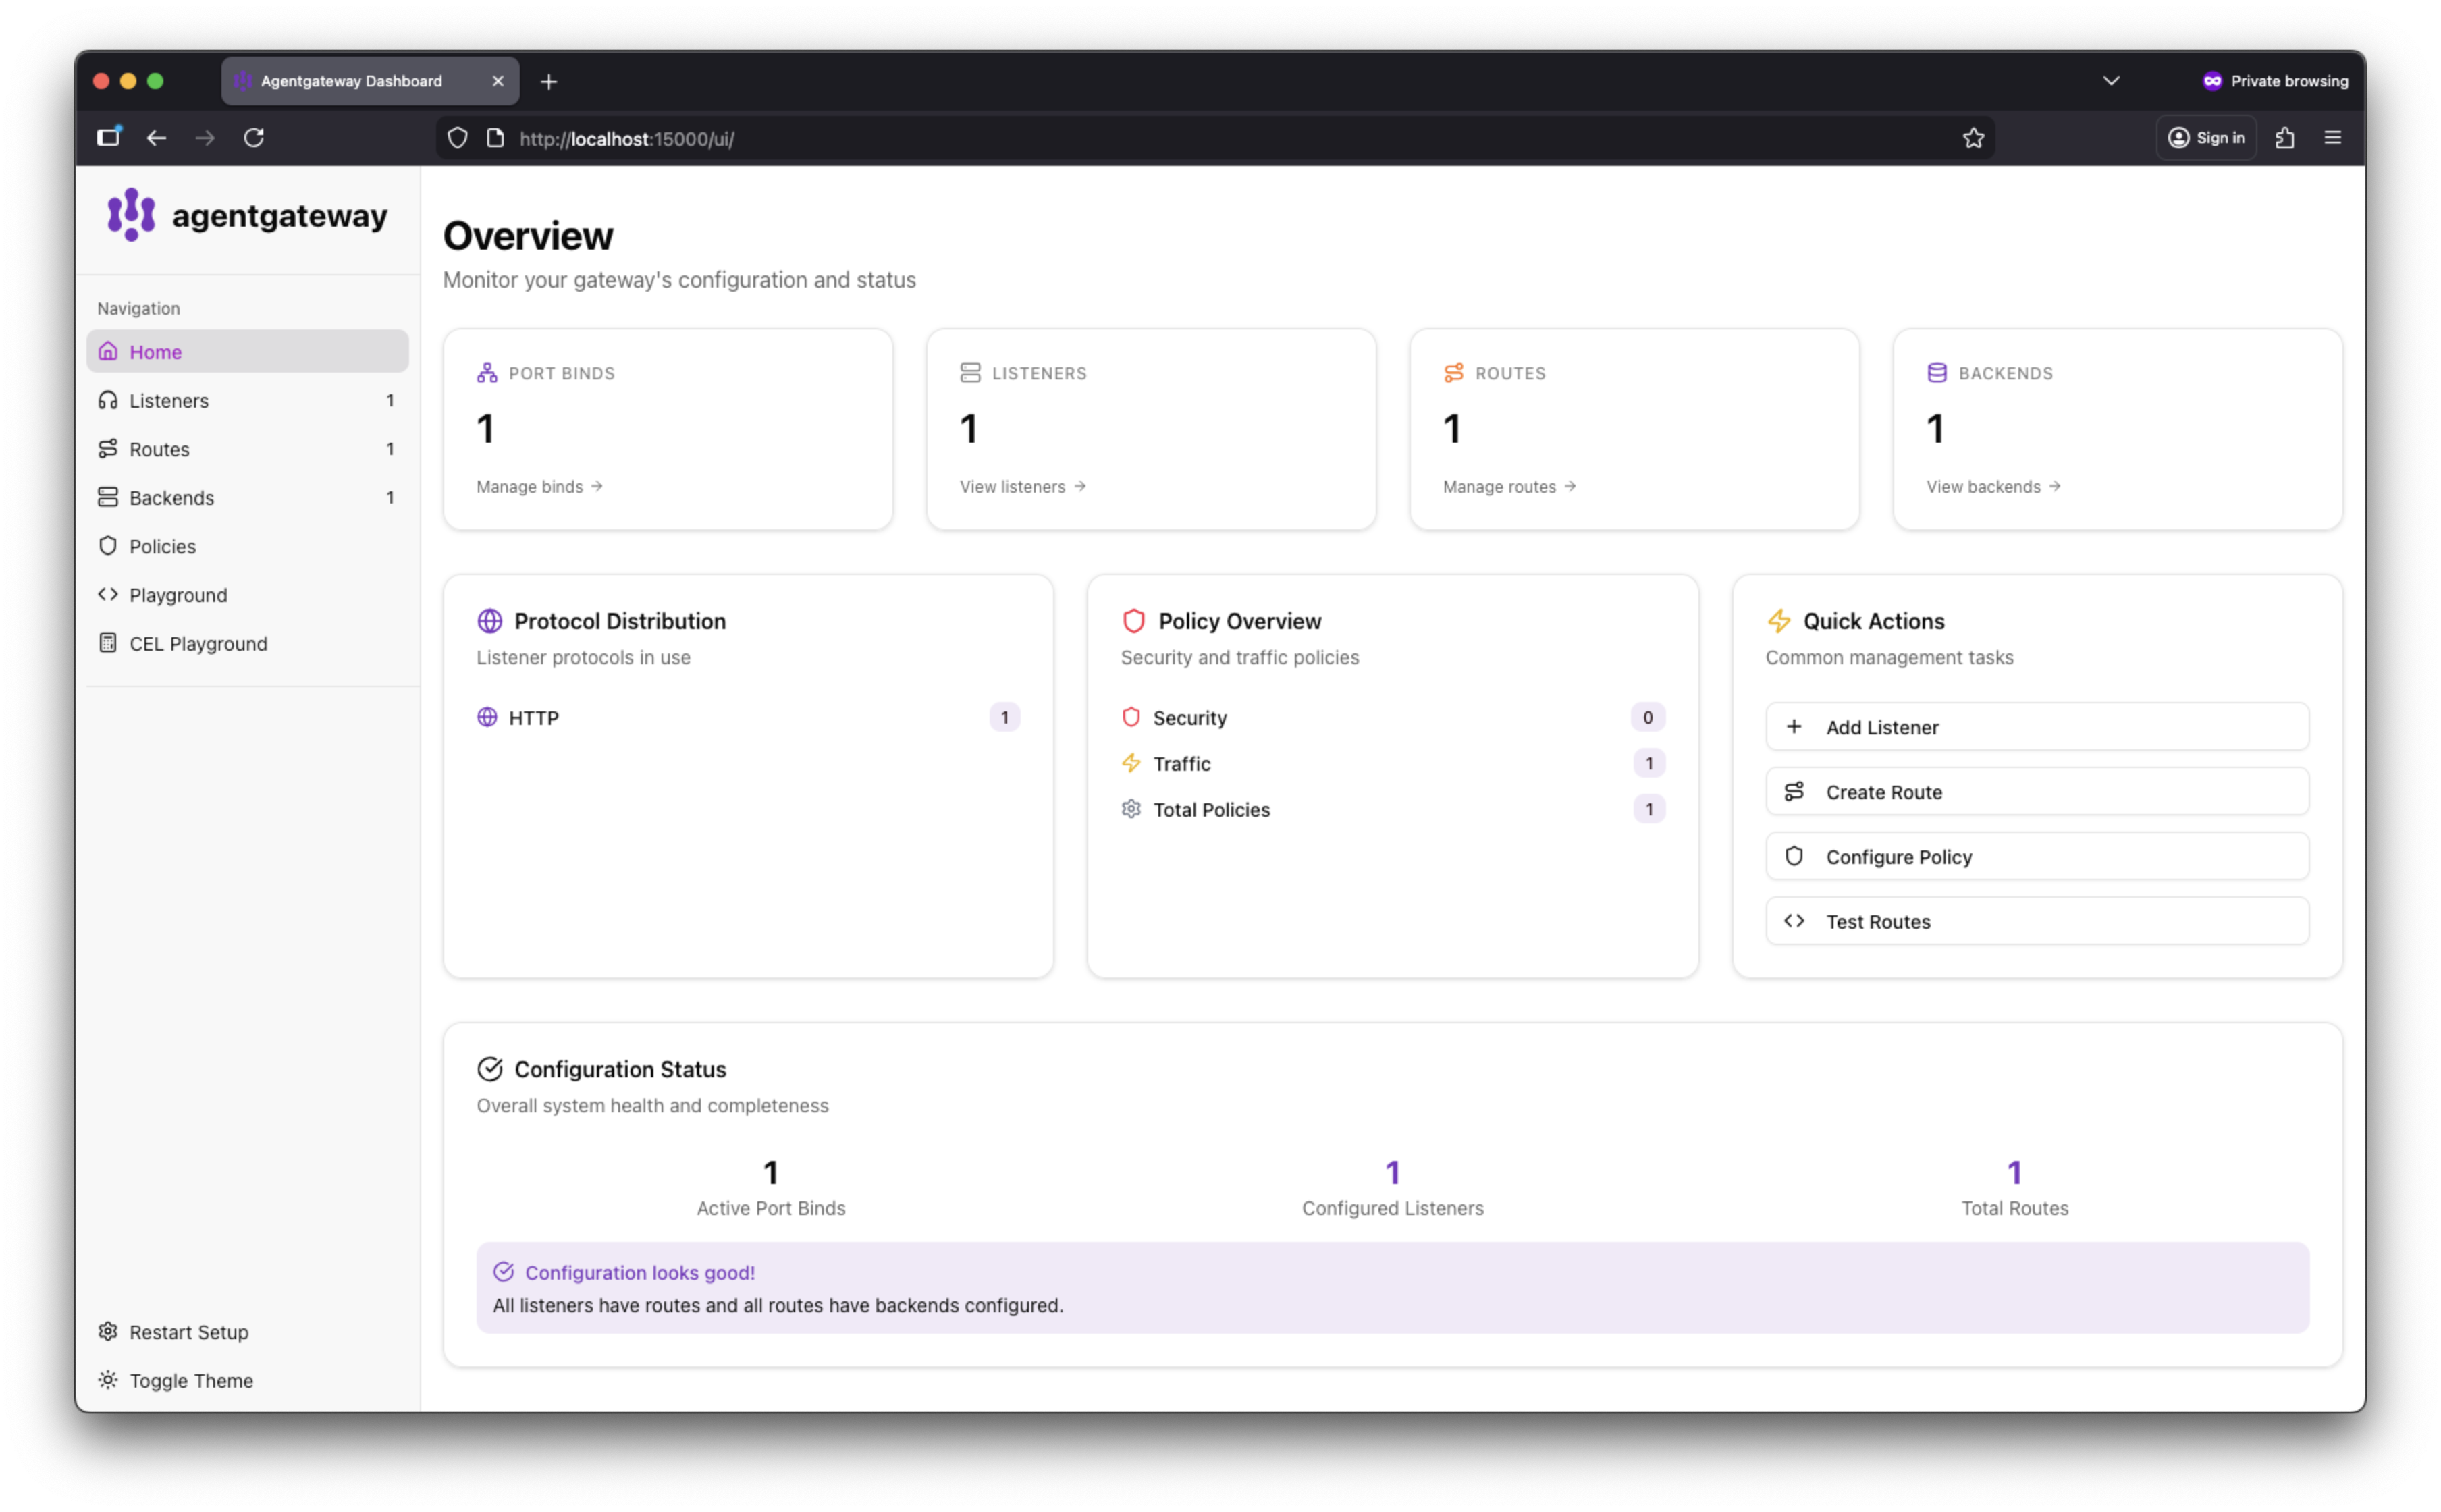
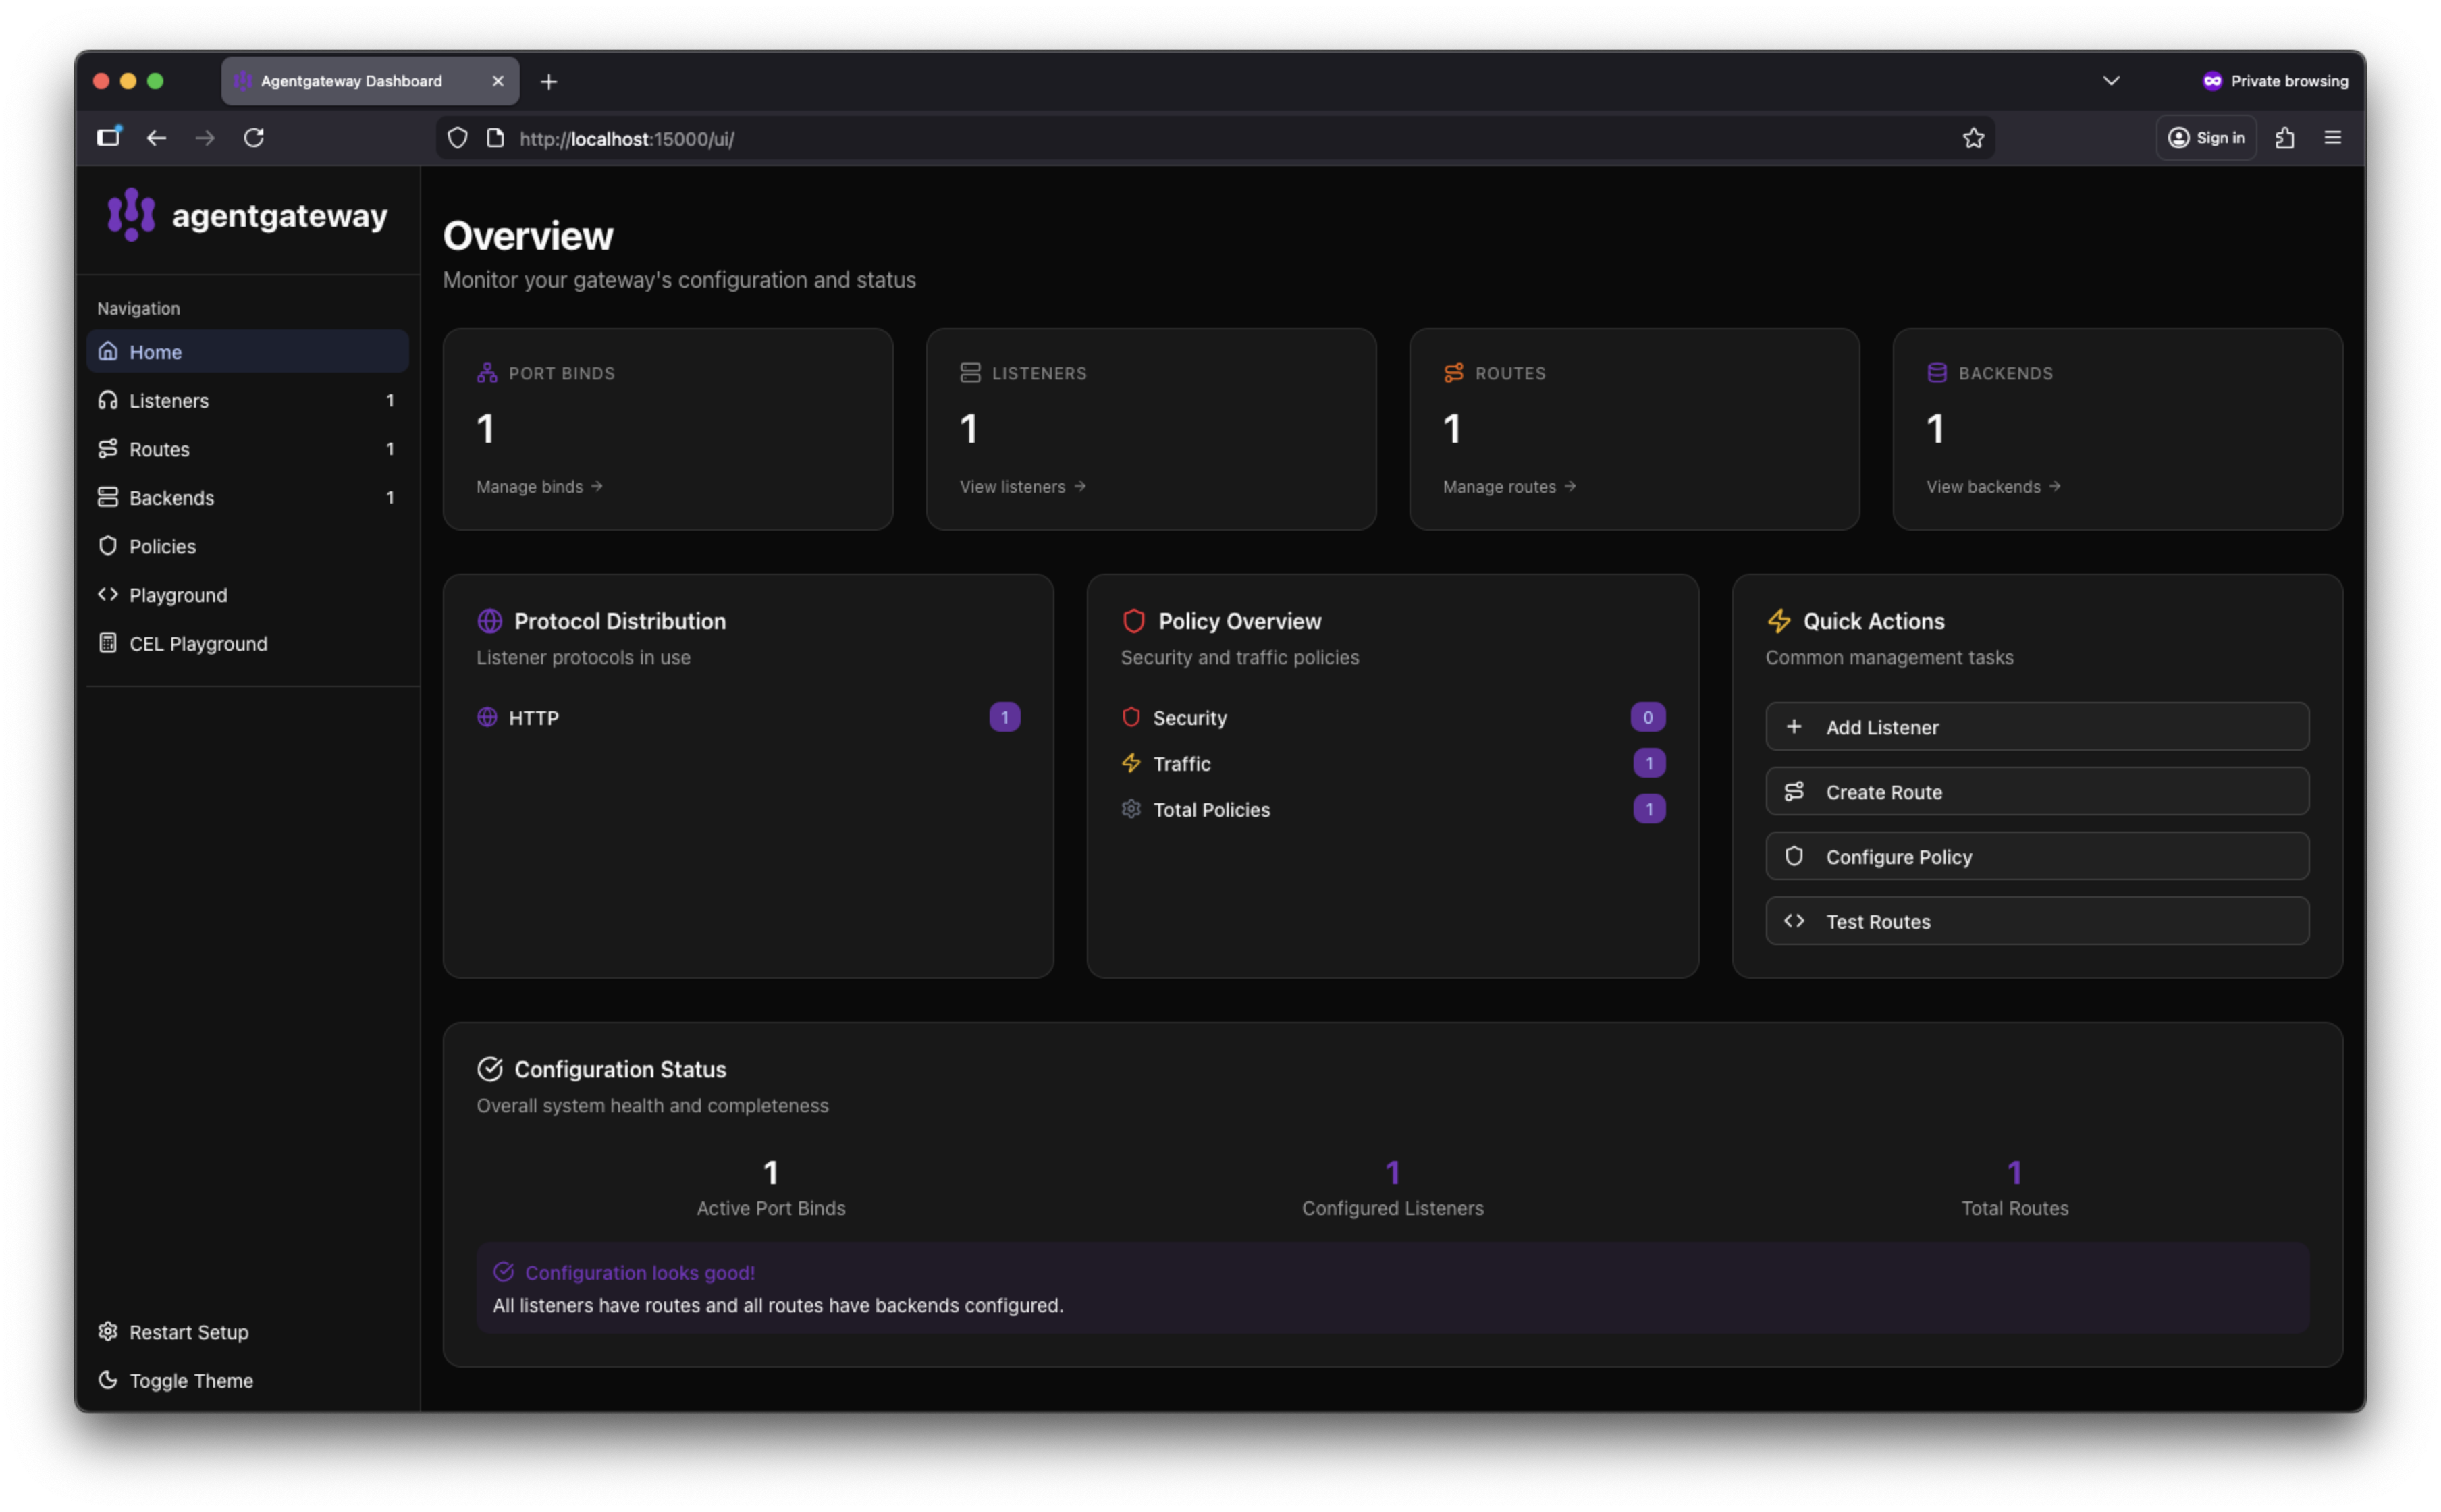
For what you can do from here, see Launch the UI.
To save the configuration changes that you make in the UI, see Configuration storage. In the Helm chart’s default read-only storage mode, the UI shows the running configuration, but a save fails because the chart mounts the configuration file read-only.
Cleanup
You can remove the resources that you created in this guide.Remove the
tlssection and theui.policiessection from your configuration file, and remove theui-gatewayif you no longer want a separate UI port.# yaml-language-server: $schema=https://agentgateway.dev/schema/config gateways: default: port: 4000 ui: gateways: defaultRestart agentgateway with the updated configuration.
Remove the DNS record that you created for the UI hostname, and remove the UI client from your IdP.
Next steps
- Choose where configuration is stored so that the UI can save your changes.
- Update your configuration by editing the configuration file directly.