For the complete documentation index, see llms.txt. Markdown versions of all docs pages are available by appending .md to any docs URL.
Virtual key management
Verified : Code examples on this page have been automatically tested and verified.Issue API keys with per-key token budgets and cost tracking (also known as virtual keys).
Issue API keys to users or applications and control token usage (also known as virtual keys).
About
Virtual key management allows you to issue API keys to users or applications, each with independent tracking and cost controls. Agentgateway composes existing capabilities to do this:
- API key authentication identifies incoming requests by API key.
- Token-based rate limiting enforces token budgets.
- Observability metrics track per-key spending and usage.
How virtual keys work
    flowchart TD
  A[Request arrives with API key] --> B[Validate API key]
  B --> C{Key valid?}
  C -->|Yes| D[Check token budget]
  D --> E{Budget available?}
  E -->|Yes| F[Forward to LLM]
  F --> G[Track token usage]
  G --> H[Deduct from budget]
  E -->|No| I[Reject with 429]
  C -->|No| J[Reject with 401]
  subgraph refill["Budget refills periodically"]
    H
  end
Before you begin
Install theagentgateway binary.Note
You can manage virtual keys two ways: interactively in the built-in UI, or declaratively in your config file. The UI is convenient for exploring and one-off changes. The config file is the source of truth for GitOps workflows.
Set up virtual keys (UI)
Set up virtual keys interactively through the UI.
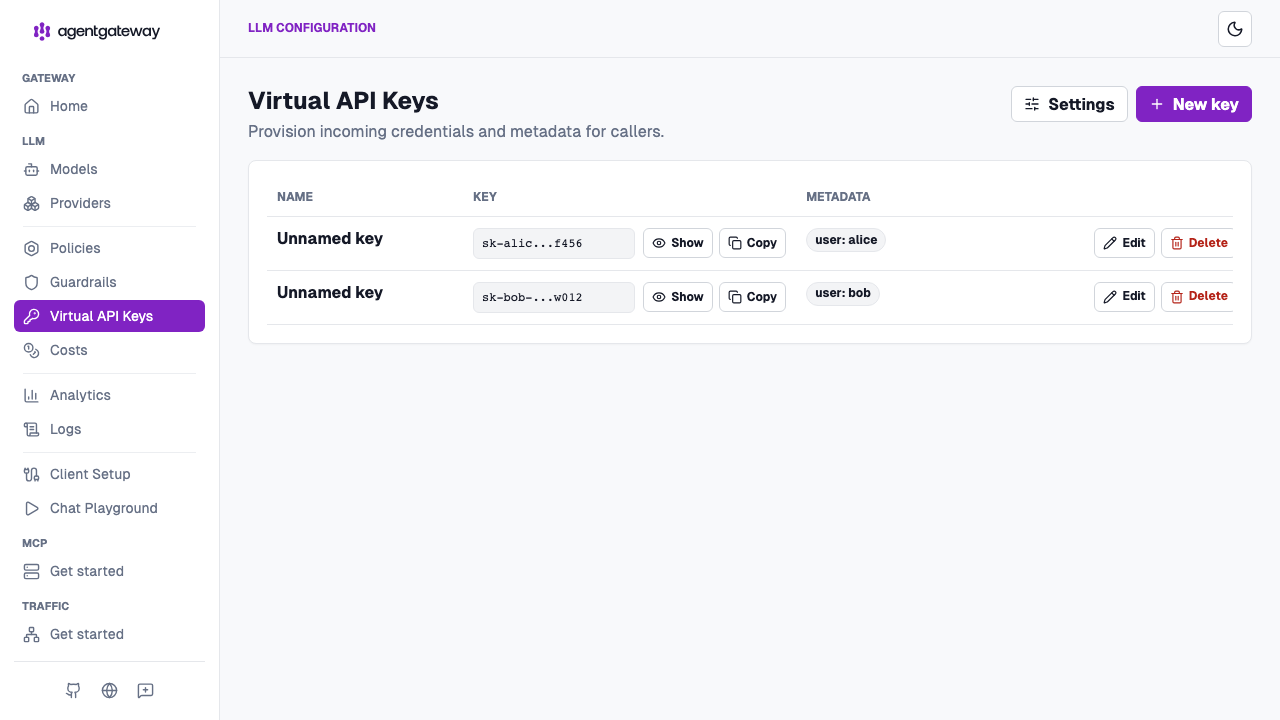
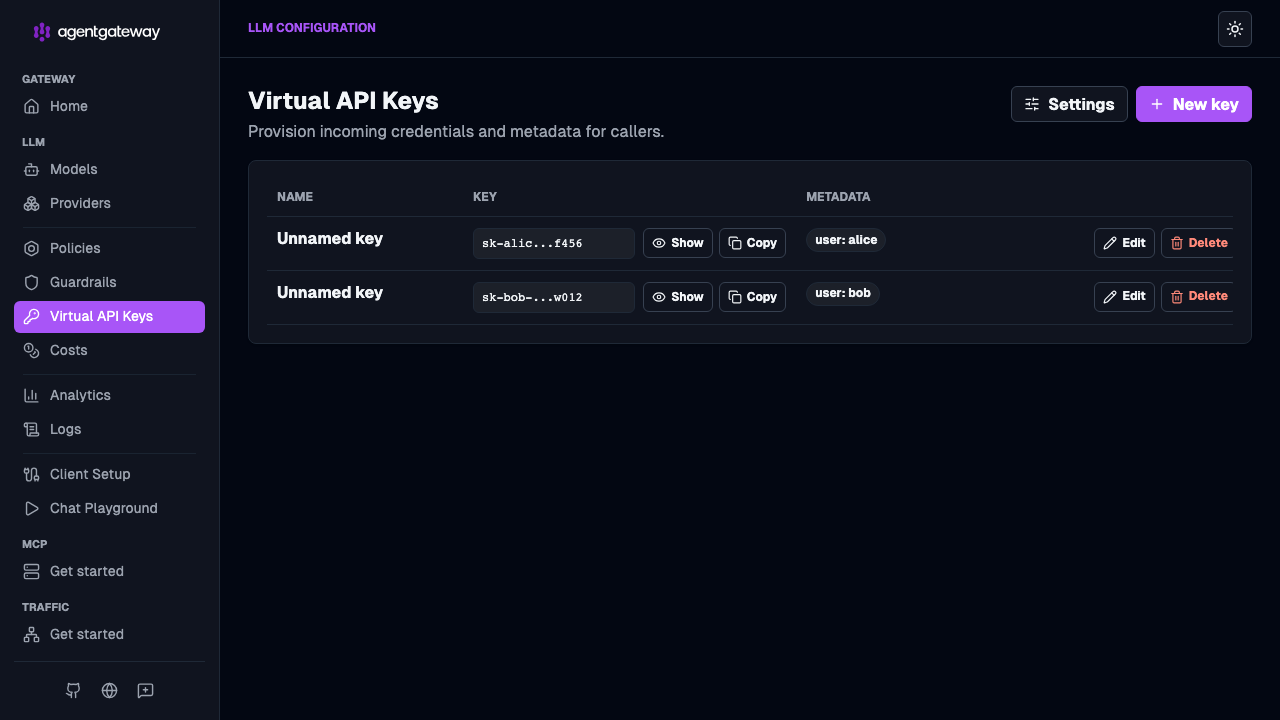
Open http://localhost:15000/ui/llm/keys (LLM > Virtual API Keys). Configured keys and their metadata are listed here, where you can show, copy, edit, or delete each one.
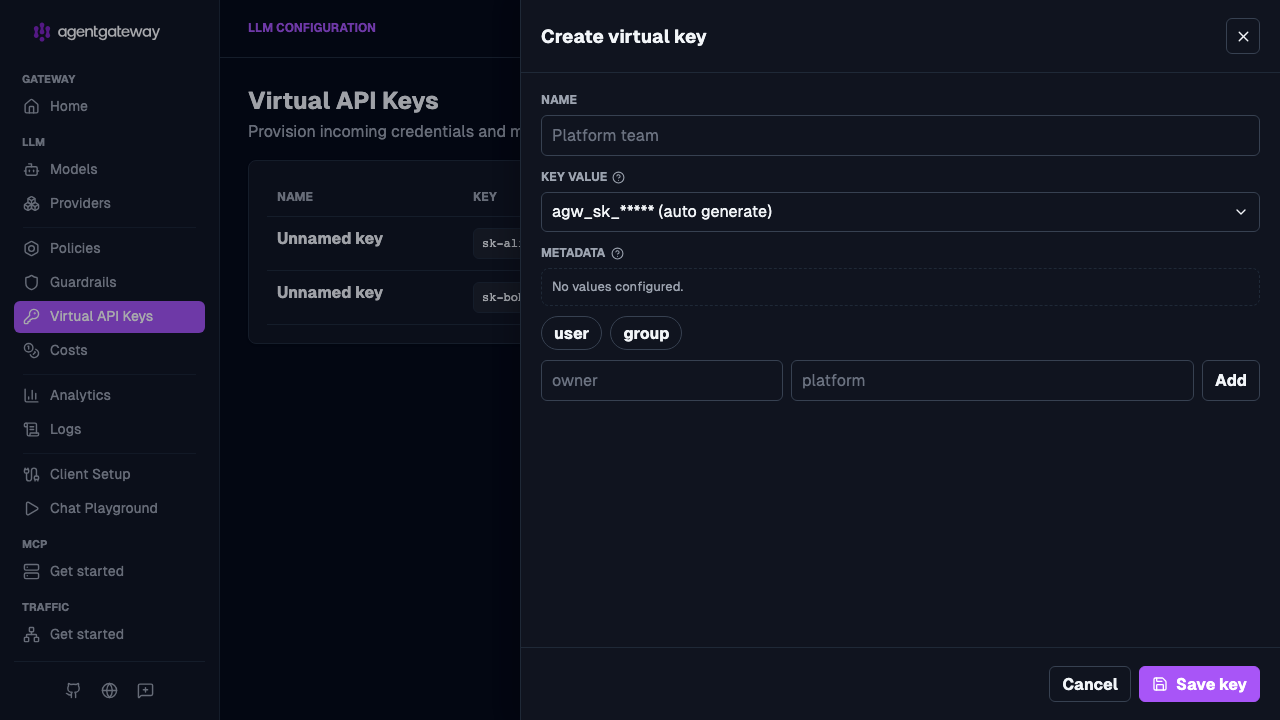
Click New key. Give the key a name, let agentgateway auto-generate the key value (or paste your own), and add metadata such as a
userentry to attribute usage. Click Save key.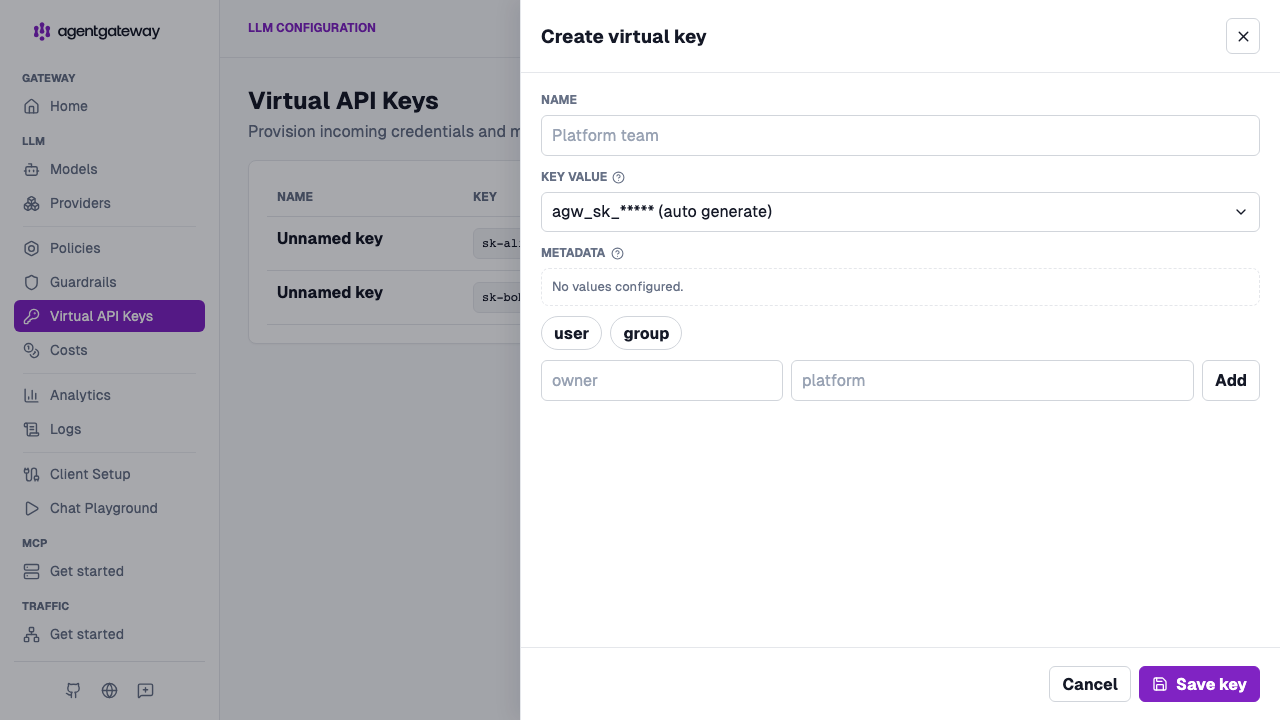
Copy the virtual key value. Give this key to your users to use in an
Authorization: Bearer $VIRTUAL_KEYheader in subsequent requests through agentgateway.
The rest of this guide uses the equivalent config-file settings, which apply the same apiKey policy shown in the UI.
Set up virtual keys (config file)
Set up virtual keys in a declarative config file, particularly useful in GitOps settings.
Step 1: Configure API key authentication
Create a configuration with API key authentication. This example creates two virtual keys for Alice and Bob.
cat <<'EOF' > config.yaml
# yaml-language-server: $schema=https://agentgateway.dev/schema/config

llm:
  policies:
    apiKey:
      mode: strict
      keys:
      - key: sk-alice-abc123def456
        metadata:
          user: alice
      - key: sk-bob-xyz789uvw012
        metadata:
          user: bob
  models:
  - name: "*"
    provider: openAI
    params:
      apiKey: "$OPENAI_API_KEY"
EOF| Setting | Description |
|---|---|
apiKey.mode | The API key authentication mode. strict requires a valid API key for all requests. optional (default) validates the key if one is present but allows unauthenticated requests. permissive never rejects requests, which is useful when later steps such as authorization or logging rely on API key claims. |
apiKey.keys | List of API keys. Each key has a key value and optional metadata. |
key | The API key value that users include in the Authorization: Bearer <key> header. |
metadata | Optional metadata associated with the key, such as a user identifier or tier. |
Step 2: Start agentgateway
agentgateway -f config.yamlStep 3: Test the virtual keys
Send a request with Alice’s API key. Verify that the request succeeds.
curl -s http://localhost:4000/v1/chat/completions \
  -H "Authorization: Bearer sk-alice-abc123def456" \
  -H "Content-Type: application/json" \
  -d '{
    "model": "gpt-3.5-turbo",
    "messages": [{"role": "user", "content": "Hello!"}]
  }' | jq .
Example successful response:
{
  "choices": [{
    "message": {
      "role": "assistant",
      "content": "Hello! How can I help you today?"
    }
  }],
  "usage": {
    "prompt_tokens": 10,
    "completion_tokens": 9,
    "total_tokens": 19
  }
}
Send a request without a valid API key. Verify that the request is rejected with a 401 status.
curl -s -o /dev/null -w "%{http_code}" http://localhost:4000/v1/chat/completions \
  -H "Authorization: Bearer invalid-key" \
  -H "Content-Type: application/json" \
  -d '{
    "model": "gpt-3.5-turbo",
    "messages": [{"role": "user", "content": "Hello!"}]
  }'
Expected response:
HTTP/1.1 401 Unauthorized
Configure token budgets
LLMs typically charge per input and output token. Without spending control, users can quickly generate large bills by submitting long prompts, streaming or retrying requests, or running recursive agent loops. To protect against unexpected bills, scaling surprises, and abuse, use token-based rate limits to cap the number of tokens that can be used.
Warning
localRateLimit is a gateway-wide limit, not a per-key limit. It enforces a single shared token budget across all requests and API keys. To give each virtual key its own budget instead, add a key field to the rule, as shown in Step 4.
How rate limiting works
Agentgateway checks token-based rate limits in two phases:
At request time:
- When
tokenize: trueis not set or is set tofalseon the AI backend, the number of tokens that are used for the request cannot be calculated. Because of this, the request is always allowed, unless the rate limit is set to 0 tokens. The LLM typically returns the number of tokens that were used for the request when sending the response. Agentgateway verifies the number of tokens that were used in the request and the response to determine whether the rate limit was reached. By default,tokenizeis set to false. - When
tokenize: trueis set, agentgateway estimates the number of tokens at request time. Because of that, the request is only allowed if the estimated number of tokens does not exceed the set rate limit.
At response time:
When the LLM returns a response, it typically provides the number of tokens that were used during the request and response. Agentgateway uses these numbers to determine if the rate limit was reached.
Note that this determination happens after the response is returned. Even, if the number of tokens that are used in the response exceeds the number of allowed tokens, the response is still returned to the user. Only subsequent requests are rate limited. If tokenize: true is set on the AI backend and tokens were estimated during the request, agentgateway verifies the actual number of tokens that were used for the request when the LLM returns its response. In the case the initial estimation was off, agentgateway adjusts the number of used tokens to count these against the set rate limit.
Step 1: Add a token budget
Update your configuration to include a localRateLimit policy. The following example builds on the virtual keys configuration from the previous section and adds a token budget.
cat <<'EOF' > config.yaml
# yaml-language-server: $schema=https://agentgateway.dev/schema/config

llm:
  policies:
    apiKey:
      mode: strict
      keys:
      - key: sk-alice-abc123def456
        metadata:
          user: alice
      - key: sk-bob-xyz789uvw012
        metadata:
          user: bob
    localRateLimit:
    - maxTokens: 10
      tokensPerFill: 1
      fillInterval: 60s
      type: tokens
  models:
  - name: "*"
    provider: openAI
    params:
      apiKey: "$OPENAI_API_KEY"
EOF| Setting | Description |
|---|---|
localRateLimit | Applies a token-based rate limit to all incoming LLM requests. |
maxTokens | The maximum number of tokens that are available to use. |
tokensPerFill | The number of tokens that are added during a refill. |
fillInterval | The number of seconds after which the token bucket is refilled. |
type | The type of rate limiting to apply. Use tokens for token-based rate limiting, or requests for request-based rate limiting. |
Step 2: Verify rate limits
Start agentgateway with the updated configuration.
agentgateway -f config.yamlSend a prompt to the LLM. At the time the prompt is sent, the number of tokens required for the completion is unknown. Make sure to include a virtual key in the authorization header. Because
tokenize: trueis not set on the model, the prompt count is not estimated. As a result, the prompt is allowed.Note
The LLM typically returns the number of tokens required for completion in its response. Agentgateway uses this number and counts it against the rate limit.
curl http://localhost:4000/v1/chat/completions \
  -H 'Content-Type: application/json' \
  -H 'Authorization: Bearer sk-alice-abc123def456' \
  -d '{
    "model": "gpt-3.5-turbo",
    "messages": [
      {
        "role": "user",
        "content": "Tell me a short story"
      }
    ]
  }'
Example output:
{
  "choices": [
    {
      "message": {
        "content": "Once upon a time, in a small village nestled between towering mountains...",
        "role": "assistant"
      },
      "finish_reason": "stop"
    }
  ],
  "usage": {
    "prompt_tokens": 12,
    "completion_tokens": 248,
    "total_tokens": 260
  }
}
Repeat the same request. This time, the request is rate limited because the tokens used in the first request exceeded the budget.
curl http://localhost:4000/v1/chat/completions \
  -H 'Content-Type: application/json' \
  -H 'Authorization: Bearer sk-alice-abc123def456' \
  -d '{
    "model": "gpt-3.5-turbo",
    "messages": [
      {
        "role": "user",
        "content": "Tell me a short story"
      }
    ]
  }'
Example output:
rate limit exceeded
Step 3: Enable request-time token estimation
By default, agentgateway does not estimate token counts at request time. To reject requests before they reach the LLM, set tokenize: true on your model.
For more information about rate limiting configuration options, see Rate limits.
Update your configuration with
tokenize: truefor your model. With this setting, requests are denied immediately if the estimated prompt token count exceeds the available budget.cat <<'EOF' > config.yaml # yaml-language-server: $schema=https://agentgateway.dev/schema/config llm: policies: apiKey: mode: strict keys: - key: sk-alice-abc123def456 metadata: user: alice - key: sk-bob-xyz789uvw012 metadata: user: bob localRateLimit: - maxTokens: 10 tokensPerFill: 1 fillInterval: 60s type: tokens models: - name: "*" provider: openAI params: apiKey: "$OPENAI_API_KEY" tokenize: true EOFSend a request. Use Bob’s virtual key because Alice’s virtual key already reached the rate limit in the previous step. This time, the request is rate limited because the estimated tokens exceed the budget.
curl http://localhost:4000/v1/chat/completions \
  -H 'Content-Type: application/json' \
  -H 'Authorization: Bearer sk-bob-xyz789uvw012' \
  -d '{
    "model": "gpt-3.5-turbo",
    "messages": [
      {
        "role": "user",
        "content": "Tell me a short story"
      }
    ]
  }'
Example output:
rate limit exceeded
Step 4: Give each key its own budget
So far, all of the virtual keys share one token budget, so the busiest key exhausts the budget for everyone else. To give each key its own budget, add a key field to the rate limit rule. The key field takes a CEL expression, and each distinct value that the expression returns gets its own token bucket with the limits of that rule. Use apiKey.user to read the user metadata from the authenticated key.
Update your configuration to key the rate limit on the virtual key’s user. This example returns to the configuration from Step 1 and adds only the
keyfield, so that you can compare the results with Step 3, where Bob’s key was rate limited by Alice’s usage.cat <<'EOF' > config.yaml # yaml-language-server: $schema=https://agentgateway.dev/schema/config llm: policies: apiKey: mode: strict keys: - key: sk-alice-abc123def456 metadata: user: alice - key: sk-bob-xyz789uvw012 metadata: user: bob localRateLimit: - maxTokens: 10 tokensPerFill: 1 fillInterval: 60s type: tokens key: apiKey.user models: - name: "*" provider: openAI params: apiKey: "$OPENAI_API_KEY" EOFRestart agentgateway with the updated configuration.
agentgateway -f config.yamlSend a prompt with Alice’s virtual key. The request is allowed, because Alice’s bucket is full after the restart.
curl http://localhost:4000/v1/chat/completions \
  -H 'Content-Type: application/json' \
  -H 'Authorization: Bearer sk-alice-abc123def456' \
  -d '{
    "model": "gpt-3.5-turbo",
    "messages": [
      {
        "role": "user",
        "content": "Tell me a short story"
      }
    ]
  }'
Example output:
{
  "choices": [
    {
      "message": {
        "content": "Once upon a time, in a small village nestled between towering mountains...",
        "role": "assistant"
      },
      "finish_reason": "stop"
    }
  ],
  "usage": {
    "prompt_tokens": 12,
    "completion_tokens": 248,
    "total_tokens": 260
  }
}
Repeat the same request to exhaust Alice’s budget. The tokens that the first response used exceed the 10-token bucket, so this request is rate limited.
curl http://localhost:4000/v1/chat/completions \
  -H 'Content-Type: application/json' \
  -H 'Authorization: Bearer sk-alice-abc123def456' \
  -d '{
    "model": "gpt-3.5-turbo",
    "messages": [
      {
        "role": "user",
        "content": "Tell me a short story"
      }
    ]
  }'
Example output:
rate limit exceededSend the same request with Bob’s virtual key. Unlike in Step 3, where Alice’s usage rate limited Bob, the request succeeds, because Bob’s key now has its own token bucket that Alice’s requests do not draw from.
curl http://localhost:4000/v1/chat/completions \
  -H 'Content-Type: application/json' \
  -H 'Authorization: Bearer sk-bob-xyz789uvw012' \
  -d '{
    "model": "gpt-3.5-turbo",
    "messages": [
      {
        "role": "user",
        "content": "Tell me a short story"
      }
    ]
  }'
Example output:
{
  "choices": [
    {
      "message": {
        "content": "Once upon a time, in a small village nestled between towering mountains...",
        "role": "assistant"
      },
      "finish_reason": "stop"
    }
  ],
  "usage": {
    "prompt_tokens": 12,
    "completion_tokens": 248,
    "total_tokens": 260
  }
}
Review the following behavior before you rely on a keyed budget.
- Keys that cannot be evaluated: Requests whose key is empty, or whose expression cannot be evaluated, such as an unauthenticated request when the key reads
apiKey.user, all share one bucket. An empty key does not exempt a request from the limit. - How many buckets are kept, and where they live: Each rule keeps up to 65,536 buckets and drops the least used ones, which for that key is the same as never having been seen. Buckets are held in memory by a single agentgateway instance, so each instance enforces the limit separately. For a virtual key whose bucket was dropped, the next request starts from a full bucket. For a budget that is shared across instances, use remote rate limits.
For more information, including how to key a limit on a JWT claim or on the requested model, see Per-key limits.
Monitor per-key spending
Agentgateway exposes token usage as Prometheus metrics on its stats endpoint, which listens on port 15020 by default (not the 15000 admin port). The agentgateway_gen_ai_client_token_usage metric is a histogram that records the tokens used per request.
By default, this metric is broken down by dimensions such as the model (gen_ai_request_model) and token type (gen_ai_token_type), but not by key. To attribute usage to each virtual key, add a label such as user_id that reads the user metadata from the authenticated key, then query Prometheus.
Note
The token usage metric only appears after a request succeeds and the LLM returns a usage count. Requests that are rejected (for example, a 401 from an invalid key or a 429 from the rate limit) never reach the LLM, so they do not produce token usage metrics.
Add a per-key metric label
You can add a per-key metric label such as to track metrics by user ID. Note that the user_id label is high cardinality: every unique value creates a new metric series, which increases Prometheus memory and storage. This is acceptable for tens or hundreds of keys, but avoid attaching unbounded identifiers at large scale. Prefer lower-cardinality dimensions like tier or team when possible.
Update your configuration to add a
user_idmetric label. Theaddfield maps a label name to a CEL expression that is evaluated per request. UseapiKey.userto read theusermetadata from the authenticated key. This example builds on the previous configuration.cat <<'EOF' > config.yaml # yaml-language-server: $schema=https://agentgateway.dev/schema/config config: metrics: fields: add: user_id: apiKey.user llm: policies: apiKey: mode: strict keys: - key: sk-alice-abc123def456 metadata: user: alice - key: sk-bob-xyz789uvw012 metadata: user: bob localRateLimit: - maxTokens: 10 tokensPerFill: 1 fillInterval: 60s type: tokens models: - name: "*" provider: openAI params: apiKey: "$OPENAI_API_KEY" EOFSetting Description config.metrics.fields.addA map of metric label names to CEL expressions. Each expression is evaluated per request and its result is attached as a Prometheus label on the metrics. user_id: apiKey.userAdds a user_idlabel whose value is theusermetadata from the authenticated API key. If the expression cannot be evaluated (for example, on an unauthenticated request), the label value isunknown.Restart agentgateway with the updated configuration, then send successful requests with each key so the metrics have per-key data to report. Because the earlier rate-limit budget is small, raise
maxTokensor wait for the bucket to refill so the requests are not rejected.Verify that the
user_idlabel is attached to the token usage metric. Read the metrics endpoint and filter for the token usage sum.curl -s http://localhost:15020/metrics | grep gen_ai_client_token_usage_sumEach series now carries a
user_idlabel that matches theusermetadata of the key that made the request. For example, after sending requests with Alice’s and Bob’s keys:agentgateway_gen_ai_client_token_usage_sum{gen_ai_token_type="input",gen_ai_request_model="gpt-3.5-turbo",...,user_id="alice"} 21.0 agentgateway_gen_ai_client_token_usage_sum{gen_ai_token_type="output",gen_ai_request_model="gpt-3.5-turbo",...,user_id="alice"} 14.0 agentgateway_gen_ai_client_token_usage_sum{gen_ai_token_type="input",gen_ai_request_model="gpt-3.5-turbo",...,user_id="bob"} 9.0 agentgateway_gen_ai_client_token_usage_sum{gen_ai_token_type="output",gen_ai_request_model="gpt-3.5-turbo",...,user_id="bob"} 9.0
Query with Prometheus
The raw curl output in the previous step is a quick sanity check, but it returns only Prometheus exposition text. To run aggregations such as totals over time or estimated cost, use PromQL. PromQL runs inside a Prometheus server that scrapes the agentgateway metrics endpoint. You cannot send PromQL to the /metrics endpoint directly, so in standalone mode you run your own Prometheus.
Create a Prometheus scrape configuration that targets the agentgateway stats endpoint.
cat <<'EOF' > prometheus.yml
global:
  scrape_interval: 5s

scrape_configs:
- job_name: agentgateway
  static_configs:
  - targets: ["host.docker.internal:15020"]
EOF
Note
Use
host.docker.internal:15020when you run Prometheus in Docker, as in the next step. If you run the Prometheus binary directly on your machine, uselocalhost:15020instead.Start Prometheus with this configuration.
docker run --rm -p 9090:9090 \
  -v "$(pwd)/prometheus.yml:/etc/prometheus/prometheus.yml" \
  prom/prometheus
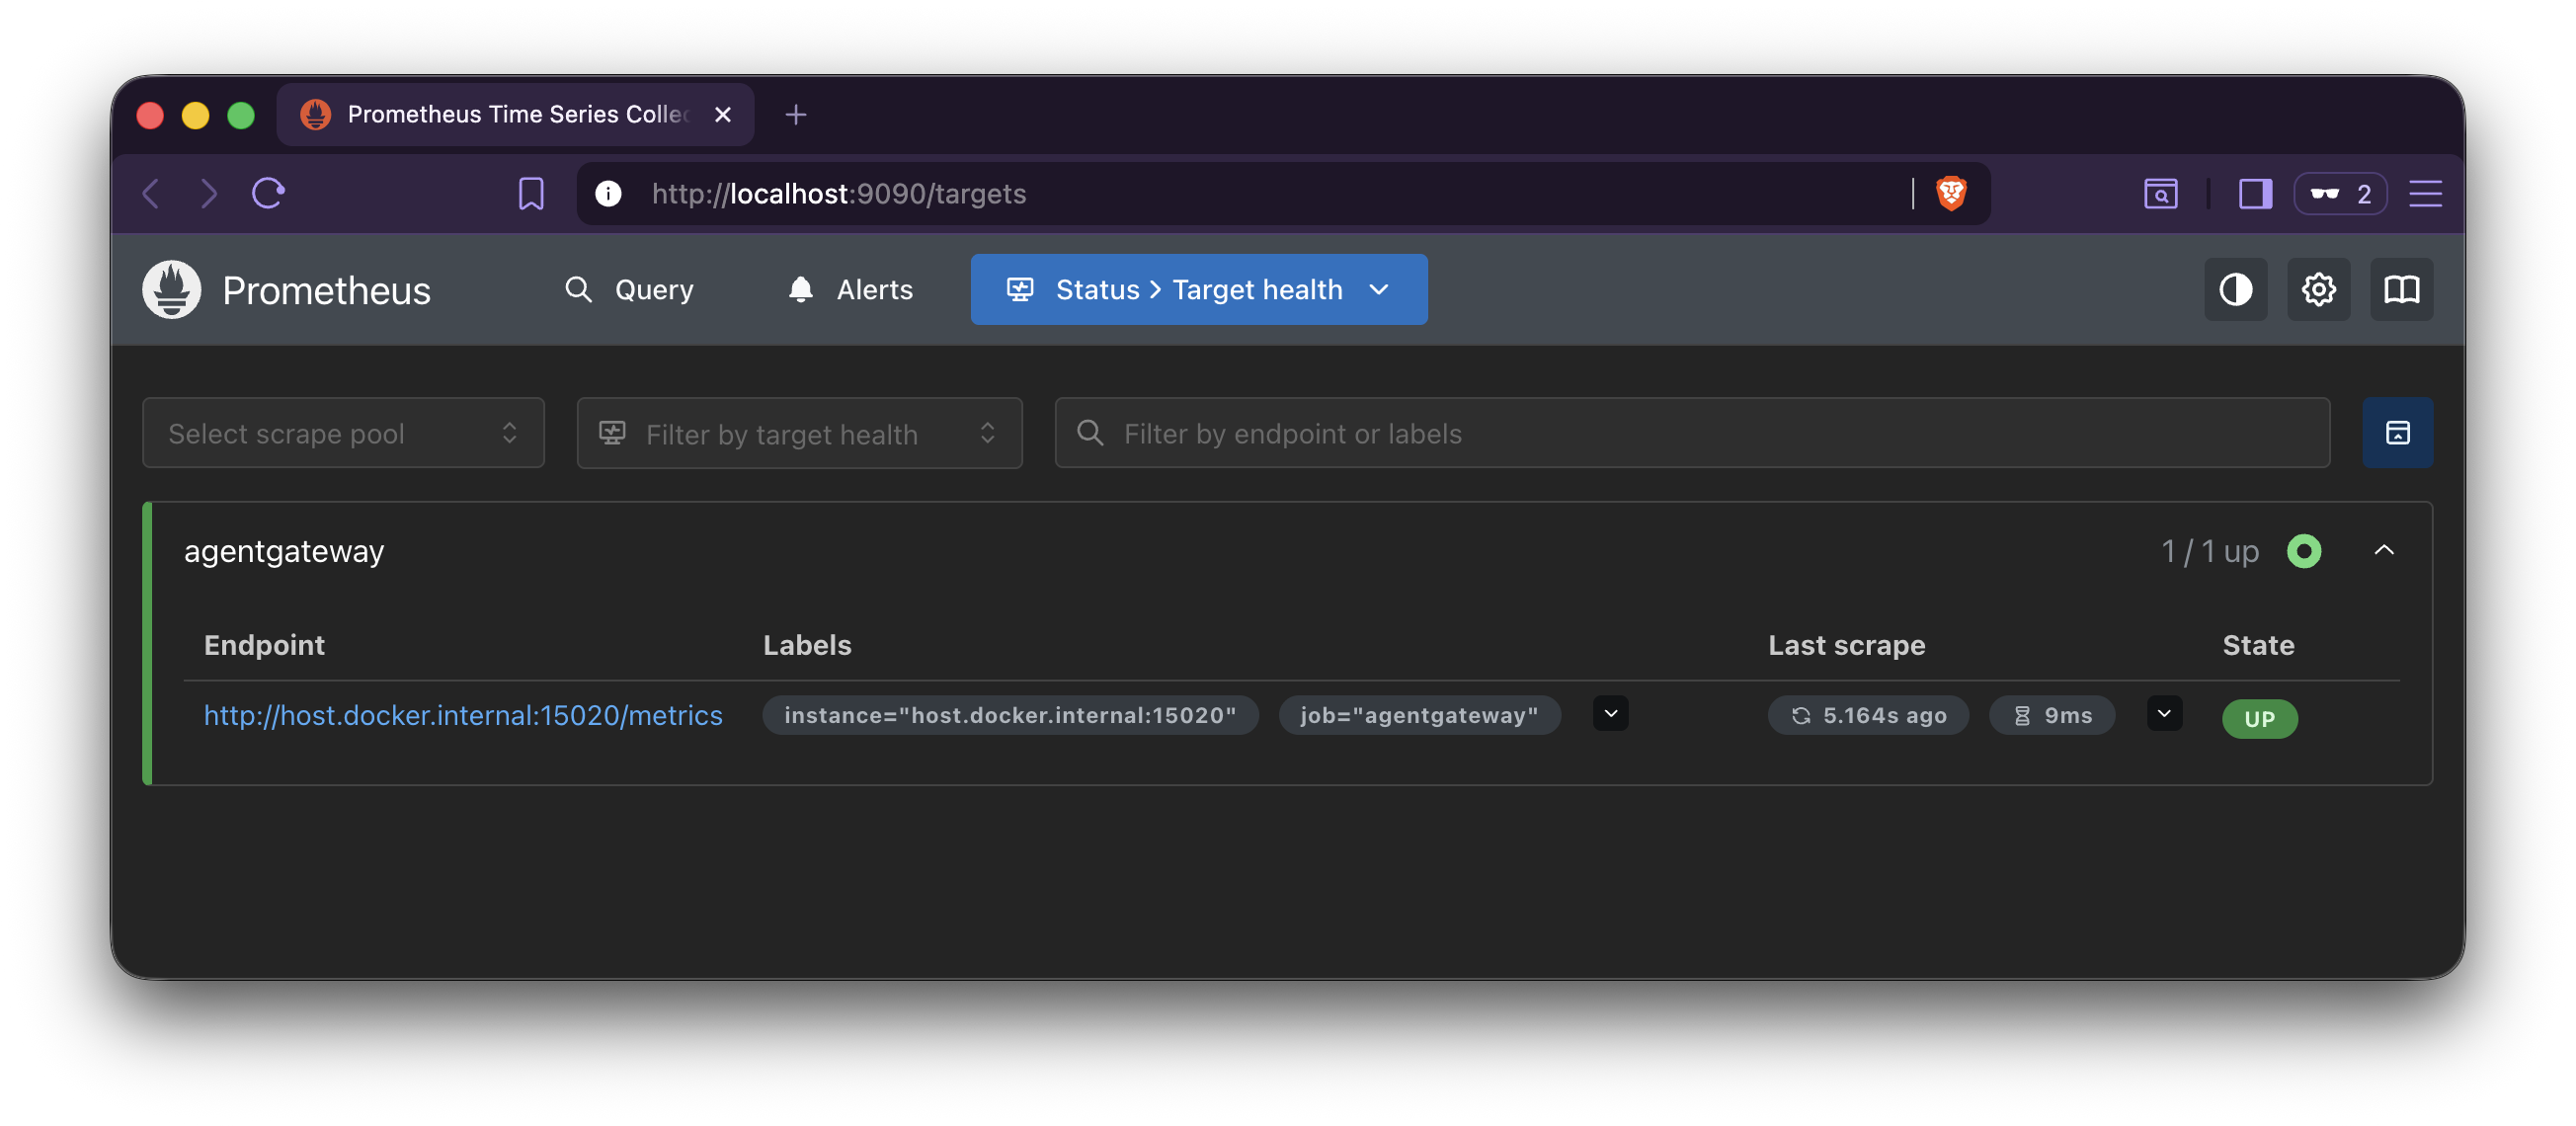
Verify that Prometheus is scraping agentgateway. Open http://localhost:9090/targets and confirm that the
agentgatewaytarget is UP. You might need to restart the container or refresh the page.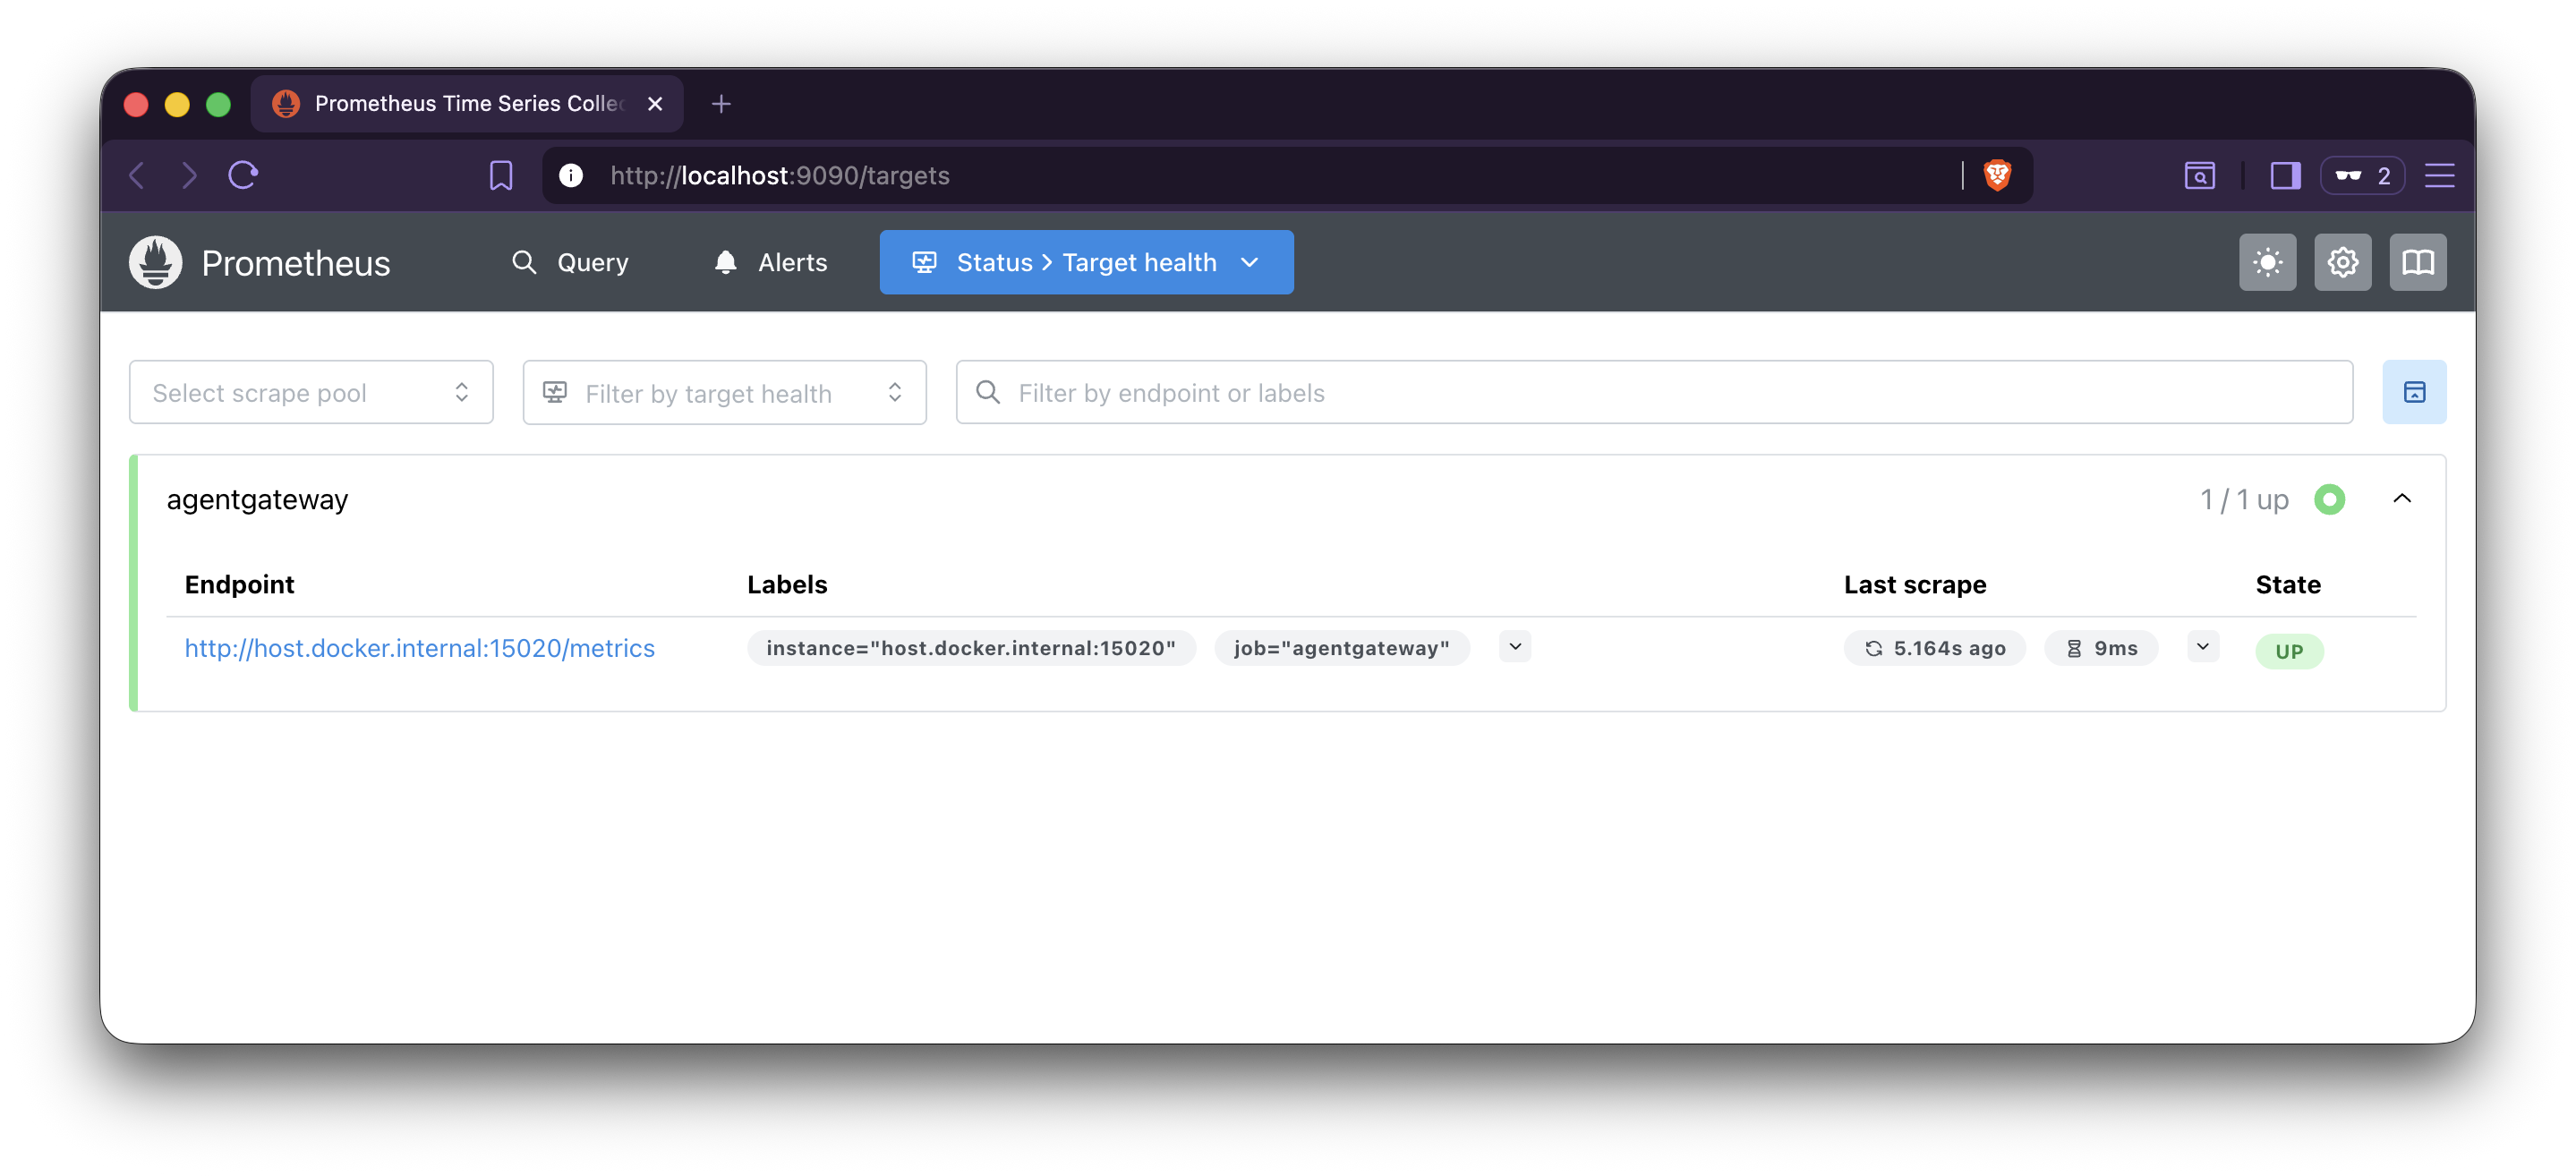
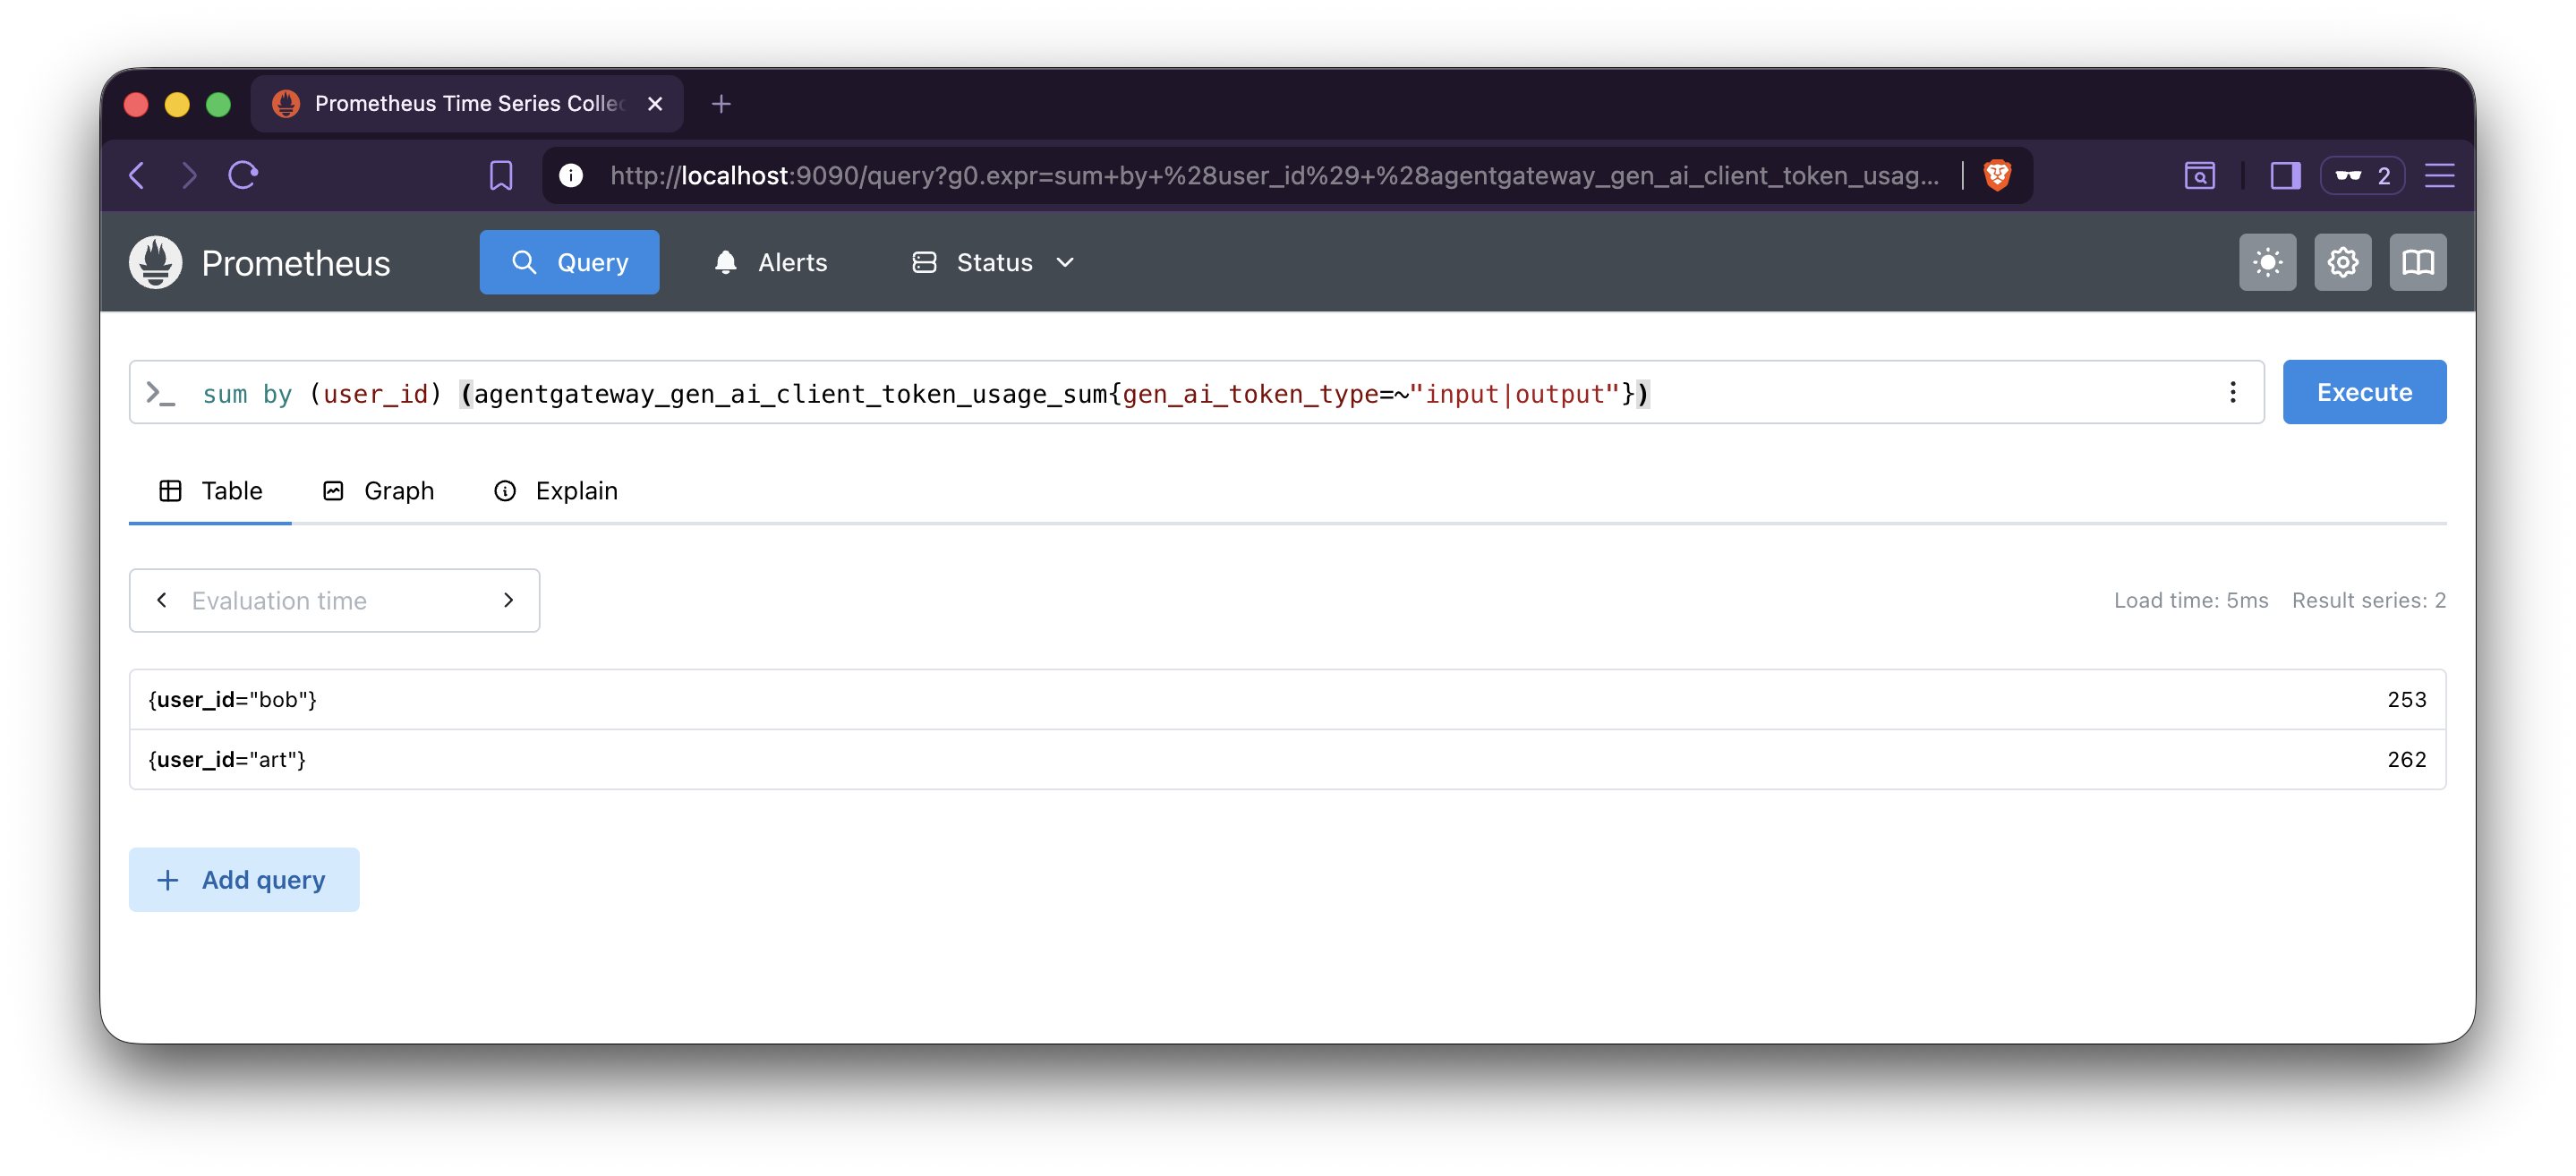
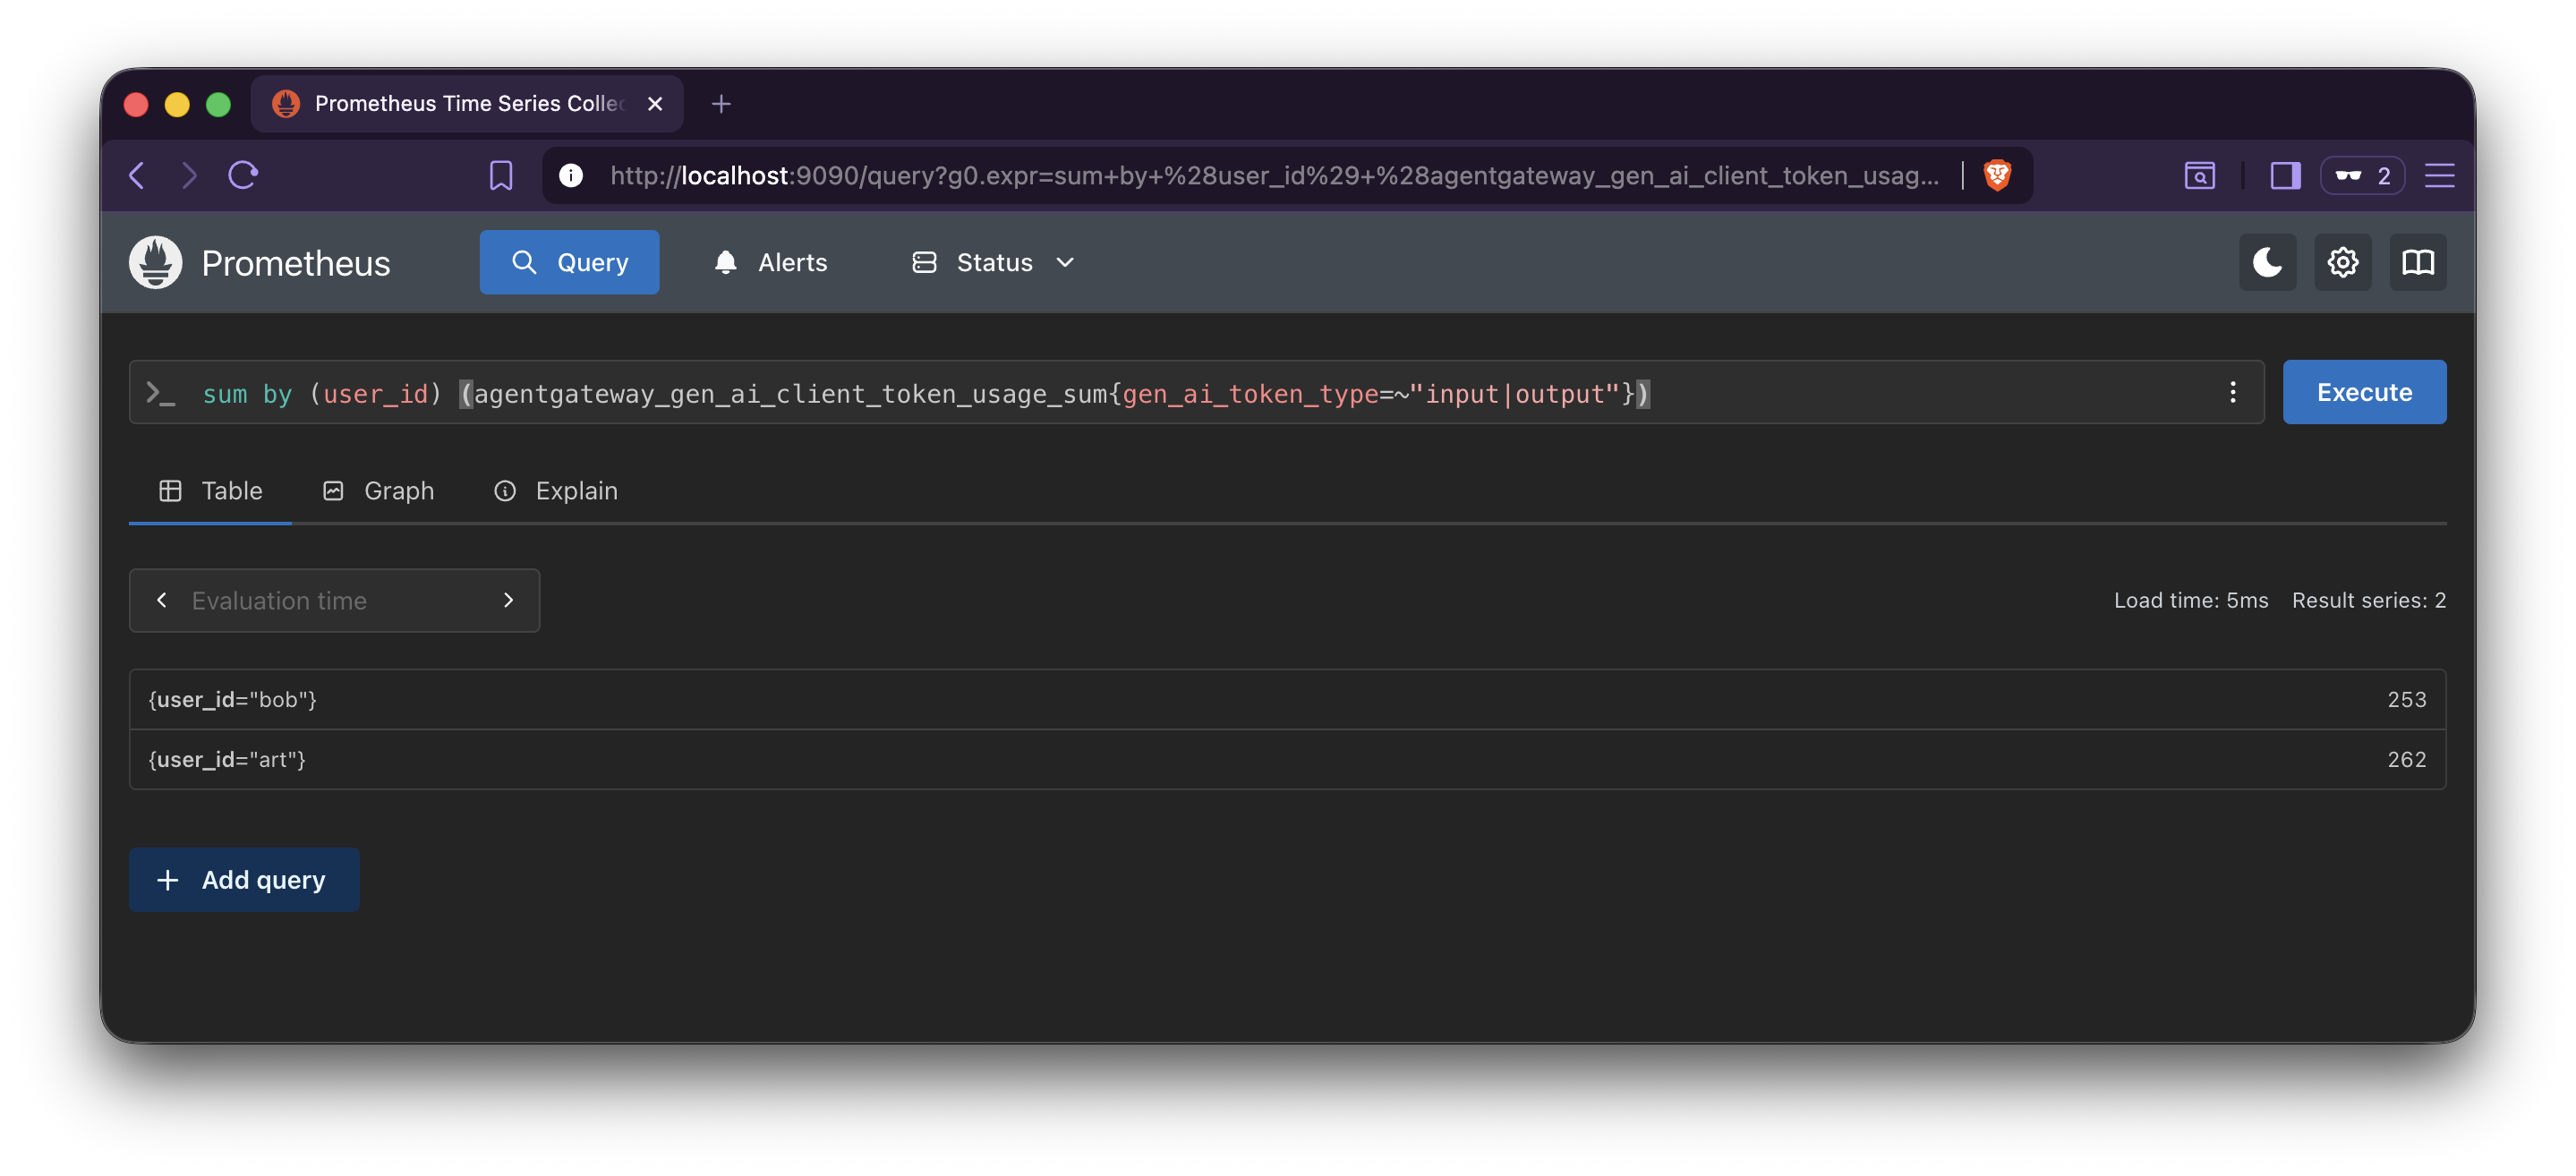
Query token usage per key. The following query returns the total tokens consumed by each virtual key. The token usage metric carries a separate series per token type, so match both
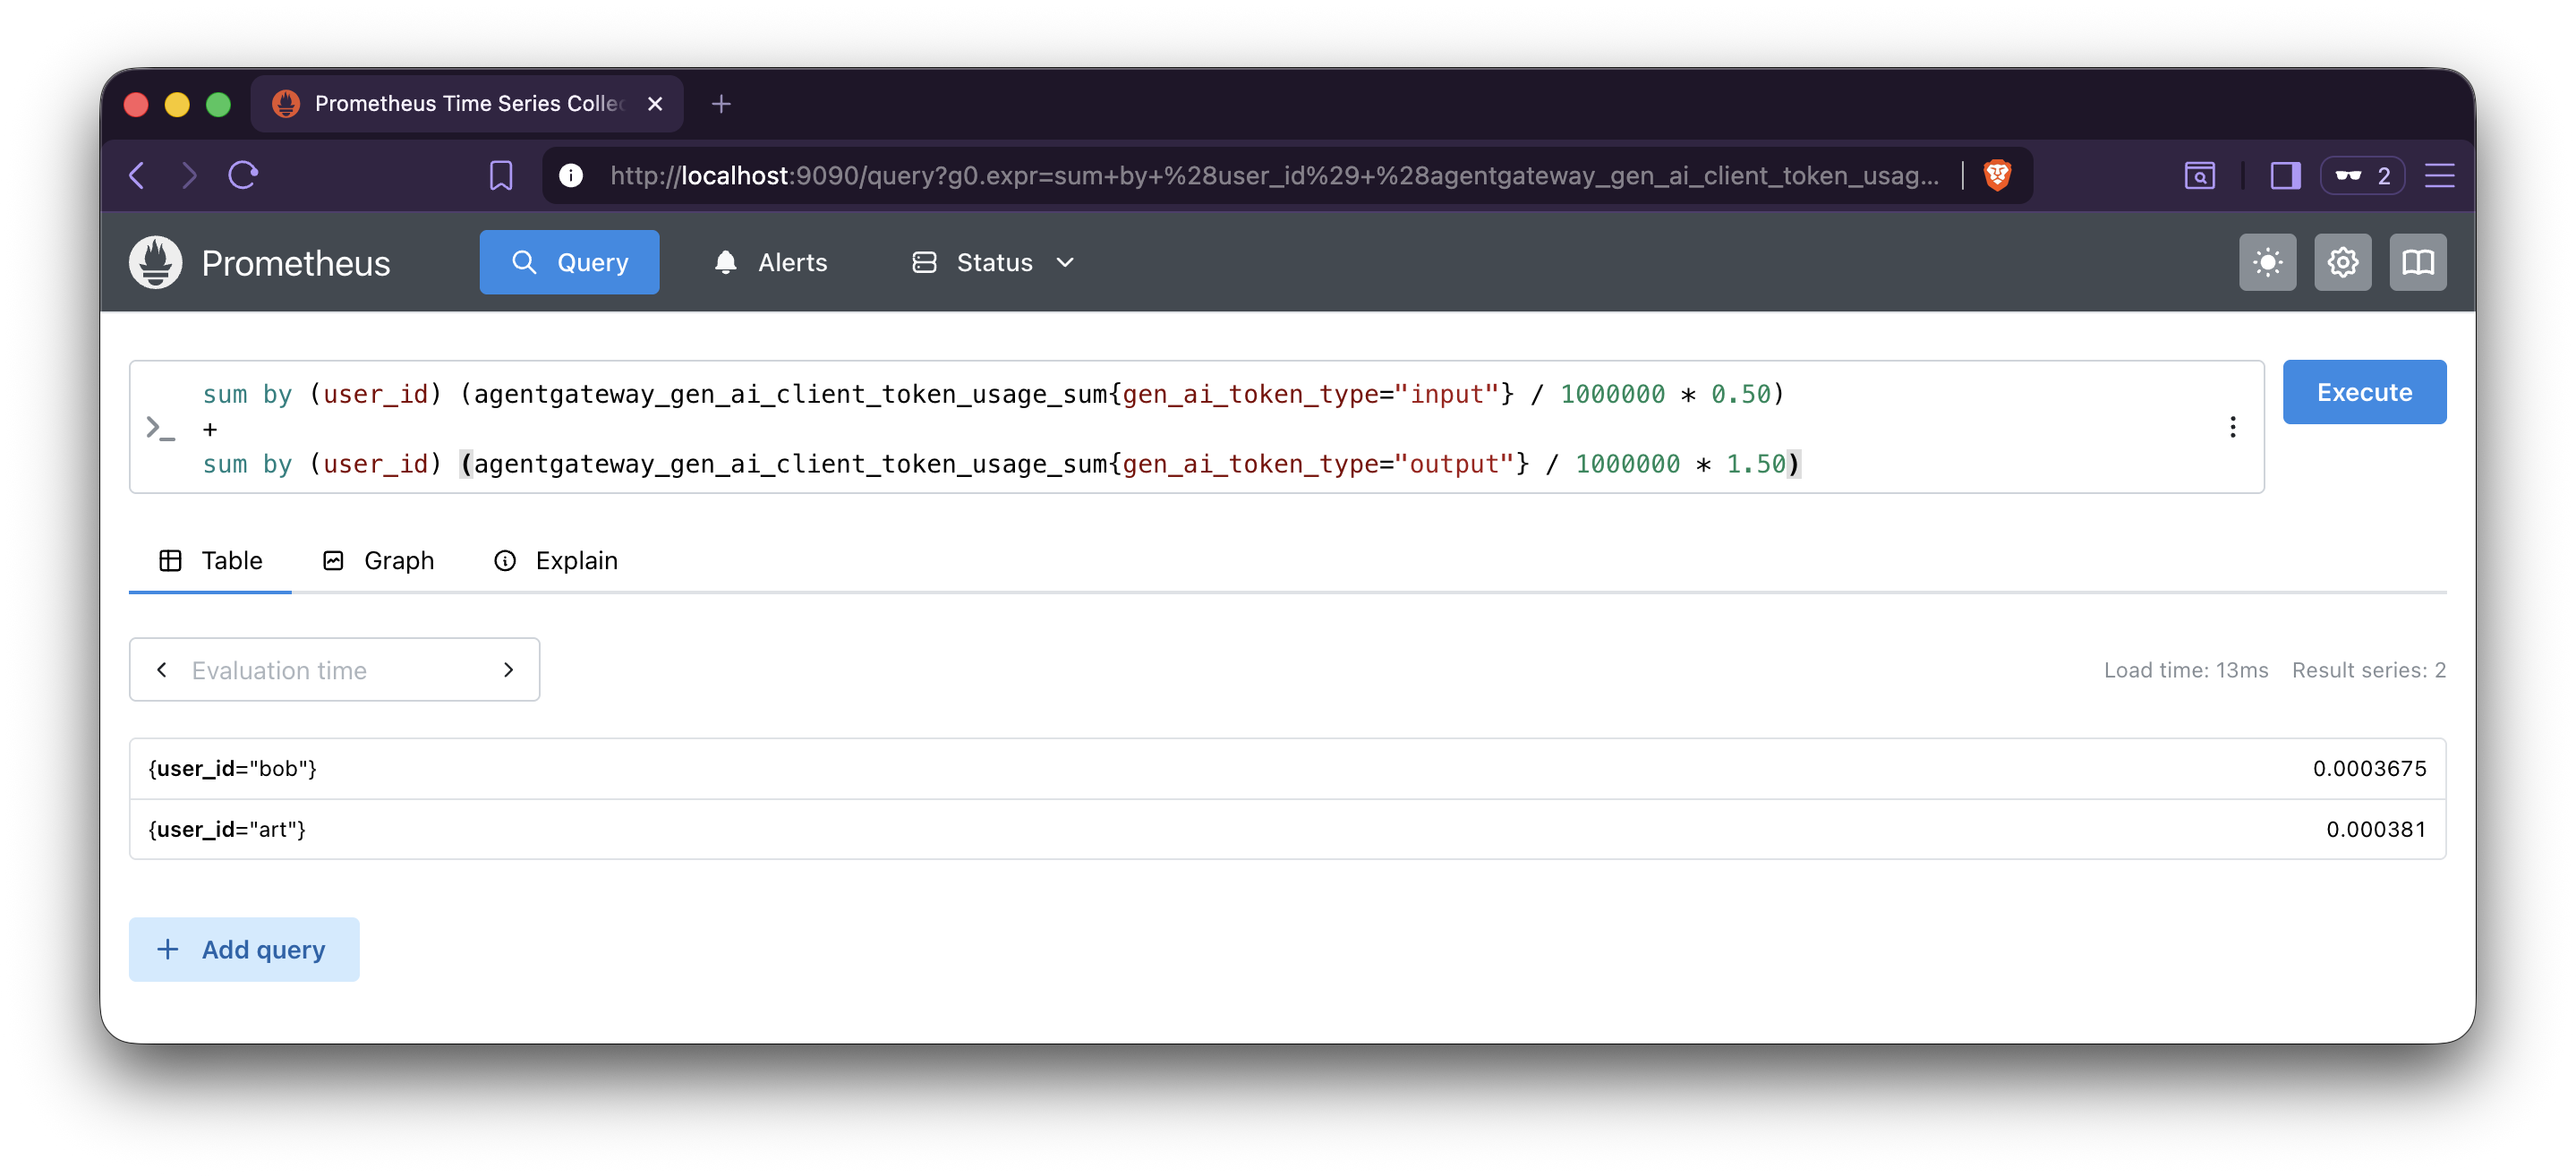
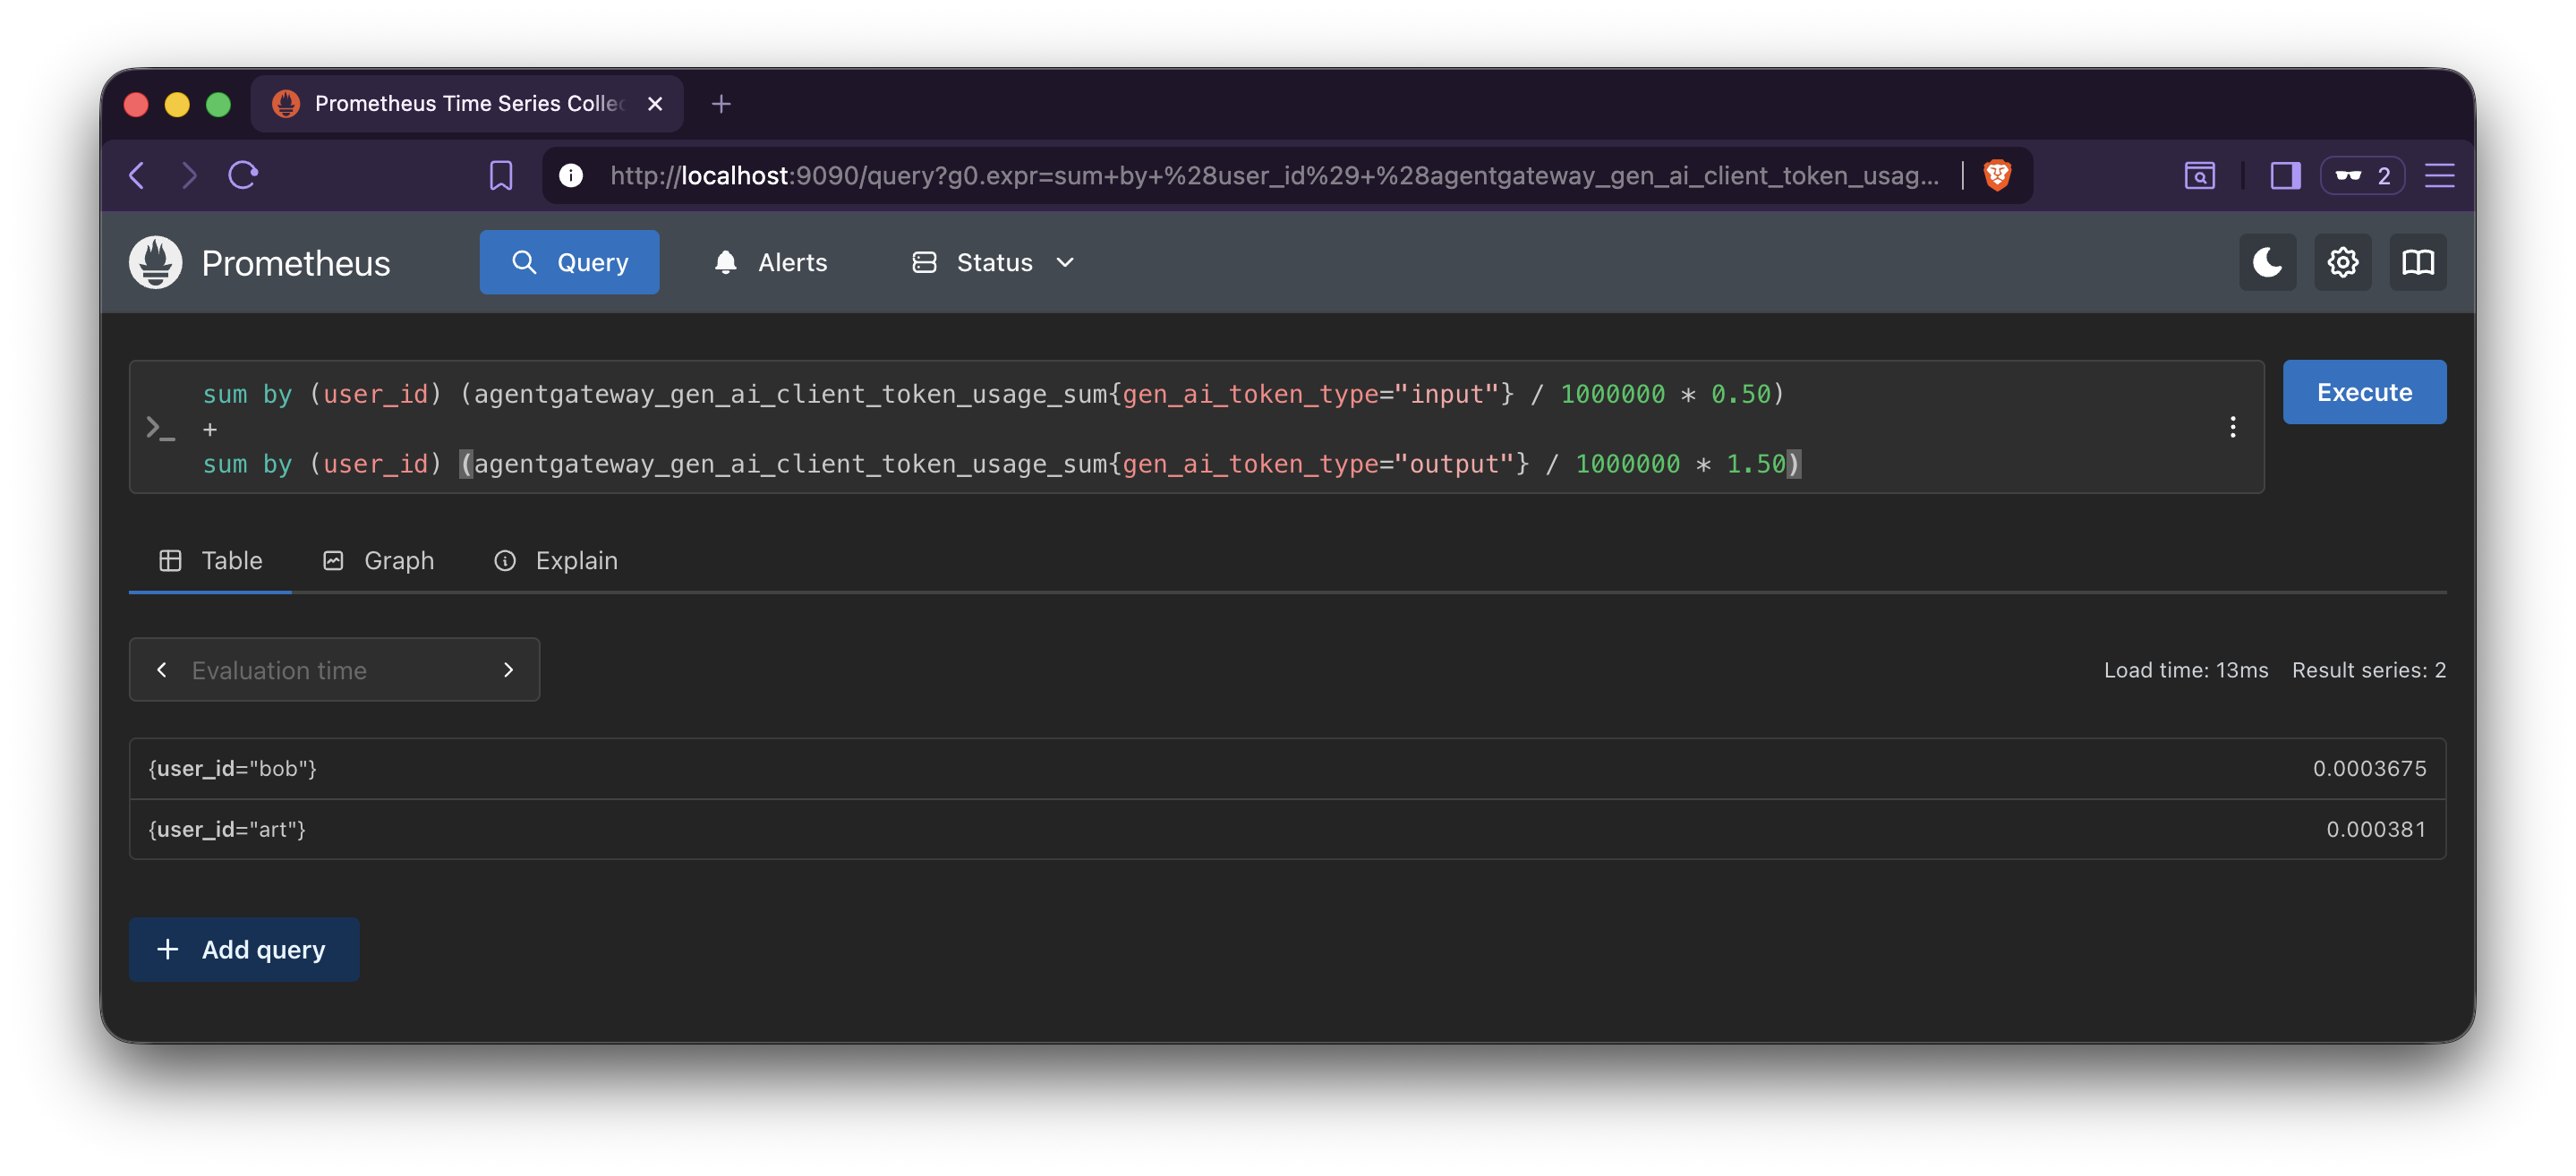
inputandoutputin a single selector with=~and sum them.sum by (user_id) (agentgateway_gen_ai_client_token_usage_sum{gen_ai_token_type=~"input|output"})Estimate costs by multiplying token counts by your provider’s pricing. Input and output tokens are usually priced differently, so aggregate each type separately, then add the two results. Each
sum by (user_id)collapses thegen_ai_token_typelabel, so the+matches onuser_id.Note
Queries that use
rate()orincrease()over a range such as[24h]need that much scrape history to return meaningful values. While testing locally, query the raw_sumcounters or use a shorter range such as[5m].This query estimates cost for OpenAI GPT-3.5 by applying your own pricing to token counts. To have agentgateway compute the realized USD cost per request from a model cost catalog, see Model costs.
# Estimated cost per key (assuming $0.50 per 1M input tokens, $1.50 per 1M output tokens)
sum by (user_id) (agentgateway_gen_ai_client_token_usage_sum{gen_ai_token_type="input"} / 1000000 * 0.50)
+
sum by (user_id) (agentgateway_gen_ai_client_token_usage_sum{gen_ai_token_type="output"} / 1000000 * 1.50)